Heavenly Pistachio Raspberry Dream Cake
Introduction
Let’s be honest: most cakes are good. But some cakes? Some cakes are unforgettable. That’s exactly what the Heavenly Pistachio Raspberry Dream Cake is an unforgettable, show-stopping dessert that blends the earthy richness of pistachios with the vibrant, tangy pop of raspberries. It’s not just a cake; it’s a love story told in layers.
This isn’t just another pretty dessert it’s a gourmet experience that strikes a balance between texture, color, and flavor. Whether you’re planning a spring brunch, a summer soirée, or a romantic dinner, this cake is the conversation starter you didn’t know you needed.
So grab your whisk, your apron, and a generous handful of pistachios because we’re about to make your dessert dreams come true.

What Is This Recipe?
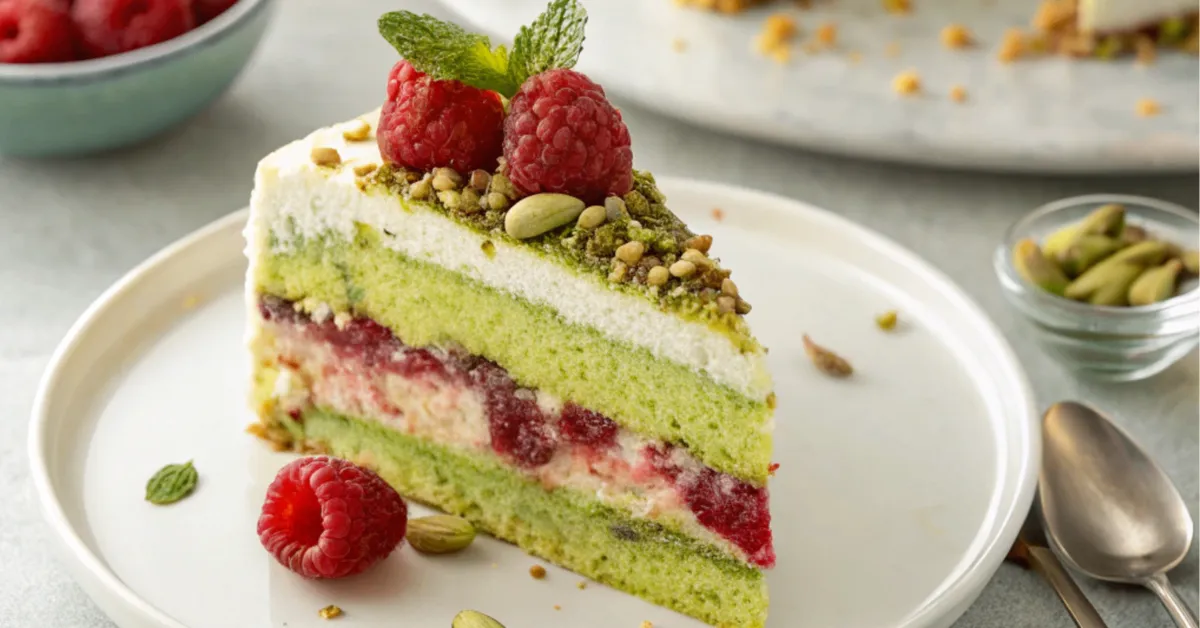
The Heavenly Pistachio Raspberry Dream Cake is a layered masterpiece built with a moist pistachio-infused sponge, raspberry jam or compote, and a light mascarpone or whipped cream frosting.
It’s floral and nutty, sweet but not overly so, and offers an incredibly satisfying bite thanks to the contrast between rich pistachio and juicy raspberry.
This cake takes the elegance of patisserie and makes it approachable no intimidating techniques, just good ingredients and smart layering.
Essential Ingredients
To create this Heavenly Pistachio Raspberry Dream Cake, you’ll need the following:
• 2 cups all-purpose flour (or almond flour for gluten-free option)
• 1 cup of unsalted, shelled pistachios, finely ground into a delicate meal
• 1 ½ cups sugar
• 1 cup unsalted butter (softened)
• 4 large eggs
• 1 cup buttermilk
• 1 tsp vanilla extract
• 1 tsp baking powder
• ½ tsp baking soda
• ¼ tsp salt
• ¾ cup raspberry preserves or raspberry compote
• 1 cup heavy cream (for frosting)
• 1 cup mascarpone cheese
• ½ cup powdered sugar (for frosting)

Alternative Ingredients
• Flour Alternatives: Almond flour or gluten-free flour blend
• Dairy-Free Options: Use vegan butter and coconut cream in place of butter and cream
• Sweeteners: Substitute sugar with coconut sugar or monk fruit sweetener
• Frosting Swap: Use cream cheese frosting or vegan buttercream instead of mascarpone
This versatility makes the Heavenly Pistachio Raspberry Dream Cake ideal for different dietary needs.
Prep Time, Cook Time, Total Time, Servings, Yield
| Prep Time | Cook Time | Total Time | Servings | Yield |
|---|---|---|---|---|
| 30 mins | 35 mins | 1 hr 5 mins | 10-12 | 1 layered cake |
Key Features
• Moist, fluffy pistachio cake layers
• Bright, fresh raspberry flavor
• Light, not overly sweet frosting
• Gorgeous presentation for events
• Customizable for dietary preferences
• A guaranteed showstopper
The Heavenly Pistachio Raspberry Dream Cake is both refined and rustic the best of both dessert worlds.
Nutrition Facts
| Nutrient | Amount (per serving) |
|---|---|
| Calories | 390 |
| Fat | 22g |
| Saturated Fat | 11g |
| Carbohydrates | 43g |
| Sugar | 28g |
| Protein | 6g |
| Fiber | 2g |
| Sodium | 180mg |
Directions (Step-by-Step Guide to Making the Cake)
Creating the Heavenly Pistachio Raspberry Dream Cake may sound like a task fit for a Parisian patisserie, but trust me, you don’t need a culinary degree or fancy gadgets to make it happen. What you do need is a bit of patience, attention to detail, and the willingness to fall in love with baking again.
Let’s walk through the process step-by-step so you can nail this cake on the first try.
Step 1: Preheat Your Oven and Prepare the Cake Pans
Begin by preheating your oven to 350°F (175°C). A properly heated oven is essential for even baking and good rise. Grease two 8-inch or 9-inch round cake pans with butter or nonstick spray. Then, line the bottoms with parchment paper this makes cake removal later a breeze and prevents sticking.
Pro Tip: Lightly flour the sides of your pans after greasing them. This gives your cake batter something to grip as it rises, which helps create taller, more even layers.
Step 2: Cream the Butter and Sugar
In a large mixing bowl, combine 1 cup of softened unsalted butter with 1½ cups of sugar. Use a hand mixer or stand mixer to beat the mixture for 3 to 5 minutes, until it becomes pale, fluffy, and airy. This creaming step is crucial it incorporates air into the batter, setting the foundation for a light and tender crumb.
Step 3: Add the Eggs and Vanilla
Once the butter and sugar are fully creamed, crack in 4 large eggs, one at a time. Beat each egg in fully before adding the next. This ensures a silky batter consistency and avoids any chances of it separating or curdling. Then add 1 teaspoon of vanilla extract to round out the flavor.
If the mixture looks slightly separated at this point, don’t panic. Once you add the dry ingredients, it’ll come together beautifully.
Step 4: Whisk the Dry Ingredients
In a separate bowl, whisk together:
• 2 cups of all-purpose flour
• 1 cup of finely ground pistachios
• 1 teaspoon of baking powder
• ½ teaspoon of baking soda
• ¼ teaspoon of salt
These ingredients form the base of the Heavenly Pistachio Raspberry Dream Cake, giving it that light green hue and subtle crunch that make each bite unforgettable.
Step 5: Alternate Dry Ingredients and Buttermilk
Slowly add the dry ingredients into the creamed mixture, alternating with 1 cup of buttermilk. Start with dry, then buttermilk, and continue until everything is incorporated always ending with dry. Use a rubber spatula or the lowest mixer speed. Overmixing will result in a dense cake, and we’re going for dreamy and delicate.
The batter should be thick but pourable, and speckled with beautiful green flecks of pistachio.
Step 6: Bake the Cake Layers
Pour the batter evenly into the cake pans you’ve prepared, making sure each one gets the same amount for an even bake. Use a spatula to even out the surface, then lightly tap the pans on the countertop to let any trapped air escape.
Slide the pans into the oven and let them bake for 30 to 35 minutes, or until a toothpick inserted in the middle comes out clean and crumb-free. Avoid opening the oven in the first 20 minutes you don’t want to lose heat or deflate your cake.
Once baked, allow the cakes to cool in the pans for about 10 minutes, then transfer to a wire rack to cool completely.
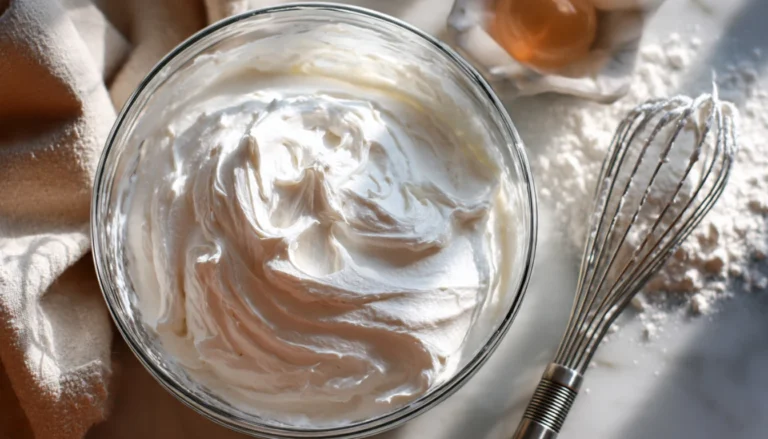
Step 7: Make the Mascarpone Frosting
While your cake layers are cooling, make the frosting. In a mixing bowl, whip 1 cup of heavy cream until soft peaks form. In another bowl, mix 1 cup of mascarpone cheese with ½ cup of powdered sugar until smooth.
Gently fold the whipped cream into the mascarpone mixture. The result is a silky, cloud-like frosting with just the right amount of sweetness.
Step 8: Layer with Raspberry Filling
Once the cakes are completely cool, place one layer on a cake board or serving plate. Spread a generous layer of raspberry preserves or compote on top. Follow with a thick layer of mascarpone frosting.
Top with the second cake layer and apply a thin crumb coat this seals in the crumbs and helps with smooth frosting application. Chill for 20 minutes.
Then, finish with the final frosting layer. Use an offset spatula to create rustic swoops or a clean, elegant finish, depending on your vibe.
Step 9: Decorate and Chill
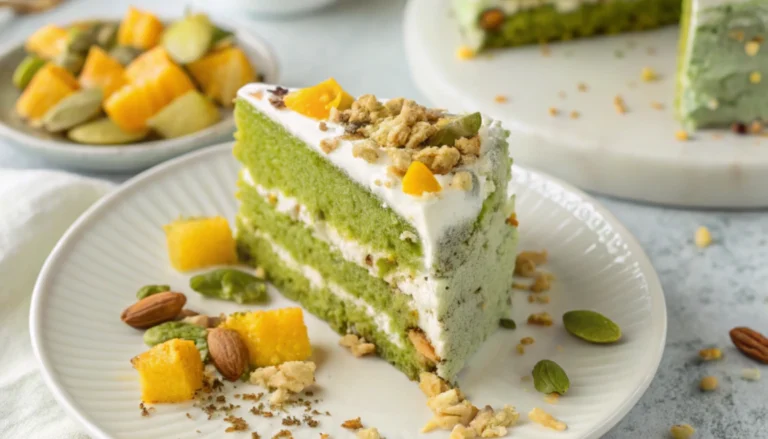
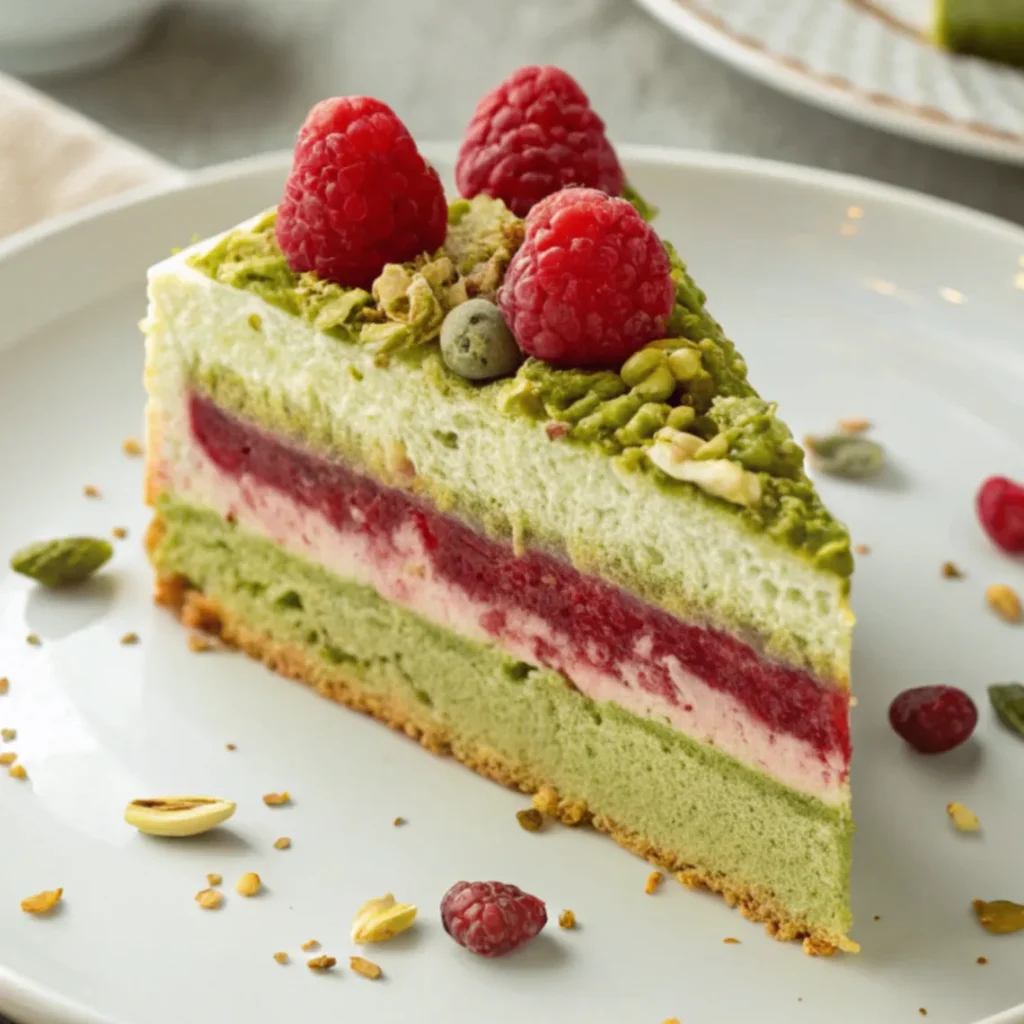
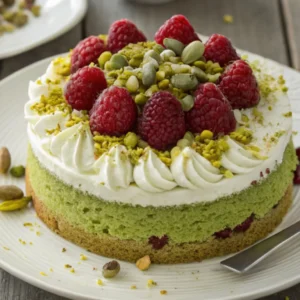
To decorate your Heavenly Pistachio Raspberry Dream Cake, top with fresh raspberries and a sprinkling of chopped pistachios. The natural colors pop against the creamy frosting and give this cake its signature look.
Allow the cake to chill in the refrigerator for a minimum of 1 hour before cutting into it. This helps the layers set and makes for cleaner cuts.
Pro Tips for a Perfect Cake
Mastering the Heavenly Pistachio Raspberry Dream Cake is all about technique, timing, and quality ingredients. Follow these expert baking tips to turn your kitchen into your own little pastry sanctuary and avoid common mistakes that can flatten the dream.
1. Use Fresh, Unsalted Pistachios:
Don’t settle for stale or salted varieties. Raw, shelled pistachios are key. Roast them yourself for deeper flavor, then grind finely in a food processor. If they’re too chunky, your cake crumb will suffer.
2. Room Temperature Ingredients Are Non-Negotiable:
Butter, eggs, and buttermilk should all be at room temperature before mixing. This helps them blend seamlessly, which leads to an even batter and ultimately a more tender cake.
3. Don’t Skip the Parchment Paper:
You might be tempted to go without, but parchment guarantees clean removal from pans. No ripped layers. No stress.
4. Be Gentle When Folding:
When combining dry ingredients and buttermilk into the creamed mixture, fold gently. Overmixing will kill the fluffiness and make your Heavenly Pistachio Raspberry Dream Cake dense and chewy and not in a good way.
5. Use a Scale for Precision:
Baking is science. Even a few grams too much flour or sugar can ruin your cake’s texture. Invest in a digital scale for spot-on measurements every time.
6. Cool Completely Before Frosting:
Even slightly warm cake will melt your mascarpone frosting. Let the layers cool entirely on a wire rack. Patience here pays off in picture-perfect presentation.
7. Chill Before Slicing:
After assembling, refrigerate your cake for at least 1 hour. This allows the frosting to firm up, making for smoother, sharper slices that hold their shape beautifully.
Why You’ll Love This Recipe
Because it hits that sweet spot literally and figuratively. The Heavenly Pistachio Raspberry Dream Cake is comforting yet elegant, indulgent yet surprisingly light. It’s a cake that says, “I baked with love,” even if you’re just making it on a whim.
It’s versatile for different seasons and occasions. A spring picnic? Check. A baby shower? Absolutely. A quiet Sunday where you just feel like baking something extraordinary? Yes, yes, and yes.
What Makes This Recipe Unique?
What sets this apart is the flawless combination of sweet and tart, nutty and fruity. Pistachio cakes are often paired with citrus, but pairing them with raspberry offers a tangier, fresher contrast. The mascarpone-based frosting adds a refined creaminess without overwhelming the palate.
And let’s not forget: it’s stunning. The light green crumb of pistachio cake, contrasted with deep red raspberry layers and topped with a white cloud of frosting it’s Instagrammable without even trying.
Frequently Asked Questions (FAQs)
Can I make this cake ahead of time?
Absolutely! You can prepare the cake layers a day in advance and keep them wrapped at room temperature until you’re ready to assemble the cake. Assemble the next day for maximum freshness.
Can I use frozen raspberries?
Absolutely. Thaw and strain them before making compote or using as filling to avoid excess moisture.
Is this cake overly sweet?
Not at all. The Heavenly Pistachio Raspberry Dream Cake has a balanced sweetness due to the tangy raspberry and lightly sweetened frosting.
Can I make this cake vegan?
Yes. Substitute eggs with flax eggs, butter with vegan butter, and mascarpone with whipped coconut cream or vegan cream cheese.
How do I store leftovers?
Store in the refrigerator in an airtight container. It stays fresh for up to 4 days.
You’ll Also Love
If you loved the Heavenly Pistachio Raspberry Dream Cake, try these too:
• Cream Cheese Stuffed French Toast with Blackberry Compote
• Classic Lemon Raspberry Layer Cake
• Creamy Spinach and Mushroom Orzo
• Chocolate Hazelnut Torte with Whipped Ganache
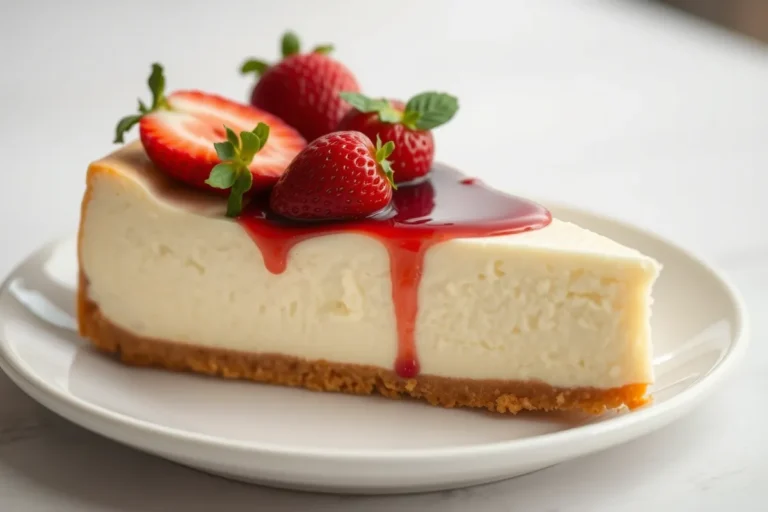
• No-Bake Strawberry Cheesecake Cups
Conclusion
There’s something undeniably magical about a cake that looks stunning, tastes incredible, and still manages to feel homemade. The Heavenly Pistachio Raspberry Dream Cake checks every box. It’s nutty, tangy, creamy, and just a bit decadent everything you want in a centerpiece dessert.
Whether you’re baking for a special event or just satisfying your creative itch, this cake delivers in flavor, aesthetics, and joy.
Don’t forget to share your creations with #BeesRecipes on Instagram. We can’t wait to see your delicious take on this Middle Eastern classic!
Heavenly Pistachio Raspberry Dream Cake
Ingredients
- For the Cake:
- 1 cup unsalted butter softened
- 1½ cups sugar
- 4 large eggs
- 1 teaspoon vanilla extract
- 2 cups all-purpose flour
- 1 cup finely ground pistachios
- 1 teaspoon baking powder
- ½ teaspoon baking soda
- ¼ teaspoon salt
- 1 cup buttermilk
- For the Frosting:
- 1 cup heavy cream whipped
- 1 cup mascarpone cheese
- ½ cup powdered sugar
- For Decoration:
- Fresh raspberries
- Chopped pistachios optional
Instructions
- Preheat your oven to 350°F (175°C) and prepare two cake pans by greasing them and lining the bottoms with parchment paper.
- Cream the butter and sugar: In a large bowl, beat together softened butter and sugar until fluffy (3-5 minutes).
- Add eggs and vanilla: Add eggs one at a time, mixing fully after each addition, and stir in vanilla extract.
- Combine dry ingredients: In a separate bowl, whisk together the flour, ground pistachios, baking powder, baking soda, and salt.
- Add dry ingredients alternately with buttermilk: Gradually fold the dry ingredients into the butter mixture, alternating with the buttermilk. Mix until smooth.
- Bake the cake layers: Divide the batter evenly between the pans and bake for 30-35 minutes, or until a toothpick comes out clean. Let cool in the pans for 10 minutes, then transfer to a wire rack.
- Make the frosting: Whip the heavy cream to soft peaks, then fold it into the mascarpone and powdered sugar mixture.
- Assemble the cake: Once the cakes are completely cool, spread a layer of raspberry preserves on the first cake layer, followed by a layer of frosting. Place the second cake layer on top, frost the entire cake, and decorate with fresh raspberries and pistachios.
- Chill and serve: Chill the cake for at least 1 hour before slicing. Serve and enjoy!
There are no reviews yet. Be the first one to write one.