Spider Cookies Recipe – A Fun and Delicious Halloween Treat
Introduction
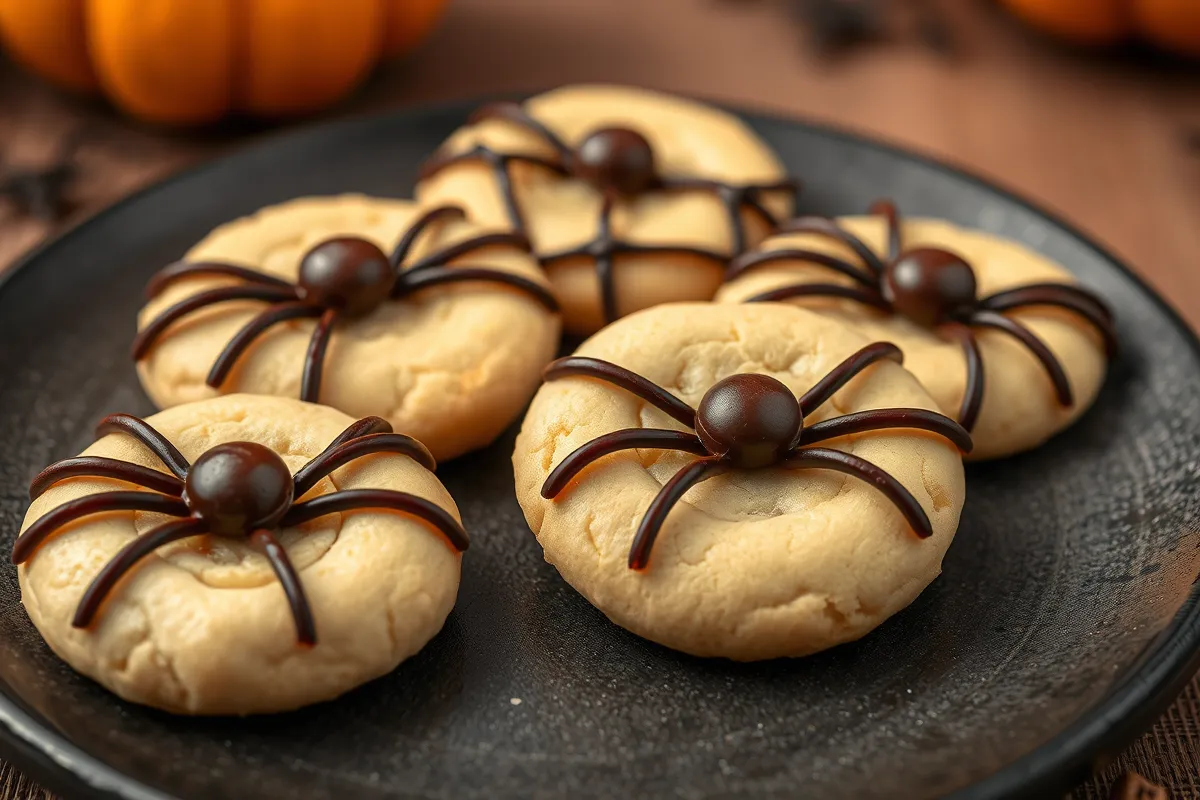
Halloween is just around the corner, and if you’re looking for a spooky yet delicious treat to share with friends and family, this Spider Cookies Recipe is a must-try! Imagine biting into soft, chewy peanut butter cookies topped with adorable chocolate spiders that bring a bit of fright and delight to the table. These cookies are not only fun to make but also a hit at any Halloween gathering. Whether you’re an experienced baker or just getting into Halloween-themed treats, this recipe is easy, engaging, and irresistibly tasty.
Table of Contents
Recipe Card
Recipe Name: Spider Cookies Recipe
Description: A spooky twist on classic peanut butter cookies topped with chocolate spider decorations, perfect for Halloween celebrations.
Prep Time: 20 minutes
Cook Time: 12 minutes
Total Time: 32 minutes
Servings: 24 cookies
Yield: 24 Spider Cookies
Ingredients
- 1 cup creamy peanut butter
- 1 cup granulated sugar
- 1 large egg
- 1 tsp vanilla extract
- 24 mini peanut butter cups (for spider bodies)
- 1/2 cup mini chocolate chips (for spider eyes and legs)
- 1/2 cup melted chocolate (for spider legs)
Directions
1. Prepare the Dough: In a large mixing bowl, combine the peanut butter, sugar, egg, and vanilla extract. Mix until well combined and smooth.
2. Shape the Cookies: Scoop portions of the dough using a tablespoon and roll them into balls. Place each ball on a parchment-lined baking sheet, spacing them 2 inches apart.
3. Bake: Preheat your oven to 350°F (175°C). Bake the cookies for 10-12 minutes, or until the edges are slightly golden but still soft in the center.
4. Add the Spider Bodies: While the cookies are still warm, gently press a mini peanut butter cup into the center of each cookie.
5. Decorate: Use the melted chocolate to draw spider legs on either side of the peanut butter cups. Place mini chocolate chips on the peanut butter cups as eyes to complete the look. Let the cookies cool, allowing the chocolate to set.
Nutrition Facts
- Serving Size: 1 cookie
- Calories: 180 kcal
- Sugar: 10g
- Sodium: 95mg
- Fat: 12g
- Saturated Fat: 4g
- Unsaturated Fat: 7g
- Trans Fat: 0g
- Carbohydrates: 15g
- Fiber: 1g
- Protein: 4g
- Cholesterol: 10mg
Why You’ll Love This Recipe
- Kid-Friendly: This recipe is a fun way to involve kids in Halloween baking.
- Easy and Quick: These cookies come together in under 30 minutes with just a few ingredients.
- Customizable: You can add your favorite decorations or adjust the level of spookiness to suit your crowd.
- Peanut Butter Lovers’ Dream: These cookies offer a rich peanut butter flavor that pairs perfectly with the chocolate spiders.
- Perfect for Halloween Parties: Spider cookies are a spooky hit at parties, school gatherings, and Halloween events.
Key Ingredients and Substitutions
- Peanut Butter: For the best texture, use creamy peanut butter. For a different flavor, try almond or sunflower butter.
- Sugar: Granulated sugar provides the classic peanut butter cookie sweetness. For a lower sugar option, substitute with a natural sweetener.
- Mini Peanut Butter Cups: These create the spider’s body, but you could also use chocolate truffles or malted milk balls.
- Melted Chocolate: For creating spider legs, melted chocolate works best. You can substitute it with black decorating gel if you prefer.
How to Make Spider Cookies (Step-by-Step)
Mix the Dough:
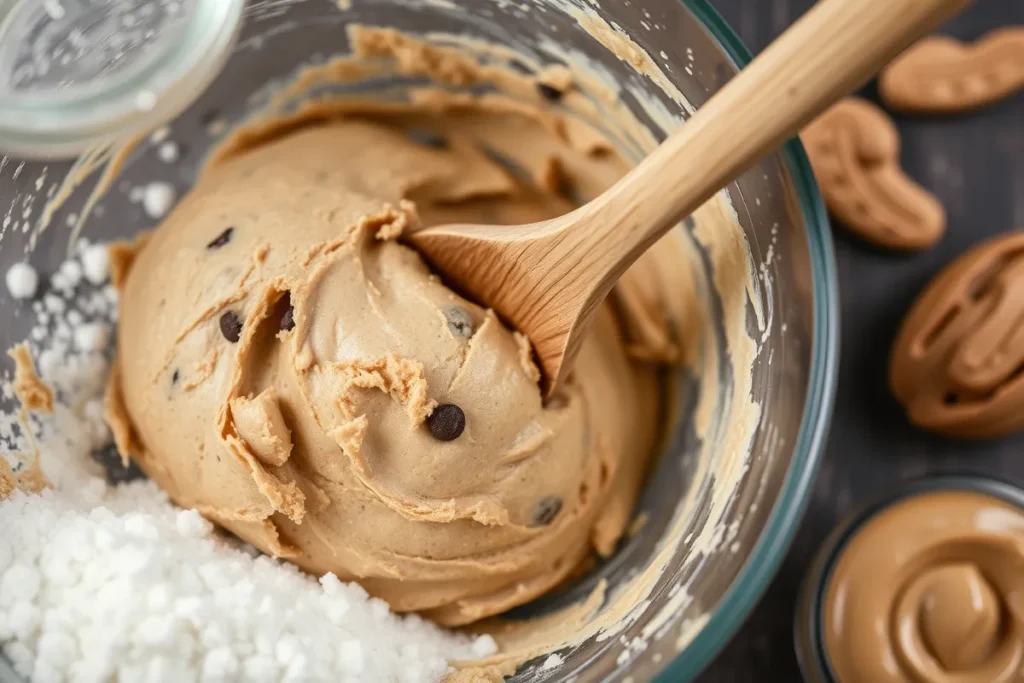
Start by mixing the peanut butter, sugar, egg, and vanilla in a bowl. This simple dough doesn’t require chilling, so it’s ready to shape and bake right away.
2. Shape and Bake:
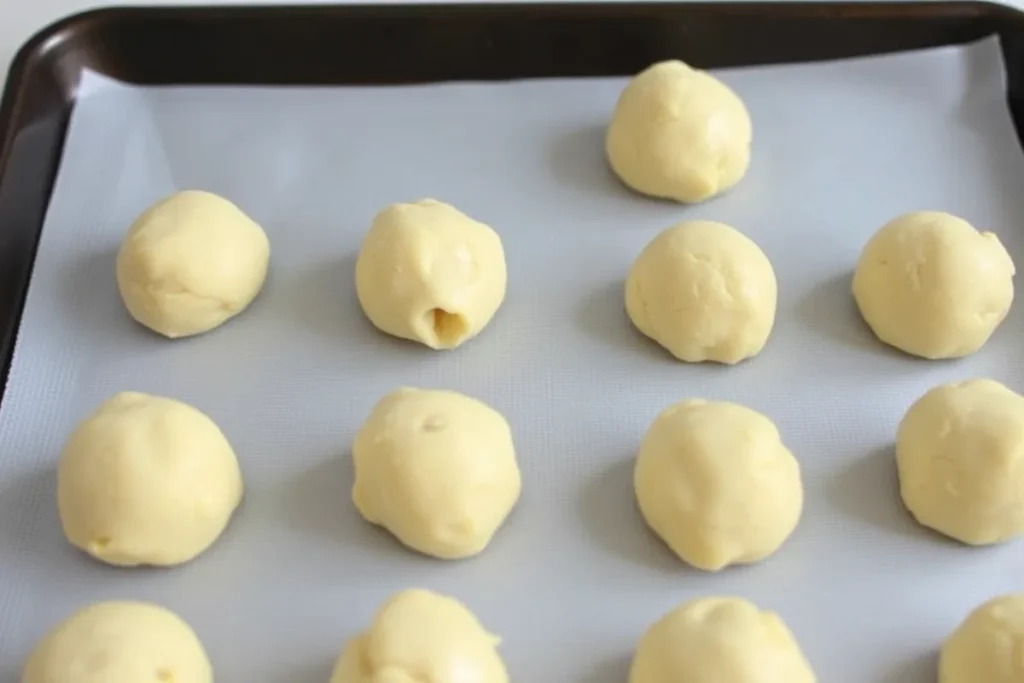
Form dough balls and place them on a baking sheet. Bake until the cookies are golden on the edges but still soft in the center.
3. Add Spiders: Press mini peanut butter cups onto each warm cookie to create the spider bodies. This step is crucial as the peanut butter cups will stick better when the cookies are still warm.
4. Create Legs: Using melted chocolate, draw eight legs around the peanut butter cup. A small piping bag works well for precision, but you can also use a zip-top bag with the tip cut off.
5. Add Eyes: For the finishing touch, add two mini chocolate chips on each peanut butter cup as eyes.
Expert Tips for Success
- Use Creamy Peanut Butter: Creamy peanut butter gives these cookies a smooth texture, which is easier to decorate.
- Press While Warm: Adding the mini peanut butter cups while the cookies are warm ensures they stick properly.
- Cool for Perfect Texture: Let the cookies cool completely before serving; this enhances their chewiness.
- Avoid Overbaking: Bake the cookies until the edges are golden to prevent them from becoming too crispy.
Variations and Customizations
- Gluten-Free: To make gluten-free spider cookies, use certified gluten-free peanut butter and sugar.
- Chocolate Lover’s Twist: Add chocolate chips to the dough for extra chocolate flavor.
- Vegan Option: Replace the egg with a flax egg (1 tablespoon ground flaxseed + 3 tablespoons water) and use vegan chocolate.
Storage and Reheating Instructions
- Storage: Keep these cookies in an airtight container at room temperature for up to five days.
- Freezing: Place the cookies in a single layer on a baking sheet to freeze, then move them to a freezer-safe container for storage. They’ll stay fresh for up to three months.
- Reheating: Warm them in the microwave for 10-15 seconds to enjoy a soft, warm cookie.
Serving Suggestions
Spider cookies are perfect on their own, but serve them with a glass of cold milk or a warm mug of hot chocolate for an extra treat. For Halloween gatherings, arrange the cookies on a spooky-themed platter with other Halloween treats, like candy corn or gummy worms, for a festive touch.
Frequently Asked Questions (FAQs)
1. Can I use natural peanut butter in this recipe?
Yes, but be aware that natural peanut butter can make the cookies slightly crumbly. Stir well to incorporate the oil before using.
2. How do I make the spiders stick to the cookies?
Press the peanut butter cups onto the cookies while they’re still warm. The warmth will help them adhere to the cookies.
3. Can I freeze the cookie dough?
Absolutely! You can freeze the dough balls on a baking sheet and store them in a freezer bag. When ready to bake, allow the dough balls to thaw for a few minutes, and then bake as directed.
4. What can I use instead of peanut butter cups for the spiders?
You can use chocolate truffles, malted milk balls, or any small chocolate treats as a substitute.
5. Are these cookies suitable for kids with peanut allergies?
To make a nut-free version, use sunflower seed butter or another allergy-safe alternative to peanut butter.
You’ll Also Love
If you enjoyed these Halloween Spider Cookies, here are a few more fun treats to try:
- Monster Eyeball Cake Pops: Perfectly spooky cake pops that are both fun and delicious.
- Witch Finger Pretzel Rods: Salty pretzels dipped in green chocolate with almond “fingernails.”
- Mummy Rice Krispies Treats: A simple, no-bake treat that’s great for Halloween parties.
Conclusion
These Spider Cookies bring together all the flavors of a classic peanut butter cookie with a Halloween twist! They’re easy to make, kid-friendly, and sure to be a hit at any spooky celebration. Not only will these cookies be a delicious treat, but they’re also a fun activity to get everyone involved in the Halloween spirit. So, go ahead and bake these creepy-crawly cookies for a frightfully delightful dessert! Don’t forget to share your Spider Cookies Recipe creations with us on Instagram using #BeesRecipes!

