Ninja Creami Recipe
Ninja Creami Recipe: Create the Creamiest Ice Cream at Home with Ease
Are you ready to discover a world of creamy, dreamy homemade ice cream? Today, we’re diving into the ultimate guide on how to make the best Ninja Creami recipe—a simple and delicious way to enjoy custom flavors, tailored textures, and pure bliss in every spoonful. Whether you’re craving a classic vanilla or experimenting with unique flavors, the Ninja Creami has you covered. This versatile appliance does more than just churn out ice cream; it’s your all-in-one tool for effortlessly creating sorbet, gelato, and frozen yogurt at home, all with incredible flavor and minimal effort.
What is the Ninja Creami?
The Ninja Creami is an innovative ice cream maker that makes creating homemade frozen desserts simpler than ever. Its unique “Creamify” technology is designed to blend and churn your ingredients into rich and smooth ice cream. It offers versatility in flavor and texture, allowing you to use ingredients like almond milk, oat milk, or even protein powder for healthier alternatives. Ideal for everyone from classic ice cream lovers to those looking for vegan and low-sugar options, the Ninja Creami makes homemade ice cream more accessible.
Table of Contents
Ninja Creami Recipe Card
Recipe Name: Classic Vanilla Ninja Creami Recipe
Description: A simple, creamy vanilla ice cream recipe that’s perfect for every occasion, made in the Ninja Creami.
| Recipe Information | Details |
|---|---|
| Prep Time | 10 minutes |
| Cook Time | 24 hours (freezing time) |
| Total Time | 24 hours, 10 minutes |
| Servings | 4 servings |
| Yield | 1 pint |
| Calories | 180 kcal per serving |
Ingredients
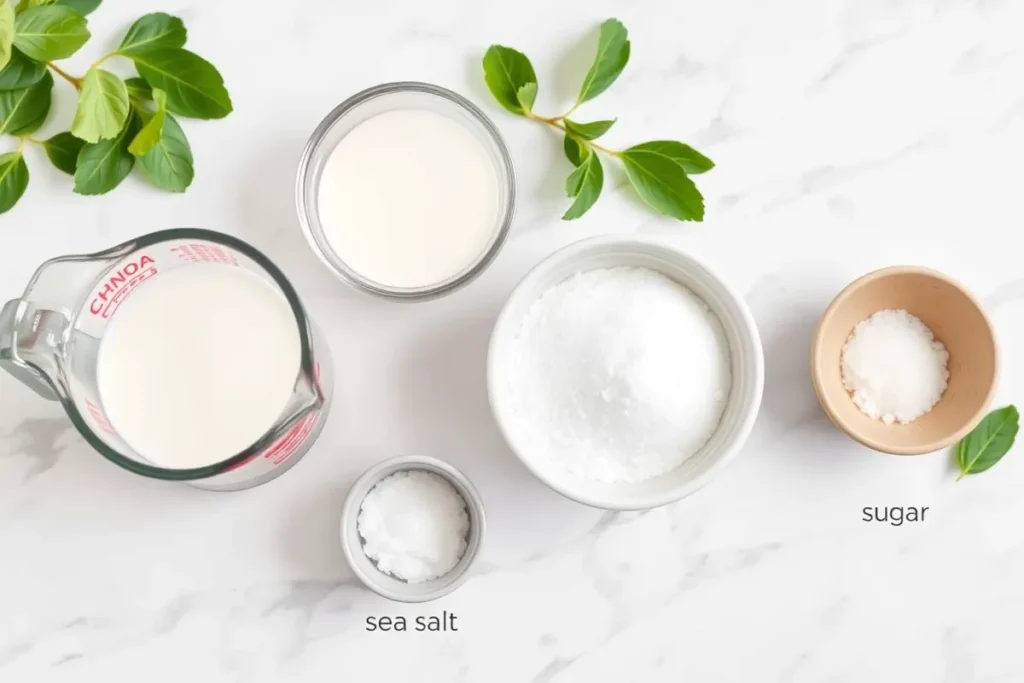
- 1 cup whole milk
- 1/2 cup heavy cream
- 1/3 cup granulated sugar
- 1 tsp vanilla extract
- Optional: a pinch of sea salt to enhance flavor
Directions
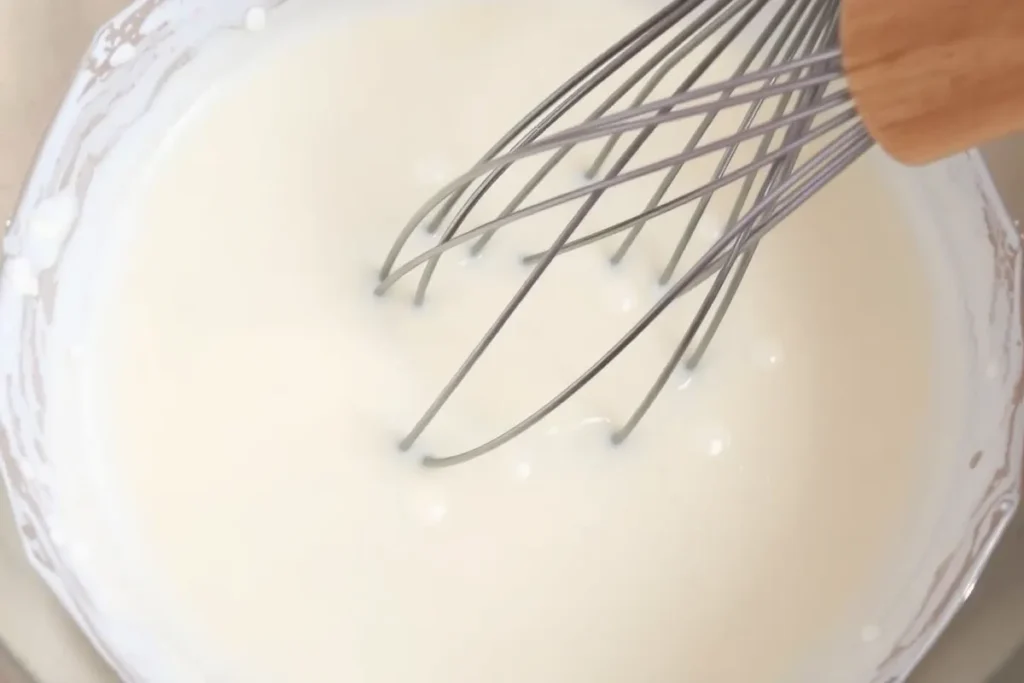
- Prepare the Base: In a mixing bowl, whisk together the milk, heavy cream, and sugar until the sugar is fully dissolved.
- Add Flavor: Stir in the vanilla extract. If you like a slightly salted taste, add a pinch of sea salt.
- Freeze the Mixture: Pour the mixture into the Ninja Creami pint container and freeze for 24 hours.
- Creamify the Ice Cream: Place the frozen pint into the Ninja Creami machine. Choose the “Ice Cream” setting and let the machine blend it to creamy perfection.
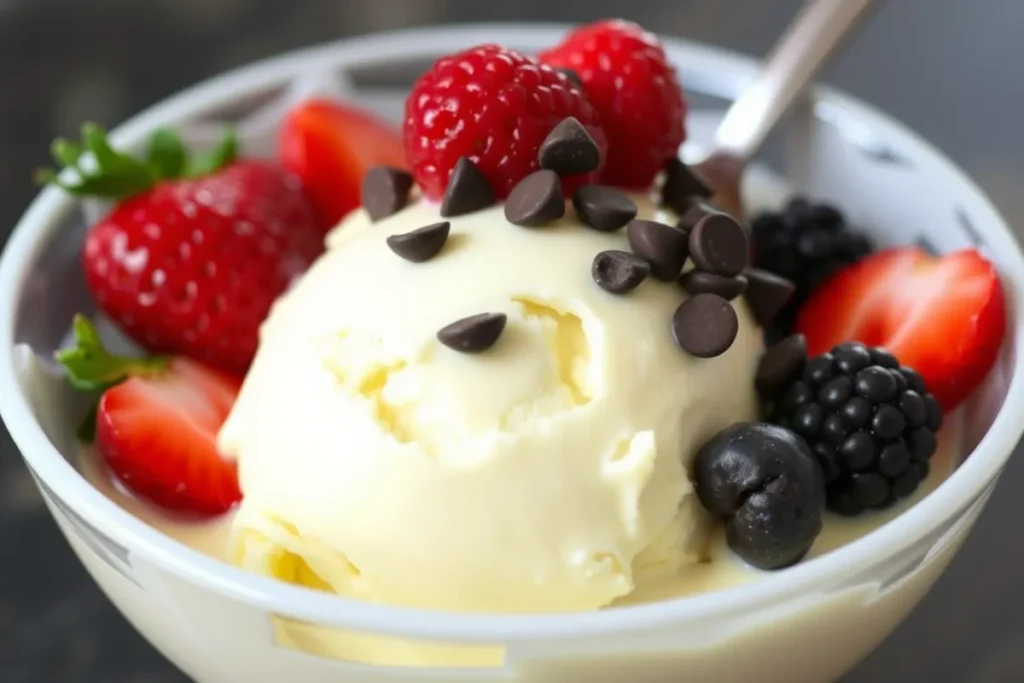
- Serve and Enjoy: After the Ninja Creami completes blending, spoon out the smooth vanilla ice cream and enjoy it right away. You can also add toppings like fresh berries, chocolate chips, or caramel sauce for added flavor.
Nutrition Facts (per serving)
| Nutrient | Amount per Serving (1/2 cup) |
|---|---|
| Calories | 180 |
| Sugar | 15g |
| Sodium | 30mg |
| Fat | 9g |
| Saturated Fat | 5g |
| Unsaturated Fat | 4g |
| Trans Fat | 0g |
| Carbohydrates | 18g |
| Fiber | 0g |
| Protein | 2g |
| Cholesterol | 25mg |
Why You’ll Love This Recipe
- Creamy Texture: The Ninja Creami uses its innovative “Creamify” technology to produce a velvety texture that rivals store-bought ice cream.
- Customizable: From dairy-free options to low-sugar recipes, you can adjust ingredients to fit any dietary preference.
- Easy to Use: With minimal prep and just a few simple ingredients, anyone can master this recipe.
- Family-Friendly: Kids and adults alike will enjoy experimenting with flavors and toppings to create personalized treats.
Key Ingredients and Substitutions
- Whole Milk and Heavy Cream: These provide a rich base. For a lighter version, you can substitute with almond or oat milk, though the texture may be less creamy.
- Sugar: Essential for sweetness and texture. For low-sugar versions, consider using honey, agave, or a sugar substitute.
- Vanilla Extract: This adds a classic flavor. Feel free to experiment with other extracts, such as almond or mint, for unique variations.
How to Make Ninja Creami Ice Cream: Step-by-Step Guide
Creating this ice cream at home couldn’t be easier. Here’s how you can get the perfect Ninja Creami recipe:
1. Start with a Good Base: For a smooth, creamy texture, use whole milk and heavy cream as the base. Whisk the ingredients thoroughly to ensure the sugar is dissolved.
2. Freeze Completely: The pint must freeze solid, so let it sit for a full 24 hours to avoid any icy texture.
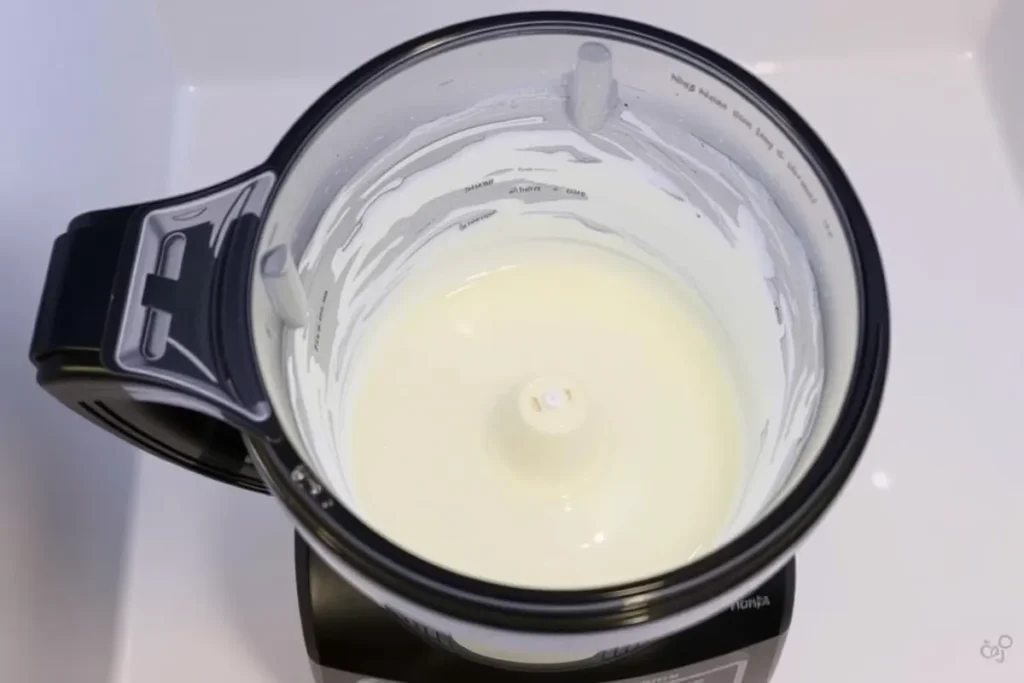
3. Choose Your Setting: Once frozen, place the pint into the Ninja Creami machine and select the “Ice Cream” option. This setting is calibrated to produce a soft and creamy result.
4. Re-spin if Necessary: If the texture isn’t creamy enough after the first blend, use the “Re-spin” function for added smoothness.
5. Serve or Store: Scoop out your freshly made ice cream and serve immediately. If you have leftovers, refreeze in the container, and re-spin before enjoying again.
Expert Tips for Success
- Avoid Overfilling: The container should be filled only to the designated line, as overfilling can impact the texture.
- Use Cold Ingredients: Start with ingredients that are already cold to speed up the freezing process.
- Experiment with Add-ins: Fold in chocolate chips, and cookie dough, or swirl in caramel or fudge after the first spin for more flavor.
Variations and Customizations
- Chocolate Lover’s Delight: Substitute vanilla with cocoa powder for a chocolatey twist. Add a handful of chocolate chips for extra indulgence.
- Fruit Explosion: Blend fresh strawberries, blueberries, or mangoes into the mixture before freezing for a fruity treat.
- Dairy-Free Option: Use coconut milk or almond milk as a base for a vegan version that’s just as satisfying.
Storage and Reheating Instructions
You can keep your homemade ice cream in the freezer for up to two weeks, though it’s at its best when enjoyed fresh. If the ice cream hardens, simply use the “Re-spin” function on the Ninja Creami to restore its creamy texture.
Serving Suggestions
This Ninja Creami recipe goes great with a variety of toppings. Try adding:
- Fresh fruit
- Crushed nuts
- Caramel or chocolate sauce
- Whipped cream
- Sprinkles or mini marshmallows
Frequently Asked Questions (FAQs)
1. Can I use other types of milk for this recipe?
Yes, you can substitute whole milk with almond, oat, or coconut milk for a dairy-free option, though it may slightly affect the creaminess.
2. What if my ice cream isn’t creamy enough?
Use the “Re-spin” function to add more smoothness if the texture is icy or too hard.
3. How long does the mixture need to freeze?
For best results, freeze the pint for a full 24 hours before blending in the Ninja Creami.
4. Can I add other ingredients like chocolate chips or fruit?
Absolutely! Mix-ins like chocolate chips, nuts, or swirls of caramel can be added after the first spin.
5. How can I make this a low-sugar recipe?
Substitute granulated sugar with a sugar-free alternative like Stevia or erythritol to create a low-sugar version.
Related Recipes You’ll Also Love
- Almond Milk Ice Cream: A dairy-free delight with all the creaminess of traditional ice cream.
- Cottage Cheese Ice Cream: Protein-packed and perfect for a light snack.
- Frozen Yogurt: Tart, creamy, and incredibly refreshing, made right in the Ninja Creami.
- Homemade Gelato: Smooth and dense with a velvety finish, great for indulging in Italian flavors at home.
Conclusion
The Ninja Creami recipe is a game-changer for ice cream lovers and home chefs alike. This recipe offers endless possibilities, allowing you to customize flavors, adjust ingredients for dietary needs, and enjoy a deliciously creamy texture. Whether you’re whipping up a batch for a family dessert or experimenting with exciting flavors, the Ninja Creami will make each bite worth savoring.
So why wait? Try this easy, customizable Ninja Creami recipe and dive into the world of homemade ice cream like never before. Don’t forget to share your creations using #BeesRecipes on Instagram—happy scooping!

