Quick and Easy Bunny Butt Marshmallow Pops Recipe for Easter
Easter is the perfect time for fun, festive, and adorable treats! If you’re looking for a no-bake dessert that’s as cute as it is delicious, you’ll love these Bunny Butt Marshmallow Pops. These sweet little bunny-themed pops are a hit at Easter parties, family gatherings, and as a fun treat to make with kids.
In this blog post, I’ll guide you through a step-by-step recipe for making these Bunny Butt Marshmallow Pops, along with pro tips, ingredient alternatives, and everything you need to create these delightful Easter treats.
Table of Contents
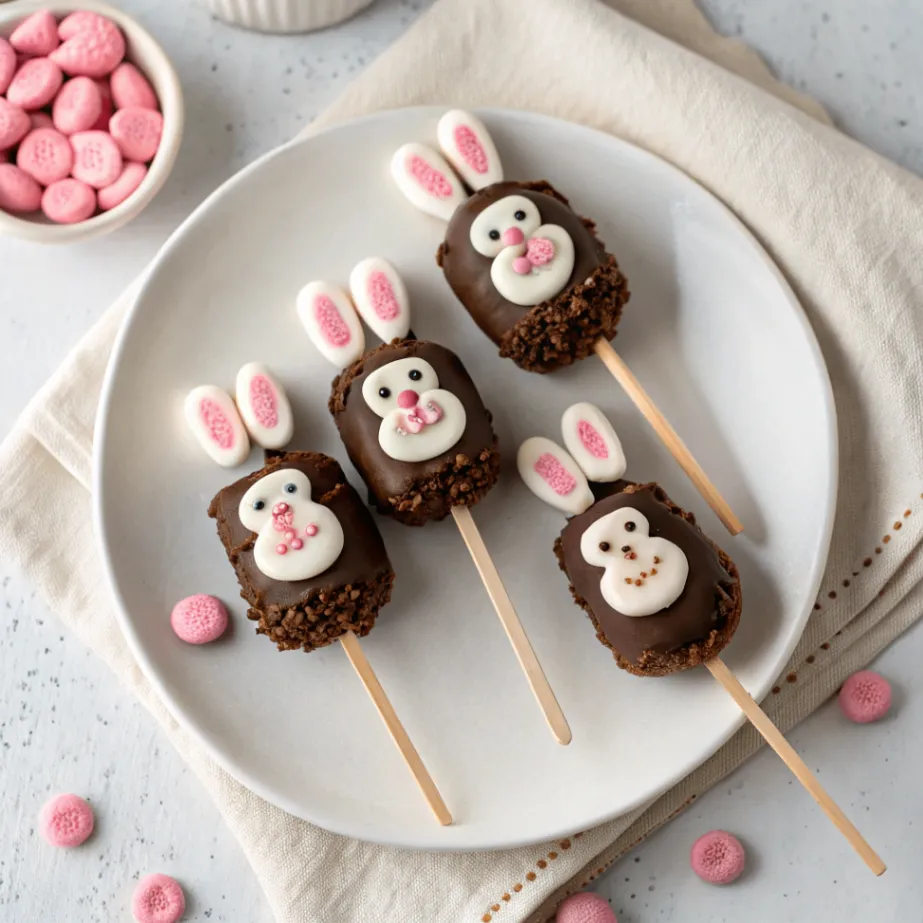
What Is This Recipe?
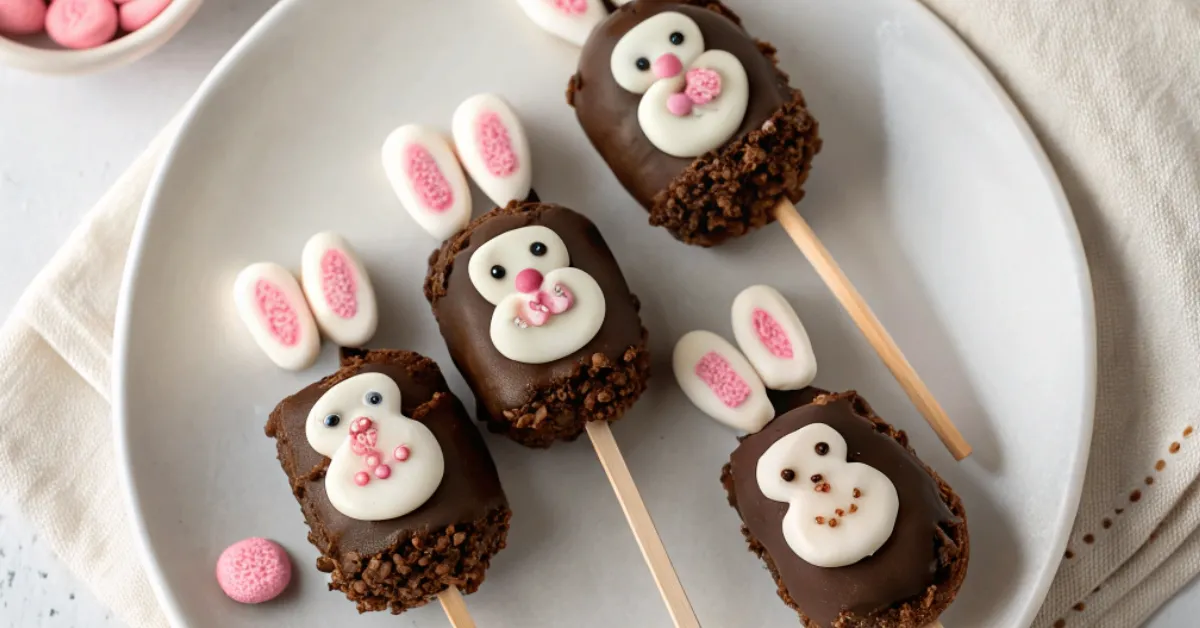
Bunny Butt Marshmallow Pops are an easy and adorable Easter dessert made with fluffy marshmallows, white chocolate, and cute decorations to resemble little bunny bottoms. These no-bake treats are quick to prepare, kid-friendly, and perfect for Easter celebrations.
They’re made by dipping marshmallows in melted white chocolate and decorating them with mini marshmallows and sprinkles to create the perfect bunny butt look. With just a few simple ingredients and a bit of creativity, you can whip up a batch of these festive treats in no time!
Essential Ingredients
To make Bunny Butt Marshmallow Pops, you’ll need the following:
- Large Marshmallows – The base of your bunny butts
- Mini Marshmallows – Used for bunny feet and tails
- White Chocolate or Candy Melts – For coating the marshmallows
- Pink Candy Melts – For the bunny paw details
- Lollipop Sticks – To turn them into fun pops
- Shredded Coconut (Optional) – For a fluffy fur effect
- Powdered Sugar (Optional) – Helps with the decorations sticking
- Pink Sprinkles or Edible Markers – For added bunny paw details
Alternative Ingredients
Want to customize your Bunny Butt Marshmallow Pops? Here are some easy substitutions:
| Original Ingredient | Alternative |
|---|---|
| White Chocolate | Vanilla candy melts or yogurt chips |
| Pink Candy Melts | Pink icing or strawberry-flavored chocolate |
| Shredded Coconut | White sanding sugar for texture |
| Mini Marshmallows | Small fondant balls |
| Lollipop Sticks | Paper straws or pretzel sticks |
Recipe Overview
| Prep Time | Cook Time | Total Time | Servings | Yield |
|---|---|---|---|---|
| 15 minutes | 5 minutes | 20 minutes | 12 pops | 12 bunny butt pops |
Key Features of This Recipe
- Quick & Easy: Ready in under 30 minutes
- No-Bake: No oven required, just simple melting and decorating
- Kid-Friendly: A fun Easter activity for children
- Customizable: Switch up colors, flavors, and decorations
- Adorable & Festive: Perfect for Easter baskets and dessert tables
Nutrition Facts (Per Serving)
| Nutrient | Amount |
|---|---|
| Calories | 150 |
| Carbohydrates | 28g |
| Sugar | 24g |
| Fat | 6g |
| Protein | 1g |
Note: Nutrition values may vary based on ingredient brands and portion sizes.
Step-by-Step Guide to Making Bunny Butt Marshmallow Pops
Creating Bunny Butt Marshmallow Pops is a fun and simple process that anyone can do, even with minimal baking skills. Follow this detailed step-by-step guide to make these adorable Easter treats with ease.
Step 1: Gather Your Ingredients and Tools
Prior to beginning, ensure you have gathered all the necessary ingredients and tools at hand. Here’s what you’ll need:
Ingredients:
- 12 large marshmallows (for the bunny body)
- 12 mini marshmallows (for the bunny tail)
- 24 mini marshmallow halves (for the bunny feet)
- 1 ½ cups white chocolate or white candy melts (for coating)
- ¼ cup pink candy melts (for bunny paw details)
- 1 teaspoon coconut oil or vegetable shortening (optional, to thin the chocolate)
- Pink edible food marker or pink sprinkles (to decorate paws)
- Shredded coconut (optional) (for a fur-like effect)
- Powdered sugar (optional) (helps decorations stick)
Tools:
- Lollipop sticks (or paper straws)
- Microwave-safe bowls (for melting chocolate)
- Parchment paper or wax paper
- Toothpicks (for precise decoration)
- Small piping bag (optional) (for decorating paws)
Step 2: Prepare the Marshmallows
- Insert Lollipop Sticks:
- Push a lollipop stick into the bottom of each large marshmallow until it reaches the center. Be gentle to avoid piercing through.
- If the marshmallow is too firm, slightly twist the stick as you push it in.
- Prepare Mini Marshmallows for Bunny Feet:
- Take 12 mini marshmallows and cut them in half.
- These halves will serve as the bunny’s feet, so set them aside.
- Set Up a Workstation:
- Lay a piece of parchment paper on a baking tray.
- Arrange the marshmallow pops on the tray, ensuring they’re spaced out for easy decorating.
Step 3: Melt the White Chocolate
- Microwave Method:
- Place the white chocolate or candy melts in a microwave-safe bowl.
- Heat in 20-second bursts, stirring thoroughly after each interval.
- Continue heating and stirring until smooth.
- Adjusting the Consistency:
- If the chocolate is too thick, add ½ teaspoon of coconut oil or vegetable shortening to thin it.
- Stir until fully blended for a smooth dipping consistency.
Step 4: Dip the Marshmallows
- Hold the lollipop stick and dip each marshmallow into the melted white chocolate, ensuring even coverage.
- Gently tap off excess chocolate by lightly tapping the stick against the bowl’s edge.
- Place the coated marshmallow upright on the parchment paper to set.
- Let the chocolate firm up slightly (about 5 minutes at room temperature or 2 minutes in the fridge).
Step 5: Attach the Bunny Tail and Feet
- Bunny Tail:
- Take a mini marshmallow and attach it to the back of the pop while the chocolate is still soft.
- If the chocolate has set, use a small dot of melted chocolate as glue to attach the tail.
- Bunny Feet:
- Attach two mini marshmallow halves at the bottom front of each pop to create the bunny’s feet.
- Use a small amount of melted chocolate to secure them in place.
Step 6: Decorate the Bunny Paws
- Using Pink Candy Melts:
- Melt the pink candy melts in a small bowl.
- Transfer to a piping bag (or use a toothpick for precision).
- Carefully draw small paw prints on each bunny foot.
- Using an Edible Marker (Alternative Method):
- If you prefer, use a pink edible marker to draw the paw details on the mini marshmallow feet.
Step 7: Let Everything Set
- Allow the Bunny Butt Marshmallow Pops to fully set at room temperature for 10-15 minutes or refrigerate for 5 minutes.
- Once firm, they are ready to serve!
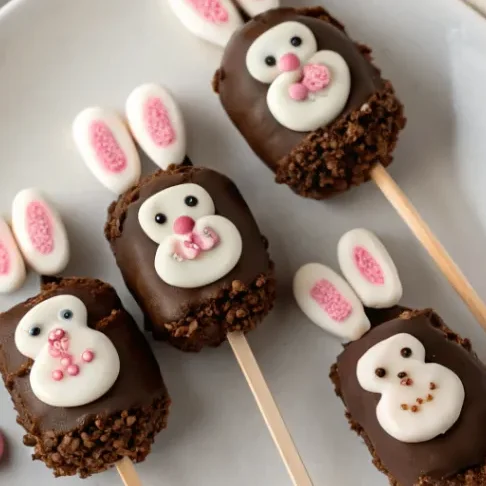
Step 8: Serve and Enjoy!
Your adorable Bunny Butt Marshmallow Pops are now ready! Serve them in a cute Easter basket, wrap them in treat bags as gifts, or display them on a dessert table for a festive touch.
These pops are perfect for kids’ parties, Easter gatherings, and as a fun holiday project! Try them out and enjoy the Easter fun
Pro Tips for a Perfect Bunny Butt Marshmallow Pop
Pro Tips for a Perfect Bunny Butt Marshmallow Pop
Making Bunny Butt Marshmallow Pops is fun and easy, but a few pro tips can help you achieve flawless results. Follow these expert tricks to make sure your bunny pops turn out smooth, cute, and picture-perfect every time!
1. Use Fresh Marshmallows for Best Results
- Soft, fresh marshmallows hold their shape better and stick to lollipop sticks easily.
- Stale marshmallows can become too firm, making them difficult to work with.
2. Thin the Chocolate for Smooth Coating
- If your melted white chocolate is too thick, add ½ teaspoon of coconut oil or vegetable shortening.
- Stir well to achieve a smooth, even consistency for dipping.
- This helps prevent clumps and ensures a shiny, professional finish.
3. Work Quickly Before the Chocolate Sets
- After dipping the marshmallows, immediately attach the bunny feet and tail before the chocolate hardens.
- If the chocolate sets too fast, use a tiny dot of melted chocolate as “glue” to attach decorations.
4. Use a Toothpick for Precise Decorations
- If you don’t have a piping bag, use a toothpick to apply pink candy melt details for the bunny paws.
- This gives you more control for perfect little paw prints.
5. Chill to Set Faster
- If you’re short on time, place the pops in the fridge for 5 minutes to help them set quickly.
- This prevents smudging and keeps everything firmly in place.
6. Store Properly for Freshness
- Keep the marshmallow pops in an airtight container at room temperature for up to 5 days.
- Avoid refrigeration, as moisture can cause the chocolate to sweat.
Follow these tips, and your Bunny Butt Marshmallow Pops will be adorable, delicious, and perfect for Easter celebrations!
Why You’ll Love This Recipe
- Easter-Perfect: A delightful addition to your holiday dessert table.
- Kid-Approved: A fun treat that children will enjoy making and eating.
- No Special Skills Needed: Even beginners can master this recipe.
- A Great Gift Idea: Wrap them up for Easter baskets or party favors.
What Makes This Recipe Unique?
Unlike traditional Easter desserts, these Bunny Butt Marshmallow Pops:
✔ Are no-bake, making them quick and hassle-free.
✔ Use minimal ingredients, yet look professionally made.
✔ Can be customized with different colors, decorations, and flavors.
Frequently Asked Questions (FAQs)
1. How long do Bunny Butt Marshmallow Pops last?
They last up to 5 days when stored in an airtight container at room temperature.
2. Can I make these ahead of time?
Yes! You can make them a day in advance and store them in the fridge.
3. Can I use dark chocolate instead of white chocolate?
Absolutely! It will change the look, but it will still taste delicious.
4. What can I use instead of lollipop sticks?
You can use paper straws or pretzel sticks for an edible option.
5. Are these pops gluten-free?
Yes, as long as you use gluten-free marshmallows and chocolate.
You’ll Also Love:
- Easter Bunny Cupcakes
- No-Bake Chocolate Nests
- Springtime Sugar Cookies
Conclusion
In conclusion, Bunny Butt Marshmallow Pops are the perfect Easter treat—adorable, delicious, and easy to make. Whether you’re looking to entertain the kids, add a fun twist to your dessert table, or create a memorable activity for family gatherings, these pops check all the boxes. The best part? They’re customizable to your liking, from different candy melts to creative decorations, allowing you to add your personal touch.
The simplicity of this no-bake recipe means you can quickly whip up a batch without much hassle, and the results are always guaranteed to bring smiles. Plus, making these Bunny Butt Pops is a fantastic way to bring the family together and create lasting memories while celebrating the Easter season. So, gather your ingredients, follow the steps, and enjoy the fun of creating these sweet, festive treats!
Don’t forget to share your creations with #BeesRecipes on Instagram. We can’t wait to see your delicious take on this Middle Eastern classic!
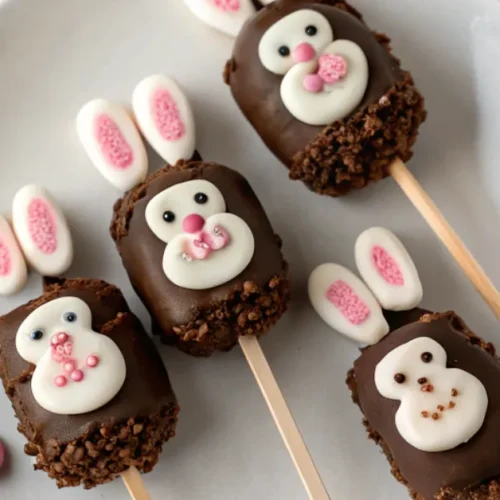
Quick and Easy Bunny Butt Marshmallow Pops Recipe for Easter
Notes
Equipment
| Amount | Name | Notes |
|---|---|---|
| 1 | Microwave-safe bowl | For melting chocolate |
| 12 | Lollipop sticks | For holding the pops |
| 1 | Parchment paper | To place the pops while setting |
| 1 | Toothpick | For decorating details |
Ingredients
| Amount | Unit | Name | Notes |
|---|---|---|---|
| 12 | Large | Marshmallows | For the bunny bodies |
| 24 | Mini | Marshmallows | For feet and tails |
| 1 | Cup | White chocolate chips | Melted for coating |
| ¼ | Cup | Pink candy melts | For paw details |
| 1 | Tbsp | Powdered sugar | Optional, for decorating |
| 1 | Tbsp | Shredded coconut | Optional, for a fluffy effect |
Instructions
- Prepare the Ingredients – Gather all ingredients and line a baking sheet with parchment paper.
- Melt the White Chocolate – Microwave in 20-second intervals until smooth.
- Insert Lollipop Sticks – Push a stick into each large marshmallow.
- Dip Marshmallows in Chocolate – Coat each marshmallow in melted white chocolate and let excess drip off.
- Attach Bunny Feet – Cut mini marshmallows in half and attach two to the bottom.
- Add Paw Details – Use pink candy melts or edible markers to draw paw prints.
- Attach the Bunny Tail – Stick a whole mini marshmallow in the center for the tail.
- Let the Pops Set – Let them dry at room temperature or refrigerate for 5 minutes.
- Serve and Enjoy!
Nutrition Facts (Per Serving)
| Nutrient | Amount |
|---|---|
| Calories | 150 kcal |
| Carbohydrates | 28g |
| Sugar | 24g |
| Fat | 6g |
| Protein | 1g |
Recipe Notes
- You can use pretzel sticks instead of lollipop sticks for an edible version.
- Store the pops in an airtight container for up to 5 days.
- If you don’t have pink candy melts, pink sprinkles or icing work as well.
There are no reviews yet. Be the first one to write one.

