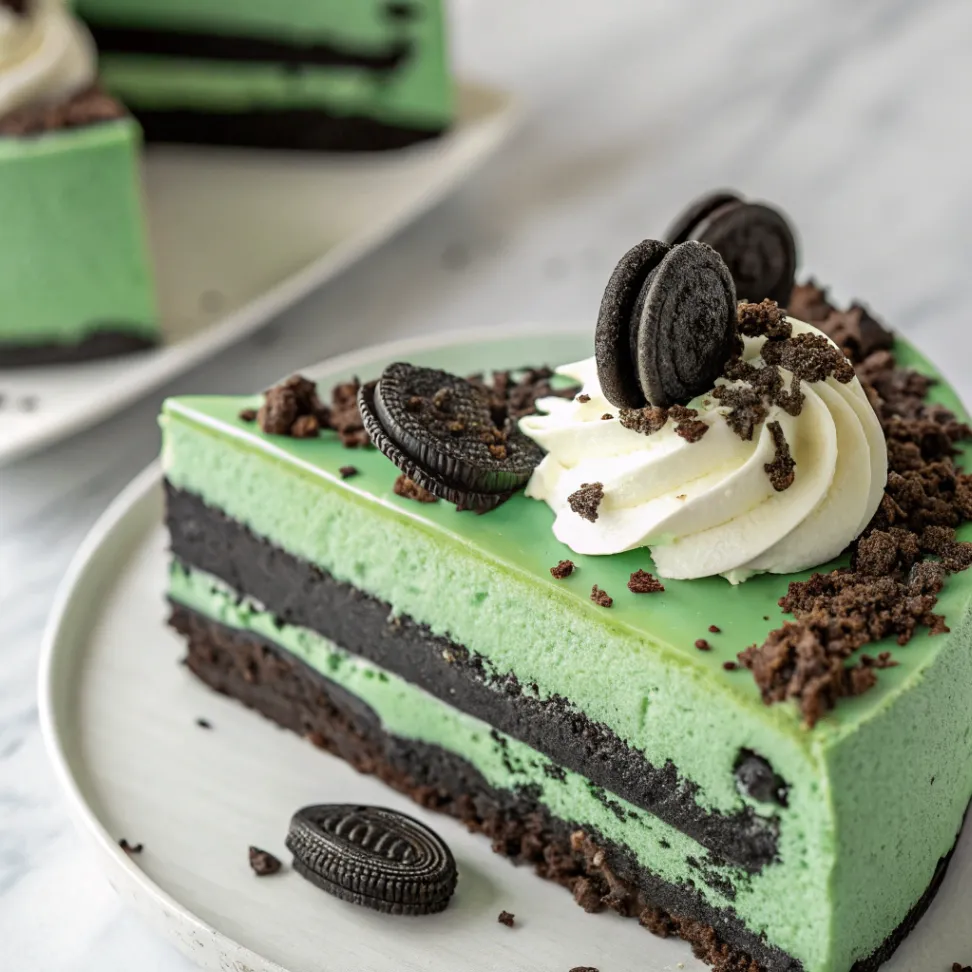
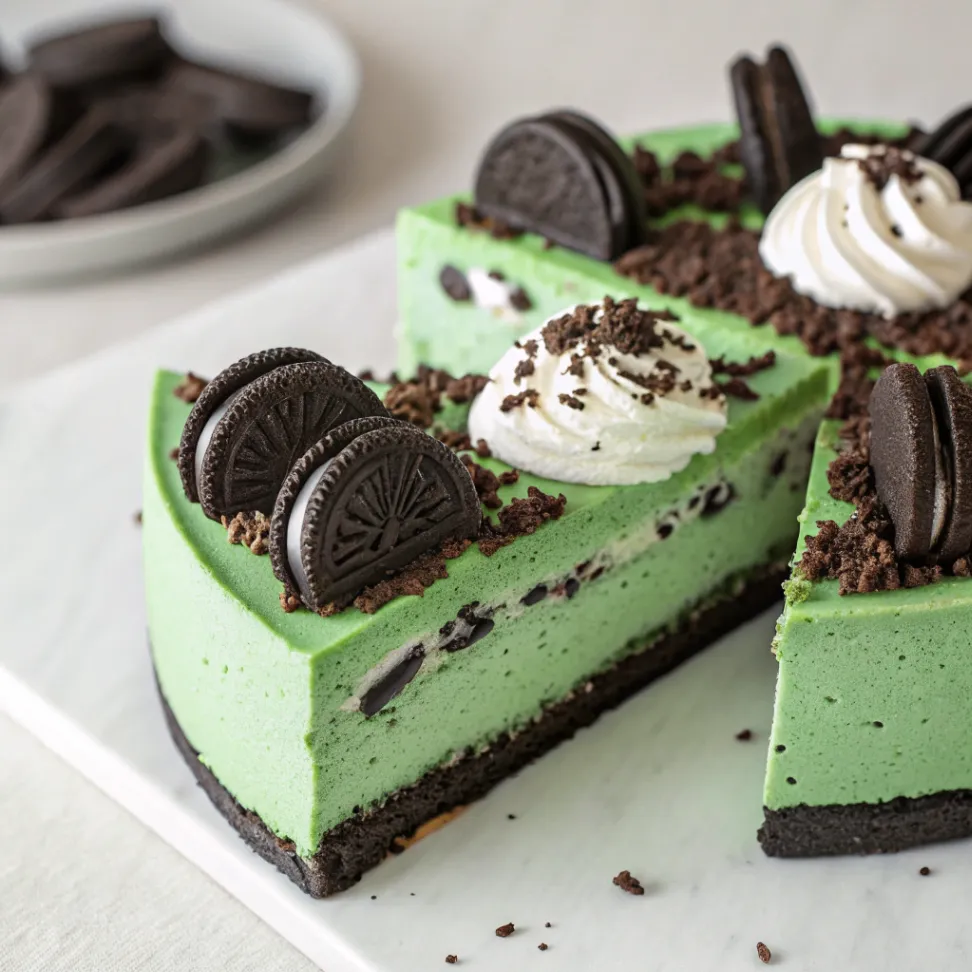
Green Velvet Oreo Cheesecake Recipe
Introduction
There is something irresistibly joyful about the moment you slice into a vibrant, velvety cheesecake that looks as bold as it tastes. My Green Velvet Oreo Cheesecake Recipe is exactly that kind of show-stopper. After a decade working as a professional chef, I’ve learned that the best desserts aren’t only delicious but also memorable, dramatic, and slightly playful. This cheesecake checks every box.
The lush green velvet filling paired with the crunchy Oreo crust brings together texture and flavor in a way that keeps people talking long after the last slice disappears. Whether you’re baking for a celebration, a themed party, St. Patrick’s Day, or simply because you want a cheesecake unlike anything else, this recipe delivers a creamy, smooth, festive dessert that stands out on any table.
I’ve prepared cheesecakes hundreds of times over the years, both in busy professional kitchens and at home for family gatherings. This version remains one of my personal favorites because of the balance between elegance and fun. It’s rich without being overwhelming, easy without feeling basic, and visually stunning without requiring advanced pastry skills. That is the beauty of a well-crafted cheesecake. You can impress without stress.
In this guide, I’ll walk you through everything you need to master the Green Velvet Oreo Cheesecake Recipe, from the essential ingredients to the pro techniques that guarantee silky smooth results every time.
Essential Ingredients
Creating the perfect Green Velvet Oreo Cheesecake Recipe begins with understanding the role each ingredient plays. The magic starts with a classic Oreo crust. The crushed cookies, combined with melted butter, form a set, crunchy foundation that holds the creamy filling in place. The cookies give the cheesecake a deeper cocoa flavor, which matches beautifully with the velvety green filling.
The cheesecake layer itself relies on full-fat cream cheese. This is non-negotiable. The texture and structure of a cheesecake depend on fat content. Low-fat versions simply will not deliver the same luxuriously smooth mouthfeel. Sugar blends into the cream cheese to sweeten it gently, while sour cream adds a slight tang that keeps the filling balanced instead of overly heavy.
Eggs are the backbone of the filling, binding everything together and giving the cheesecake its classic creamy set. Then comes the green velvet element. A combination of vanilla, a touch of cocoa powder, and green gel coloring creates that vibrant velvety effect. Using gel instead of liquid food color ensures the mixture stays rich and doesn’t thin out.
Finally, a little flour helps stabilize the filling, preventing cracks and keeping the cheesecake firm yet tender. Once baked gently, the filling transforms into a luscious green velvet center with a texture that practically melts on the tongue.
Alternative Ingredients
You can personalize your Green Velvet Oreo Cheesecake Recipe in several ways without sacrificing its signature flavor.
You may replace the Oreo cookies with any chocolate sandwich cookie. Gluten-free chocolate cookies work well if you need a gluten-friendly version.
If you don’t have sour cream, Greek yogurt provides a similar tang and texture. Just be sure to choose a full-fat version so the structure remains smooth and rich.
For a deeper velvet color, you may use matcha powder instead of artificial coloring. This will give the cheesecake a subtle earthy note, which some people love. Cocoa lovers can increase the cocoa powder for a slightly deeper chocolate profile.
Recipe Info Table
Prep Time: 25 minutes
Cook Time: 1 hour
Cooling and Chilling Time: 4 to 6 hours
Total Time: About 6 hours
Servings: 10 to 12 slices
Yield: One 9 inch cheesecake
Key Features
This Green Velvet Oreo Cheesecake Recipe is rich, creamy, colorful, and visually irresistible. The Oreo crust adds a deep chocolate crunch that perfectly contrasts the smooth velvet filling. The recipe uses simple ingredients that most home bakers already have, yet the final result feels like a bakery-level dessert. It is also a great make-ahead option because cheesecake tastes even better chilled overnight. Its vibrant color makes it ideal for celebrations, themed parties, or holidays.
Nutrition Facts Table
(Approximate per slice)
Calories: 430
Fat: 31g
Carbohydrates: 32g
Protein: 6g
Sugar: 27g
Fiber: 1g
Step-by-Step Directions
Making a flawless Green Velvet Oreo Cheesecake Recipe requires patience and a gentle process. The reward is worth every minute.
Start by preparing the crust. Crush the Oreo cookies finely, then mix them with melted butter until they resemble damp sand. Press this mixture firmly into the bottom of a springform pan. The tighter you pack it, the stronger your base will be. Chill the crust while you prepare the filling.
The filling begins with softened cream cheese. Beat it until smooth and free of lumps. This step is essential because any lumps at the beginning will remain throughout the cheesecake. Add sugar and mix until the texture becomes creamy and glossy. Blend in the sour cream to add smoothness and balance.
Next, add the vanilla, a small amount of cocoa powder, flour, and the green food coloring. Start with a little gel color, then add more until you reach a rich green velvet shade. The mixture should look luxurious, almost emerald-like. Add the eggs one at a time, mixing on low speed to avoid incorporating too much air, which can create cracks in the cheesecake.
Pour the filling over the chilled crust. Tap the pan gently to release any air bubbles. Bake the cheesecake in a preheated oven using a low and slow method. If you want an even gentler bake, place a tray of hot water on the lower rack to create steam. This helps prevent cracks and promotes a silky texture.
The cheesecake is done when the edges are set but the center still jiggles slightly. Turn off the oven and let it cool inside with the door cracked. Slow cooling prevents the surface from sinking or cracking. Once it reaches room temperature, refrigerate it for at least four hours, preferably overnight. This rest time is where the flavor deepens and the texture firms into that signature velvety consistency.
Slice with a warm knife for clean cuts, wiping between each slice. Serve chilled and let the color speak for itself.
Pro Tips
To perfect your Green Velvet Oreo Cheesecake Recipe, always start with room-temperature cream cheese. Cold cream cheese never blends smoothly and causes grainy filling.
Use gel color instead of liquid color. Gel provides a more vibrant green and doesn’t alter the texture.
Avoid overmixing once the eggs are added. Overmixing incorporates air, which leads to cracks.
Bake low and slow. Cheesecake prefers gentle heat.
Allow the cheesecake to cool naturally in the oven before refrigerating it. Quick temperature changes cause the top to crack.
For the cleanest slices, dip your knife in hot water before slicing.
Why You’ll Love This Recipe
This Green Velvet Oreo Cheesecake Recipe offers pure indulgence without complication. It is visually stunning, making it ideal for celebrations. The flavor strikes a balance between creamy cheesecake and rich cocoa notes from the crust. The texture is velvety and smooth, and the color adds a fun twist that makes every serving feel special. It is a reliable recipe that delivers bakery-quality results at home.
What Makes This Recipe Unique
Most velvet cheesecakes stick to the classic red version. This green velvet variation stands out with its bold color, decadent Oreo crust, and perfectly creamy structure. The recipe uses a balanced blend of ingredients that maintain traditional cheesecake richness while adding a playful twist. The color theme also makes it ideal for themed gatherings.
FAQs
Can I freeze the cheesecake?
Yes, it freezes very well. Wrap slices tightly and freeze for up to two months.
Can I skip the food coloring?
Yes, but then it won’t have the green velvet look. The flavor will remain the same.
How do I avoid cracks?
Keep the heat gentle, avoid overmixing the eggs, and allow slow cooling.
Can I make this ahead?
Absolutely. Cheesecake tastes even better the next day.
You’ll Also Love
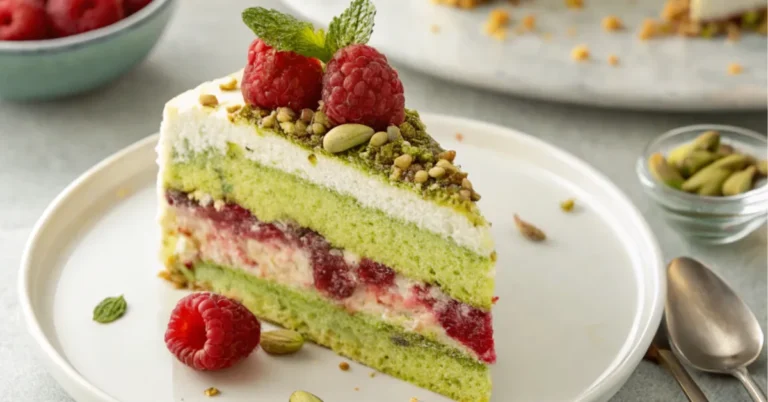
Baked Oreo Cheesecake
Matcha Cheesecake Bars
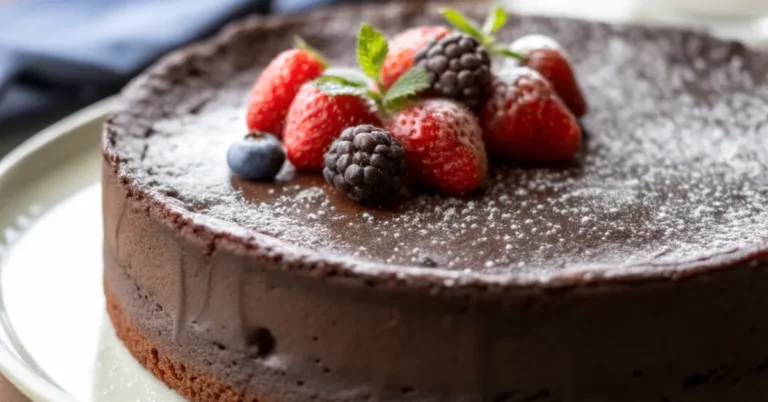
Chocolate Velvet Cheesecake
Cookies and Cream No Bake Cheesecake
Conclusion
The Green Velvet Oreo Cheesecake Recipe brings together creaminess, crunch, and vibrant color in one unforgettable dessert. It is easy enough for beginners but impressive enough for experienced bakers who enjoy standout creations. Don’t forget to share your creations with #BeesRecipes on Instagram. We can’t wait to see your delicious take on this Middle Eastern classic.