Rice Krispie Treat Cheesecake
What Is Rice Krispie Treat Cheesecake
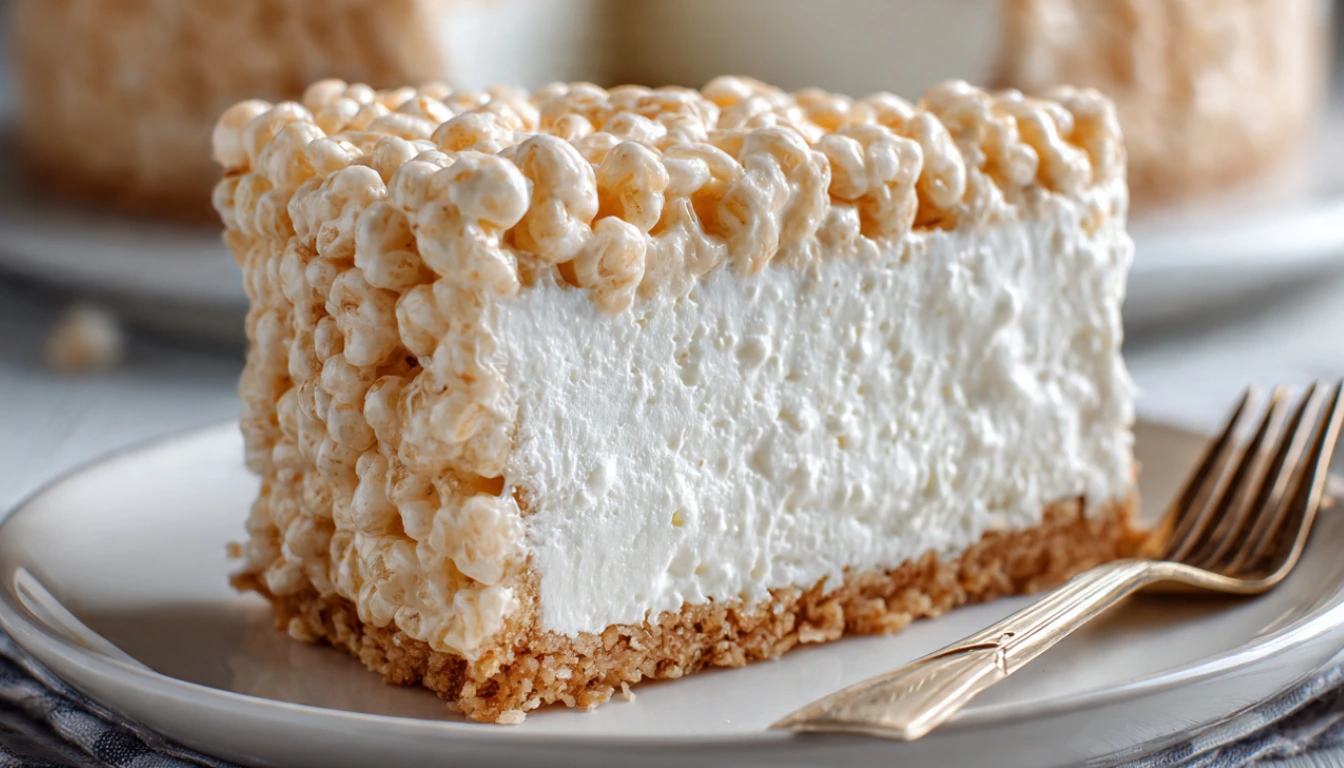
Rice Krispie Treat Cheesecake is a layered dessert that combines classic marshmallow cereal bars with traditional cheesecake filling. Instead of a graham cracker crust, the base is made from melted marshmallows and crispy rice cereal pressed firmly into a pan.
On top, you get a smooth cream cheese filling that chills until firm. The result is rich but not heavy, sweet but not overwhelming. It feels nostalgic but looks impressive enough for parties.
It works well for birthdays, potlucks, holidays, or whenever you want something different from the usual cheesecake.
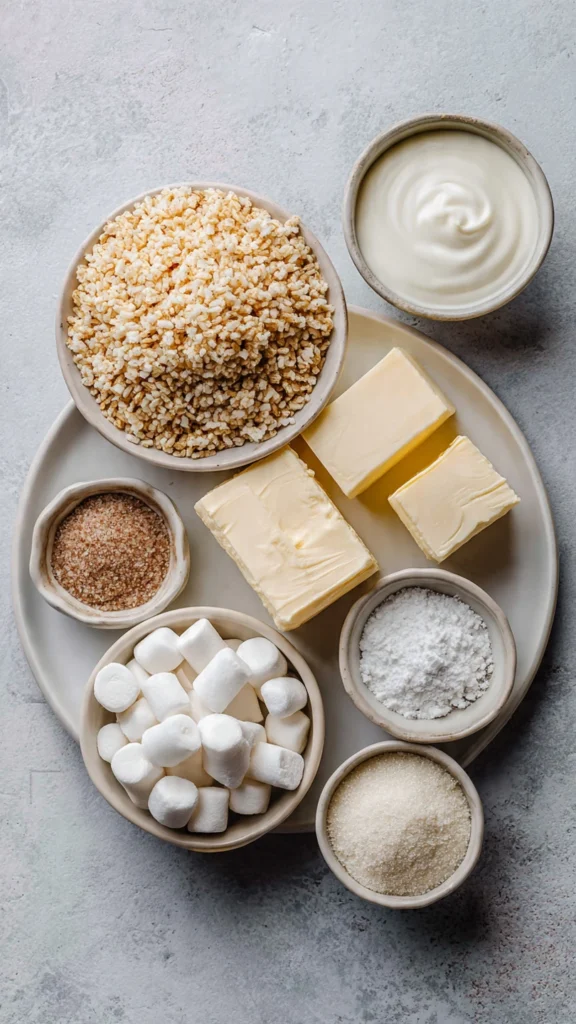
Ingredients for Rice Krispie Treat Cheesecake
For the Rice Krispie Base
• 4 cups Rice Krispies cereal
• 4 cups mini marshmallows
• 3 tablespoons unsalted butter
For the Cheesecake Filling
• 500 grams cream cheese, softened
• 1 cup powdered sugar
• 1 teaspoon vanilla extract
• 1 cup heavy whipping cream, cold
Optional Topping
• Melted chocolate
• Extra crushed cereal
• Whipped cream
How to Make Rice Krispie Treat Cheesecake
Step 1 Make the Base
In a large saucepan over low heat, melt the butter. Add the mini marshmallows and stir continuously until completely melted and smooth. Remove from heat and immediately fold in the Rice Krispies cereal.
Press the mixture firmly into the bottom of a lined 8 or 9 inch springform pan. Use the back of a spoon or lightly greased hands to flatten it evenly. Place in the refrigerator while you prepare the filling.
Step 2 Prepare the Cheesecake Filling
In a large bowl, beat the softened cream cheese until smooth and creamy. Add powdered sugar and vanilla extract. Continue mixing until fully combined and lump free.
In a separate bowl, whip the cold heavy cream until stiff peaks form. Gently fold the whipped cream into the cream cheese mixture. Do not overmix. This keeps the Rice Krispie Treat Cheesecake light and fluffy.
Step 3 Assemble
Spread the cheesecake filling evenly over the chilled cereal base. Smooth the top with a spatula. Refrigerate for at least 4 hours or until fully set.
Step 4 Decorate and Serve
Once set, remove the cheesecake from the springform pan. Add melted chocolate drizzle, extra cereal, or whipped cream on top if desired. Slice with a sharp knife, wiping it clean between cuts for neat slices.

Tips for the Best Rice Krispie Treat Cheesecake
Press the base firmly. If it is too loose, it may crumble when slicing.
Make sure the cream cheese is fully softened before mixing. Cold cream cheese creates lumps.
Chill long enough. Do not rush the setting time. The texture improves after a full 4 hours.
Storage
Store Rice Krispie Treat Cheesecake in an airtight container in the refrigerator for up to 4 days. Because of the whipped cream in the filling, it should always stay chilled.
You can freeze slices individually and thaw them in the refrigerator before serving.
Why You Will Love Rice Krispie Treat Cheesecake
No Oven Needed
This version sets in the refrigerator, which makes it perfect for warm days or when you do not want to bake.
Simple Ingredients
Everything is easy to find at any grocery store. No special equipment required.
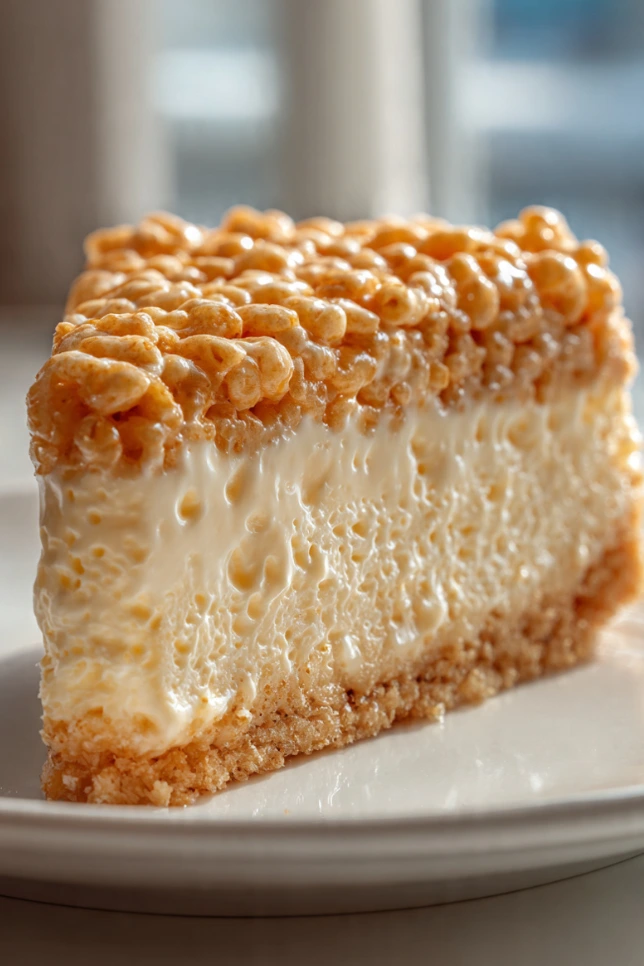
Texture Contrast
The chewy crispy base with the creamy filling creates a perfect bite.
Kid and Adult Friendly
It has that childhood cereal flavor but with a grown up creamy twist.
A Fun No Bake Dessert That Combines Two Classics
The first time I made Rice Krispie Treat Cheesecake, it was for a birthday where I could not decide between nostalgic and creamy. So I stopped choosing and combined both. The crunchy cereal base with smooth cheesecake filling turned out better than I expected, and now it is one of those desserts people ask for by name.
Rice Krispie Treat Cheesecake is exactly what it sounds like. A chewy marshmallow cereal crust topped with a rich, creamy cheesecake layer. It is playful, sweet, and surprisingly balanced. The texture contrast is what makes it special. Crunchy bottom. Silky center. Every bite keeps things interesting.
This recipe is perfect for beginners because it does not require complicated baking skills. You can make it baked or no bake, but today I am sharing the easier chilled version that sets beautifully in the fridge.
Frequently Asked Questions
Can I Bake This Cheesecake Instead?
Yes, you can adapt the filling into a baked version by adding eggs and baking at 160°C. However, the no bake version is easier and keeps the texture lighter.
Can I Use Flavored Cereal?
Yes. Chocolate or fruity cereal can change the flavor profile and make it more playful.
Does the Base Get Too Hard?
If stored properly and not overcooked, the base stays chewy rather than hard. Avoid overheating the marshmallows.
Can I Add Layers?
Absolutely. You can add a thin layer of chocolate ganache between the base and cheesecake filling for extra richness.
Final Thoughts
Rice Krispie Treat Cheesecake is one of those desserts that feels creative without being complicated. It brings together childhood nostalgia and creamy indulgence in one slice. The crunchy base and smooth filling create a balance that keeps people coming back for another piece.
If you want a no bake dessert that stands out from traditional cheesecakes, this recipe is a reliable and crowd pleasing option.
You have not enough Humanizer words left. Upgrade your Surfer plan.
Rice Krispie Treat Cheesecake
Rice Krispie Treat Cheesecake is a fun no bake dessert that combines a chewy marshmallow cereal crust with a rich, creamy cheesecake filling. No oven required, just simple ingredients and a few hours in the fridge.
Ingredients
Rice Krispie Base
- 4 cups Rice Krispies cereal
- 4 cups mini marshmallows
- 3 tablespoons unsalted butter
Cheesecake Filling
- 500 grams cream cheese, softened
- 1 cup powdered sugar
- 1 teaspoon vanilla extract
- 1 cup heavy whipping cream, cold
Optional Topping
- Melted chocolate
- Extra crushed cereal
- Whipped cream
Instructions
- Make the Base: In a large saucepan over low heat, melt the butter. Add the mini marshmallows and stir continuously until completely melted and smooth. Remove from heat and immediately fold in the Rice Krispies cereal. Press the mixture firmly into the bottom of a lined 8 or 9 inch springform pan. Place in the refrigerator while you prepare the filling.
- Prepare the Cheesecake Filling: In a large bowl, beat the softened cream cheese until smooth and creamy. Add powdered sugar and vanilla extract. Mix until fully combined and lump free. In a separate bowl, whip the cold heavy cream until stiff peaks form. Gently fold the whipped cream into the cream cheese mixture. Do not overmix.
- Assemble: Spread the cheesecake filling evenly over the chilled cereal base. Smooth the top with a spatula. Refrigerate for at least 4 hours or until fully set.
- Decorate and Serve: Once set, remove the cheesecake from the springform pan. Add melted chocolate drizzle, extra cereal, or whipped cream on top if desired. Slice with a sharp knife, wiping it clean between cuts for neat slices.
Notes
- Press the base firmly or it may crumble when slicing
- Make sure cream cheese is fully softened before mixing to avoid lumps
- Do not rush the chill time — texture improves after a full 4 hours
- Avoid overheating the marshmallows so the base stays chewy, not hard
- Store in an airtight container in the refrigerator for up to 4 days