Crispy Beef Tortilla Cone: The Fun Handheld Recipe You’ll Make on Repeat
I have a confession. I spent years making tacos the exact same way, every single time. Flat tortilla, folded in half, filling falling out the other side onto my shirt. Classic. And honestly it drove me crazy because the taco always won.
Then one evening I was meal prepping for the week and I had leftover seasoned ground beef, some flour tortillas, and a deep urge to do something different. I grabbed a tortilla, rolled it into a cone shape, secured it with a toothpick, dropped it in my cast iron skillet, and something clicked. The cone held everything together. The beef stayed inside. My shirt stayed clean. And my family looked at me like I had invented something genius (I’ll take it).
That was three years ago and this Crispy Beef Tortilla Cone has been in my regular rotation ever since. It’s the kind of recipe that sounds fancy at a dinner party but takes maybe 30 minutes on a weeknight. Let me show you exactly how I make it.
Recipe Info
| Detail | Info |
|---|---|
| Prep Time | 10 minutes |
| Cook Time | 20 minutes |
| Total Time | 30 minutes |
| Servings | 4 |
| Yield | 8 tortilla cones |
Why You’ll Love This Recipe
It’s crispy on the outside, juicy and packed with flavor inside, and it travels well. Kids go absolutely wild for the cone shape, which I discovered completely by accident when I made these for my nephew’s birthday. If you have picky eaters, this presentation alone will win them over. It’s also a great high-protein meal that fits nicely into a balanced diet without requiring any complicated techniques.
And if you’re doing any kind of meal prep or healthy eating plan during the week, this recipe is a serious ally. The filling keeps for four days in the fridge and you can crisp up fresh cones in under five minutes each time.
What Makes This Recipe Unique
Most recipes that involve tortillas ask you to bake them soft or fry them flat. Rolling them into a cone and pan-frying them upright creates this incredible crunch on every single surface, not just the bottom. The filling steams gently from the inside while the outside gets golden and crispy. It’s a completely different texture experience than a standard taco or quesadilla and that’s what keeps people coming back for seconds.
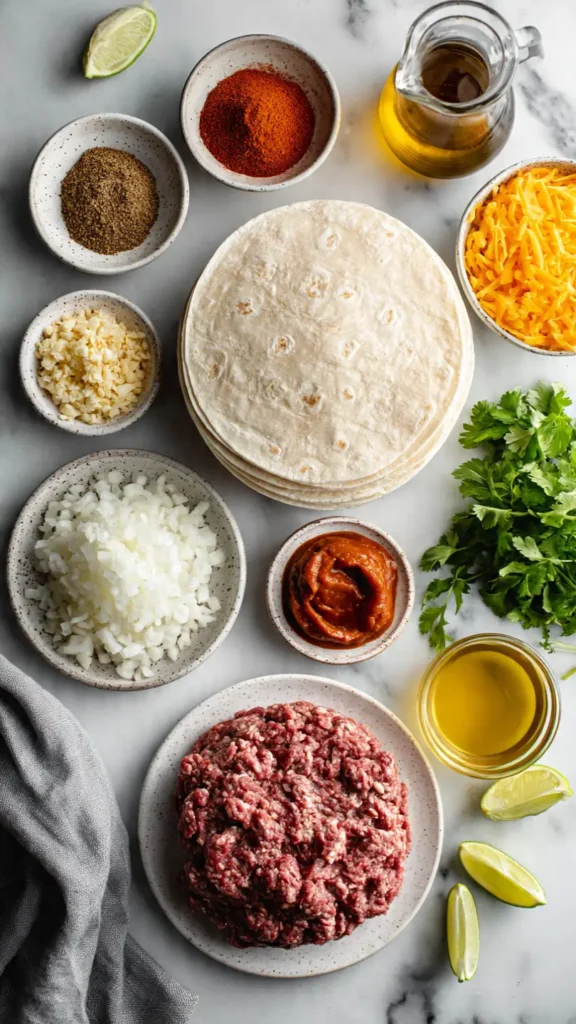
Essential Ingredients
For the beef filling:
- 1 lb ground beef (80/20 blend works best for flavor)
- 1 small white onion, finely diced
- 3 garlic cloves, minced
- 1 tablespoon olive oil
- 1 teaspoon cumin
- 1 teaspoon smoked paprika
- 1/2 teaspoon chili powder
- 1/2 teaspoon salt
- 1/4 teaspoon black pepper
- 2 tablespoons tomato paste
- 1/4 cup beef broth
For the cones:
- 8 medium flour tortillas (8-inch size)
- 1 cup shredded cheddar cheese
- Oil for pan-frying (vegetable oil or avocado oil)
- Toothpicks to secure while cooking
For toppings:
- Sour cream
- Shredded lettuce
- Diced tomatoes
- Sliced jalapeños
- Fresh cilantro
- Lime wedges
Alternative Ingredients
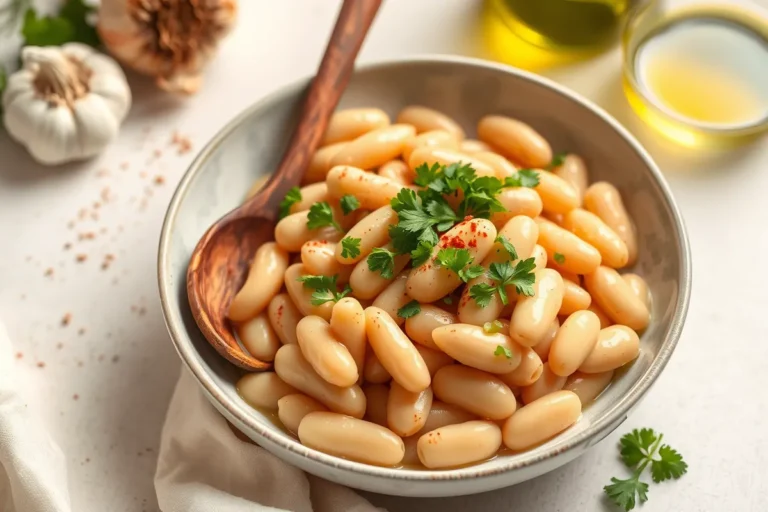
Ground turkey or ground chicken works perfectly here if you want a leaner option. I’ve made this with ground turkey for friends watching their saturated fat intake and nobody noticed the swap, the seasoning carries everything. For a vegetarian version, seasoned black beans or lentils hold up surprisingly well inside the cone without getting soggy.
Corn tortillas can work too, but they’re a little more delicate when you roll them into a cone shape. If you go that route, warm them in a damp paper towel in the microwave for 20 seconds first so they bend without cracking. Flour tortillas are genuinely easier for beginners.
For the cheese, Monterey Jack melts a little smoother than cheddar if you prefer that stretchy pull. Pepper jack adds a nice heat. And if you’re dairy-free, a plant-based shredded cheese works fine, just add it early enough in the process for it to melt properly since most plant-based cheeses need a little more heat time.

Step-by-Step Directions
Step 1: Make the beef filling
Heat your olive oil in a cast iron skillet over medium-high heat. A good cast iron skillet is honestly the best tool for this recipe because it holds heat so evenly and gives the beef that nice sear instead of steaming it. Add the diced onion and cook for about three minutes until it softens. Add the garlic and stir for 30 seconds.
Add the ground beef and break it apart with a wooden spoon. Cook until browned all over, about six to eight minutes. Drain any excess fat if needed. Add the cumin, smoked paprika, chili powder, salt, and pepper. Stir well so every bit of meat gets coated.
Stir in the tomato paste and beef broth. Let it simmer for three to four minutes until the liquid mostly absorbs. The filling should be moist but not wet. Taste it and adjust salt. Set aside.
Step 2: Shape the tortilla cones
Lay a flour tortilla flat on your work surface. Fold one side toward the center to create a cone shape, like you’re rolling an ice cream cone. The opening at the top should be wide enough to stuff comfortably. Secure the bottom point and the overlapping edges with one or two toothpicks. Repeat with all eight tortillas.
Step 3: Fill the cones
Stand the cones upright in a muffin tin or a small oven-safe dish to keep them stable while you fill them. This is the trick I figured out after knocking about six of them over on my counter. Add a spoonful of shredded cheese to the bottom first, then pack in the beef filling, then add another pinch of cheese on top.
Step 4: Crisp the cones
Heat about half an inch of vegetable oil in your cast iron skillet over medium heat. You want the oil around 350°F if you have a kitchen thermometer. Carefully stand two or three cones in the oil at a time and fry for about two minutes per side, turning gently with tongs. They should be golden brown and crispy all over. Transfer to a paper towel-lined plate and let them rest for a minute before removing the toothpicks.
If you’d rather not fry them, an air fryer works great here. Set it to 375°F and cook for eight to ten minutes. The outside won’t be quite as deeply golden but it’s still crispy and honestly much easier for a weeknight when you don’t want to deal with hot oil.
Step 5: Top and serve
Load up the open tops with sour cream, shredded lettuce, diced tomatoes, and whatever else you love. Serve immediately while the cones are still hot and the shells are at peak crispiness.

Pro Tips
The most common mistake I see is overfilling the cones. I know it’s tempting to pack them as much as possible but if you go too heavy, the cone opens up during cooking and everything spills. Fill them about three-quarters full and you’ll have much better results.
Always preheat your oil properly before adding the cones. Cold oil means the tortilla absorbs it instead of crisping, and that leads to greasy soggy cones which defeats the whole point. If you’re using an air fryer, a light spray of avocado oil on the outside of each cone before cooking helps them brown more evenly.
For meal prep, make a big batch of the beef filling on Sunday and store it in airtight meal prep containers in the fridge. It keeps well for four days. Then roll and crisp fresh cones each night, which only takes about ten minutes. This is genuinely one of the most practical high-protein meal prep recipes I’ve developed in ten years of cooking.
Let the filling cool slightly before you stuff the cones if you made it ahead. Hot filling right from the pan makes the tortilla go soft faster.
FAQs
Can I bake these instead of frying?
Yes. Brush the outside of the cones with oil and bake at 400°F for 12 to 15 minutes. They won’t be quite as crunchy as the pan-fried version but they’re still delicious and it’s a healthier cooking method if that matters to you.
How do I keep the cone shape from unraveling while cooking?
Two toothpicks, not one. Place one near the point and one higher up. Remove them carefully after cooking.
Can I make these ahead for a party?
You can make the filling up to two days ahead. Shape and fill the cones up to an hour before your party and keep them in the fridge. Fry or air fry right before serving so the shells are hot and crispy.
What oil is best for frying?
I use vegetable oil for everyday cooking because it’s affordable and has a high smoke point. Avocado oil is my upgrade pick when I want a slightly cleaner flavor. Either works well here.
Can kids make this recipe?
The filling and shaping are totally kid-friendly with supervision. Keep them away from the hot oil frying step.
Nutrition Facts (Per Serving, 2 Cones)
| Nutrient | Amount |
|---|---|
| Calories | 420 |
| Protein | 28g |
| Carbohydrates | 32g |
| Fat | 18g |
| Saturated Fat | 6g |
| Fiber | 2g |
| Sodium | 580mg |
Key Features
This is a high-protein meal that works for healthy eating plans, a quick 30-minute weeknight dinner, a crowd-pleasing party food that looks impressive, and a meal prep-friendly recipe that saves time across the week. It’s also easily customizable for different dietary needs without changing the core technique.
You’ll Also Love
If you liked this recipe, you might want to try my Crispy Chicken Quesadilla Wedges, my Loaded Beef Burrito Bowl (which uses the exact same spiced beef filling), or my Sheet Pan Taco Night recipe that feeds eight people with minimal cleanup. All of them use similar seasoning profiles so once you get comfortable with this beef filling, those recipes feel like second nature.
Conclusion
I still get a little proud every time I pull a batch of these off the skillet and they come out perfectly golden. It took me a few tries to get the oil temperature right and figure out the two-toothpick trick, but now it’s genuinely one of the easiest impressive-looking recipes in my repertoire.
The Crispy Beef Tortilla Cone is proof that a small change in shape and cooking method can completely transform a familiar set of ingredients. If you try this one, I’d love to know how it went. Drop a comment below or tag me on your version. Especially if your cone holds together better than my very first attempt did. (Spoiler: mine fell apart completely and I ate the filling out of the pan with a spoon. Still delicious.)