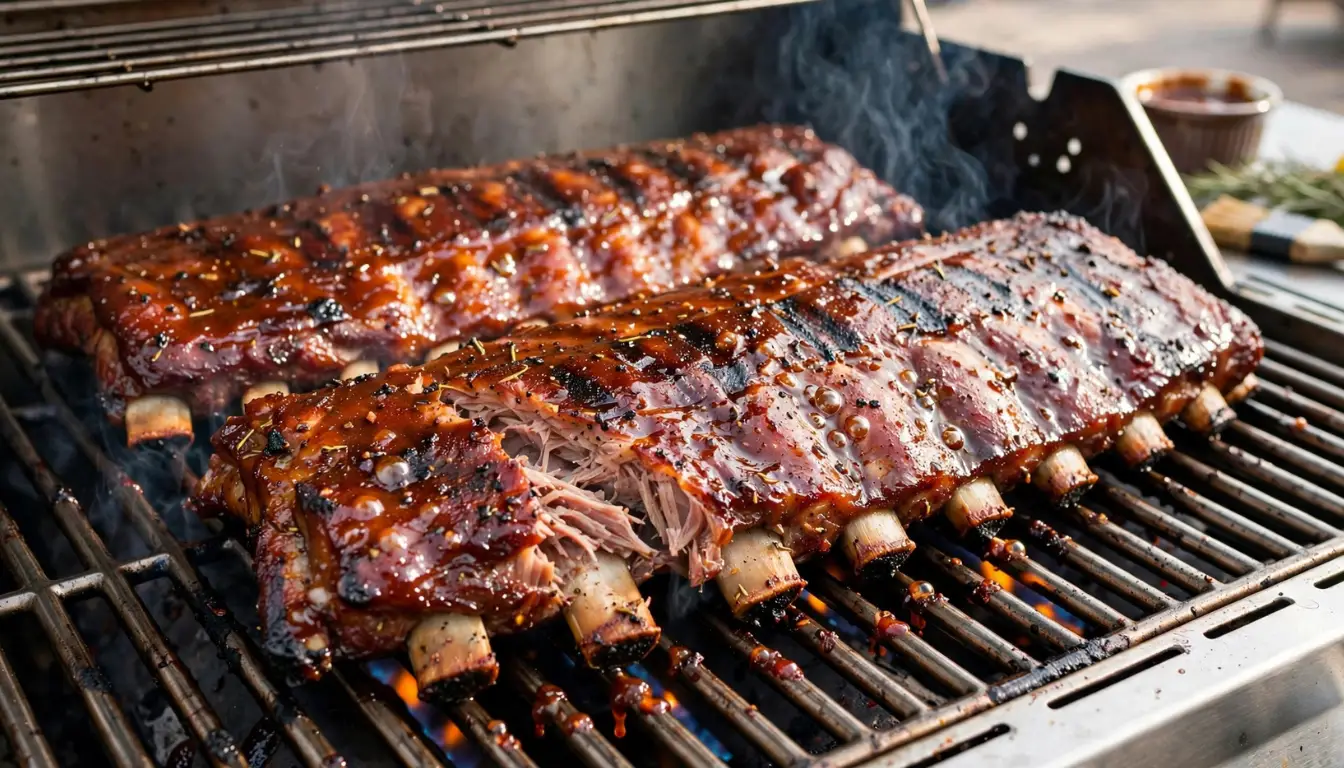
How to Cook Ribs on a Gas Grill (Fall-Off-the-Bone Perfect Every Time)
The first time I tried to cook ribs on a gas grill, I ended up with something that looked like charcoal sticks. Not the fun, smoky kind you dream about at a summer cookout. The kind your dog would probably reject. That was back in my early days of outdoor cooking, and I genuinely thought ribs were one of those things you could only get right at a restaurant or with a dedicated smoker. I was completely wrong about that.
After ten years of recipe testing and way too many failed rib experiments (some more embarrassing than others, trust me), I finally figured out the method that delivers fall-off-the-bone results every single time on a standard gas grill. No special equipment required. No overnight marinades that need more planning than a vacation. Just solid technique, the right grill setup, and a little patience.
According to Wikipedia’s history of barbecue, low-and-slow cooking has been a cornerstone of American backyard culture for centuries. And the great news? You can absolutely replicate those results on a gas grill sitting in your backyard right now.
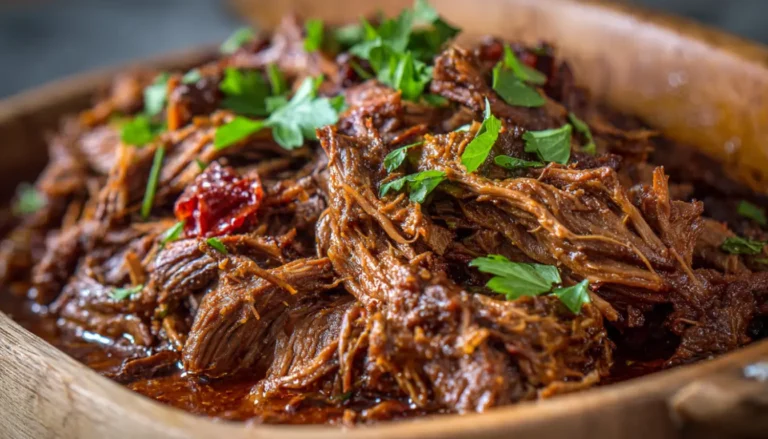
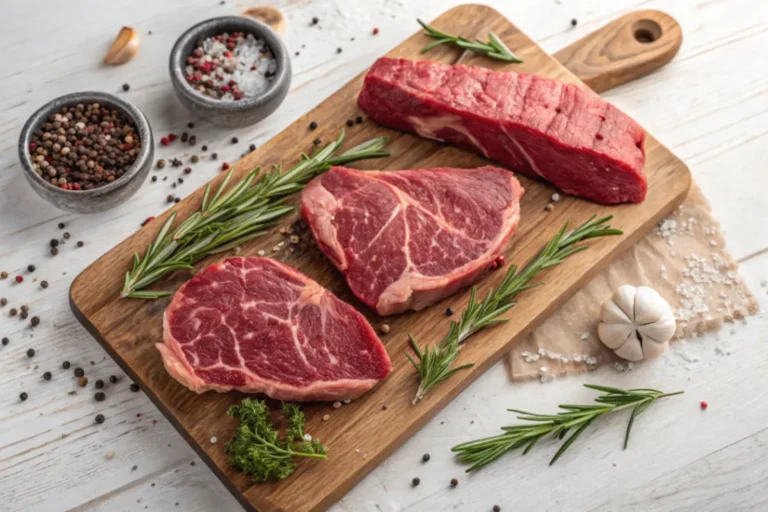
If you love slow-cooked beef recipes, you’ll also want to check out our Slow Cooker BBQ Beef Short Ribs and the showstopping Spicy Garlic Tomahawk Beef Steak for your next cookout lineup.
Essential Ingredients
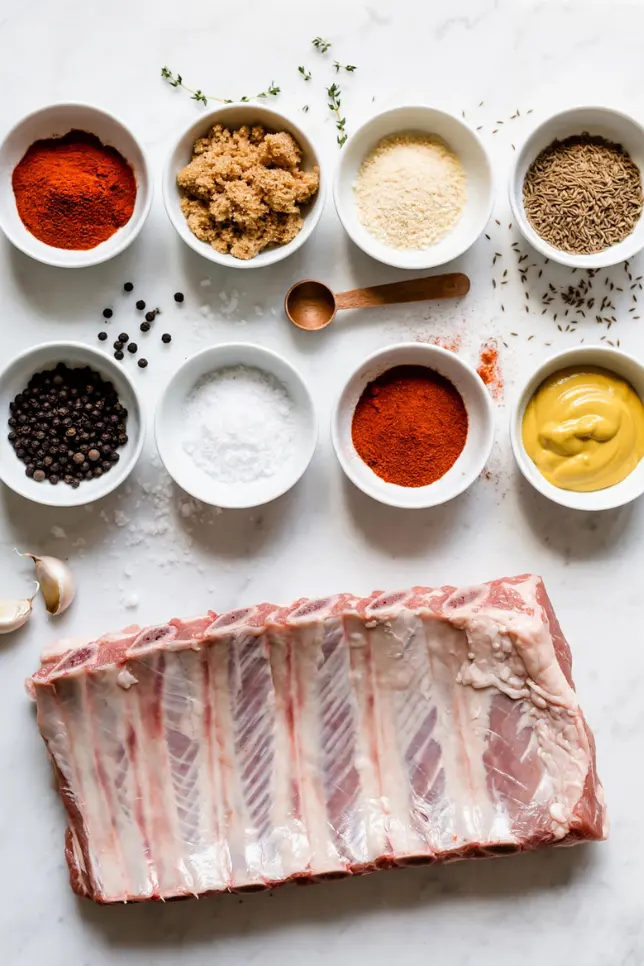
- 2 racks baby back ribs (about 5 to 6 lbs total)
- 3 tablespoons brown sugar
- 2 tablespoons smoked paprika
- 1 tablespoon garlic powder
- 1 tablespoon onion powder
- 1 teaspoon black pepper
- 1 teaspoon kosher salt
- 1 teaspoon ground cumin
- 1/2 teaspoon cayenne pepper (optional, I always add it)
- 1 tablespoon yellow mustard (for the dry rub binder)
- 1 cup BBQ sauce (Sweet Baby Ray’s Original is my go-to for this recipe)
- 2 tablespoons apple cider vinegar
- Heavy-duty aluminum foil
Alternative Ingredients
No smoked paprika on hand? Regular paprika works fine. Just add a few drops of liquid smoke to your BBQ sauce to compensate. If you’re watching sodium intake, swap the kosher salt for a low-sodium seasoning blend.
Spare ribs work beautifully in this recipe too, though they need an extra 45 minutes of cooking time compared to baby backs because of their larger size and higher fat content. For the BBQ sauce, making your own from scratch is always worth it on a weekend when you have time. On a busy weekday, a quality store-bought sauce is absolutely fine.
Recipe Info Table
| Prep Time | 20 minutes |
| Cook Time | 2 hours 45 minutes to 3 hours |
| Total Time | 3 hours 20 minutes |
| Servings | 4 to 6 people |
| Yield | 2 full racks |
Tools That Make This Easier
Here’s the thing about gas grill ribs: having the right tools genuinely matters.
A digital instant read thermometer is non-negotiable for this recipe. I use mine to monitor grill temperature through the vent and to check internal meat temp during the finish. You don’t need anything expensive, a mid-range one works perfectly.
A smoker box (the small metal box that holds wood chips and sits directly over a burner) adds real smoke flavor without a dedicated smoker. I’ve been using one for years and it changed my gas grill game completely. Apple or cherry wood chips are my favorites for pork because they give a slightly sweet, mild smoke.
A solid grill brush for cleaning your grates before you start matters too. Dirty grates stick and tear the meat when you’re trying to move the racks.
If you don’t have a smoker box, the budget alternative is wrapping soaked wood chips tightly in heavy-duty aluminum foil, poking a few holes in the top, and placing the packet directly over a lit burner. Works just as well and costs almost nothing.
Step-by-Step Directions
Step 1: Remove the Membrane
Flip the rack bone-side up and use a butter knife to loosen the thin silvery membrane (called the silverskin) from one end. Grab it with a paper towel for a firm grip and pull it off in one piece. This takes maybe two minutes and makes a massive difference in final texture. Skipping this step is the number one reason people end up with chewy ribs.
Step 2: Apply the Dry Rub
Mix all your dry rub ingredients together in a small bowl. Pat both racks dry with paper towels, then brush a thin layer of yellow mustard over every surface. This binds the rub without adding any noticeable mustard flavor in the finished product (a trick I picked up from a competition BBQ cook years ago that I’ve never stopped using). Press the rub generously all over and let the racks sit at room temperature for at least 20 minutes, or up to an hour if your schedule allows.
Step 3: Set Up Indirect Heat on Your Gas Grill
This is the most important step in the whole process. For low-and-slow cooking on a gas grill, you need indirect heat. Turn on only one or two burners and leave the others completely off. Let the grill settle at 225°F to 250°F before you put the meat on. Use your instant read thermometer through the grill vents to confirm the temperature.
Place your smoker box or foil packet of soaked wood chips directly over a lit burner at this point so it starts generating smoke before the meat goes on.
Step 4: The 2-2-1 Method
This is the formula I’ve used for years and I’ve never looked back. It stands for two hours unwrapped, two hours wrapped in foil, and one final hour back unwrapped.
Place your ribs bone-side down on the cool side of the grill, far away from the lit burners. Close the lid and leave them alone for two full hours. I know it feels wrong to just walk away, but opening the lid repeatedly drops the temperature and extends cooking time. Trust the process.
After two hours, pull both racks off the grill and wrap each one tightly in two layers of heavy-duty aluminum foil. Before sealing the foil, splash a tablespoon of apple cider vinegar inside each packet. This creates steam inside the foil that tenderizes the meat and breaks down the connective tissue into that silky, gelatin-like texture that falls right off the bone. Put them back on the cool side of the grill for another two hours.
Step 5: Sauce and Finish
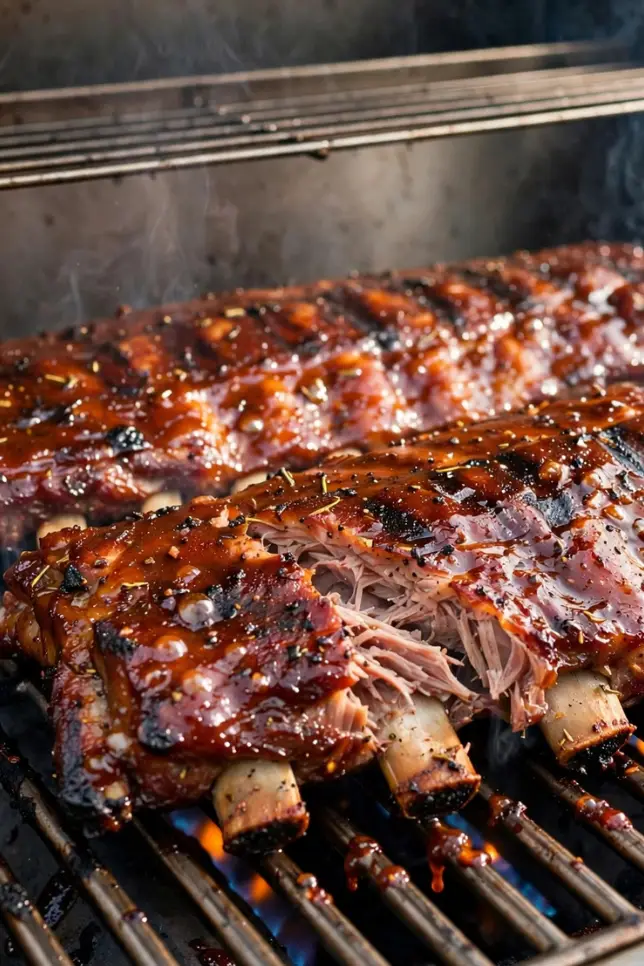
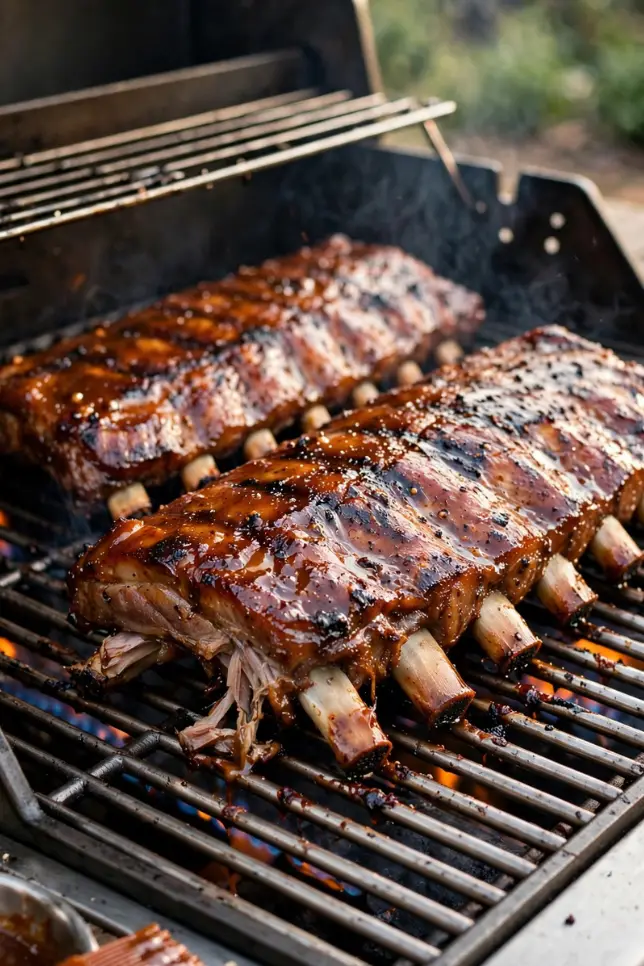
Carefully unwrap the ribs (there will be hot liquid inside the foil, so open the packet facing away from you). Brush your BBQ sauce generously over both sides of each rack. Put them back on the grill unwrapped for the final 45 minutes to one hour.
This last phase is where the sauce caramelizes and develops that gorgeous sticky, dark, lacquered finish. What you’re watching for is the Maillard reaction doing its thing on the surface of the meat. The ribs are done when the meat has pulled back about a quarter inch from the bone ends and your meat thermometer reads between 195°F and 203°F internal temperature. Learn more about different rib cuts and what makes each one unique if you want to go deeper on the subject.
Step 6: Rest, Slice, and Serve
Let the racks rest uncovered for 10 minutes before you cut into them. I know this part is difficult when the whole backyard smells incredible. Do it anyway. Cutting immediately pushes all the juices out of the meat and you’ll end up with a drier bite than you worked so hard for. Slice between the bones and serve right away.
Pro Tips
The biggest mistake I used to make was turning up the heat when I got impatient. You simply cannot rush ribs. The collagen needs time at low temperature to break down properly, and cranking the heat just dries the exterior before the interior has a chance to tenderize. Go low and slow or just order pizza.
Keep a spray bottle of apple juice nearby. Spritzing the racks every hour during the first unwrapped phase keeps the surface moist and adds a subtle sweetness. It also helps if your grill naturally runs a bit hot.
After cooking, store leftover ribs in airtight meal prep containers in the refrigerator for up to four days. Reheat them wrapped in foil at 300°F for about 25 minutes to keep them from drying out.
What Makes This Recipe Unique
Most gas grill rib recipes online tell you to crank up the heat and call it done in 90 minutes. This recipe takes the timing seriously and treats a gas grill with the same respect you’d give a smoker. The 2-2-1 method borrows directly from competition BBQ technique and adapts it for a standard home grill with no modifications needed. The mustard binder, the foil-with-vinegar trick, and the two-stage cooking process together produce results that genuinely surprise people who thought you needed a dedicated smoker to get ribs this good.
Why You’ll Love This Recipe
You don’t need an expensive smoker or any fancy equipment to make restaurant-quality ribs. This method works on any gas grill, even a basic two-burner model. The dry rub is completely customizable, the timing has about a 30-minute window of forgiveness, and the results are consistently impressive every single time. Your guests will ask what your secret is. You can share it or keep it to yourself.
Key Features
- Real smoke flavor using wood chips in a smoker box or foil packet
- Genuine tenderness from the foil-wrapping stage with apple cider vinegar
- A dry rub you can dial up or down on the heat
- A tested method that works on 2-burner, 4-burner, or 6-burner gas grills
FAQs
Can I make these ribs the day before a party? Yes. Cook them fully, let them cool completely, and refrigerate each rack wrapped tightly in foil. Reheat at 300°F on the grill for about 30 minutes with a fresh brush of BBQ sauce before serving.
What if my ribs finish earlier than expected? Wrap them in foil, then wrap that in a thick kitchen towel, and put them in a dry cooler (no ice). They’ll stay hot and continue to tenderize gently for up to two hours.
Baby back ribs vs spare ribs. Which is better for this method? Honestly both are great. Baby backs are leaner and cook faster, making them a bit more forgiving. Spare ribs have more fat running through them and a deeper flavor, but they need more time. For this 2-2-1 method, use 3-2-1 (three hours unwrapped instead of two) if you go with spare ribs.
Do I really need a smoker box? No, it’s optional. The ribs will still be excellent without it. The smoke flavor is a bonus, not a requirement.
Nutrition Facts Table
Per serving (approximately 3 to 4 ribs), without BBQ sauce
| Nutrient | Amount |
|---|---|
| Calories | 480 kcal |
| Protein | 38g |
| Total Fat | 28g |
| Saturated Fat | 10g |
| Carbohydrates | 8g |
| Sugar | 6g |
| Sodium | 580mg |
| Iron | 15% DV |
Nutrition values are approximate and will vary based on rack size and the BBQ sauce used.
You’ll Also Love
Great ribs need great sides and company. Here are some recipes from beesrecipes.com that pair perfectly:
- Creamy Buttery Mashed Potato because ribs absolutely need a proper side
- Classic Macaroni Salad for the full BBQ spread
- Slow Cooker BBQ Beef Short Ribs for a rainy-day alternative when you can’t grill
- Air Fryer Garlic Butter Steak Bites and Potatoes for another crowd-pleasing protein option
Conclusion
Once you nail the indirect heat setup and commit to the 2-2-1 timing, gas grill ribs become one of the most satisfying and repeatable things you can cook at home. The process is simple when you understand the why behind each step. Remove the membrane, season well, use low heat, wrap with vinegar, sauce at the end, and rest before cutting. That’s genuinely all there is to it.
Your mileage may vary slightly depending on your specific grill model and how well it holds temperature, but the method gives you plenty of flexibility. Give these a try this weekend and let me know how they turn out in the comments below. I check them every day and genuinely love hearing how recipes land in your kitchen.
Happy grilling,