Bread in a Bag: The Easiest Homemade Bread Recipe (Kid-Friendly and No Mess)
Introduction
Hi friends, Linda here. I’ve been baking bread for over ten years, and one of my favorite loaves is the one I mix in a plastic bag. I first made Bread in a Bag on a rainy Saturday with my niece. She was six, impatient and very serious about squishing things. I wanted to bake with her but didn’t want flour on every surface of my kitchen, so I grabbed a gallon zip-top bag and we went for it.
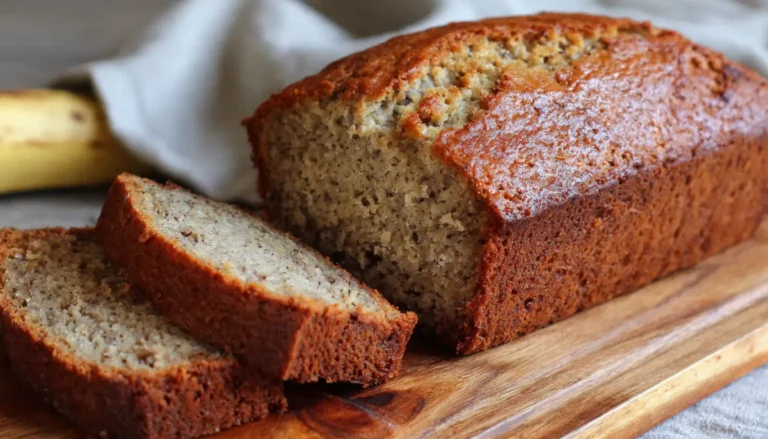
She squished, I watched the clock, and an hour and a half later we pulled a soft golden loaf out of the oven. She told everyone at dinner she made it herself. Honestly? She mostly did.
This easy homemade bread recipe doesn’t need a stand mixer, a bread machine or any fancy kitchen equipment. You need one bag, one loaf pan and a little patience. It works as a fun homeschool science activity and as a weekday loaf when you’re stretching your grocery budget. It’s also the best way I know to make baking for beginners feel less scary.
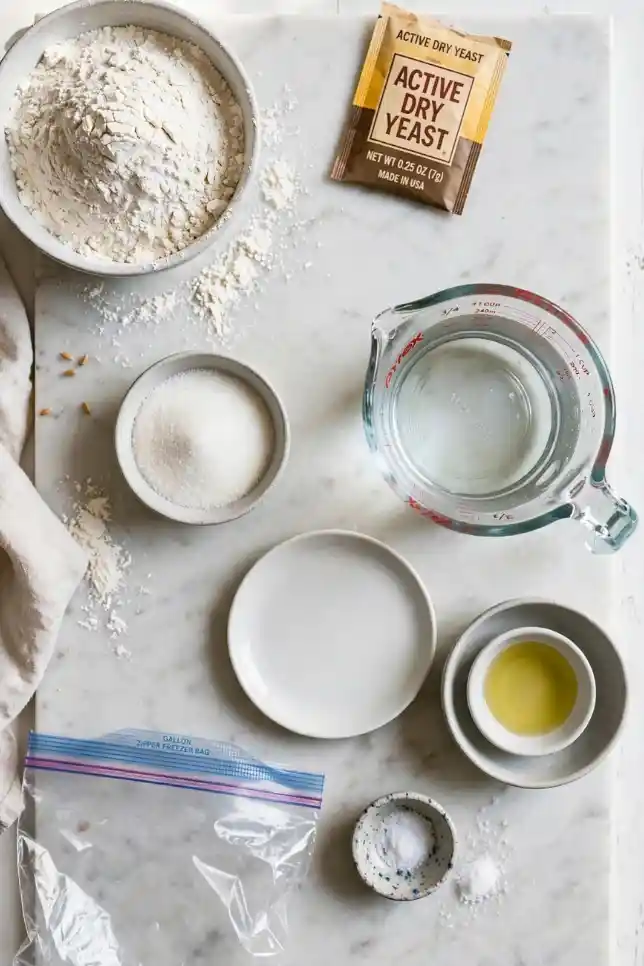
Essential Ingredients
- 3 cups all-purpose flour, divided (bread flour works too)
- 1 packet (2 ¼ teaspoons) active dry or instant yeast
- 3 tablespoons granulated sugar
- 1 cup warm water (about 110°F)
- 3 tablespoons vegetable oil or melted butter
- 1 ½ teaspoons salt
- 1 gallon-size heavy-duty zip-top freezer bag
Alternative Ingredients
Flour: Bread flour gives you a chewier loaf with a taller rise. If you’re curious why, Tasting Table explains the difference between bread flour and all-purpose flour really well. For a healthy whole wheat bread, swap 1 cup of the all-purpose flour for whole wheat flour and add an extra tablespoon of water.
Sweetener: Honey or maple syrup can replace the sugar one for one. Honey gives the crust a beautiful deep color.
Fat: Olive oil, melted butter, or even melted coconut oil all work. Butter makes the softest crumb, in my experience.
Yeast: Both active dry and instant yeast work here. Not sure which one you have? King Arthur Baking has a great breakdown of active dry versus instant yeast.
Gluten-free option: A cup-for-cup gluten-free flour blend with xanthan gum can work. The loaf will be denser, and I won’t pretend otherwise. Your mileage may vary depending on the brand.
Step-by-Step Directions
Step 1: Wake up the yeast. Pour 1 cup of flour, the yeast, the sugar and the warm water into the zip-top bag. Press out the air, seal it and squish everything together for about a minute. Let it sit for 10 minutes. You should see little bubbles forming, which means your yeast is alive and happy.
Step 2: Add the rest. Open the bag and add the oil, the salt and another cup of flour. Seal it again (please check that seal) and squish until it looks like a thick, shaggy batter.
Step 3: Finish the dough. Add the last cup of flour. Squish and knead through the bag until the dough pulls together into a ball. This takes about 5 minutes and it’s the part kids love most.
Step 4: Knead briefly. Turn the dough onto a lightly floured counter and knead for 5 to 8 minutes, until it feels smooth and springs back when you poke it.
Step 5: First rise. Put the dough back in the bag or in a greased bowl. Cover it and let it rise in a warm spot for 30 to 45 minutes, until it’s about doubled.
Step 6: Shape. Punch the dough down gently, roll it into a log and tuck the ends under. Place it seam side down in a greased 9×5 inch loaf pan.
Step 7: Second rise. Cover the pan loosely and let the dough rise for another 30 minutes, until it crowns just above the rim. Start heating your oven to 375°F now.
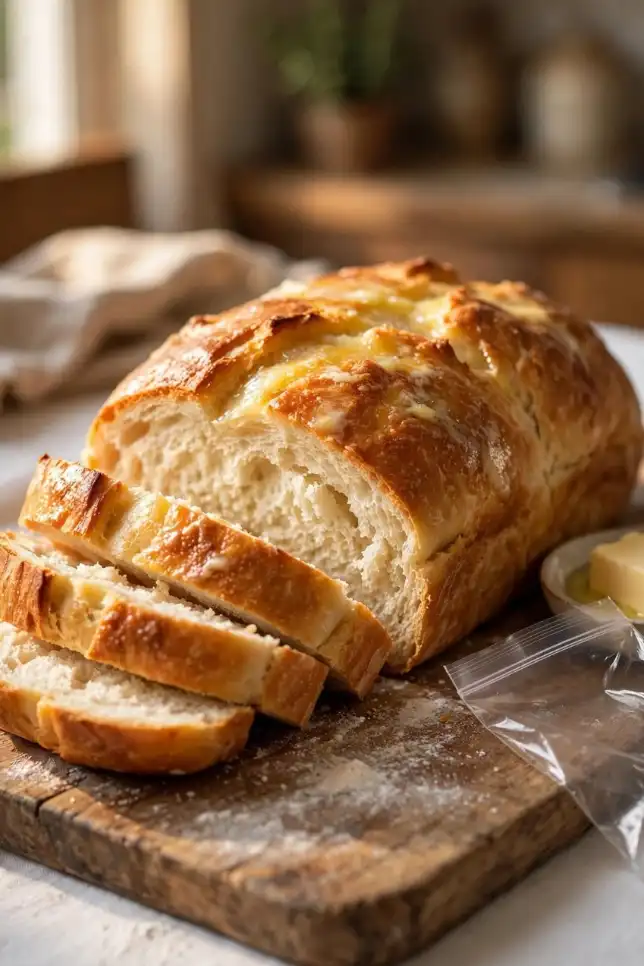
Step 8: Bake. Bake for 25 to 30 minutes, until the top is deep golden and the loaf sounds hollow when you tap the bottom. If you have a thermometer, look for about 190°F inside.
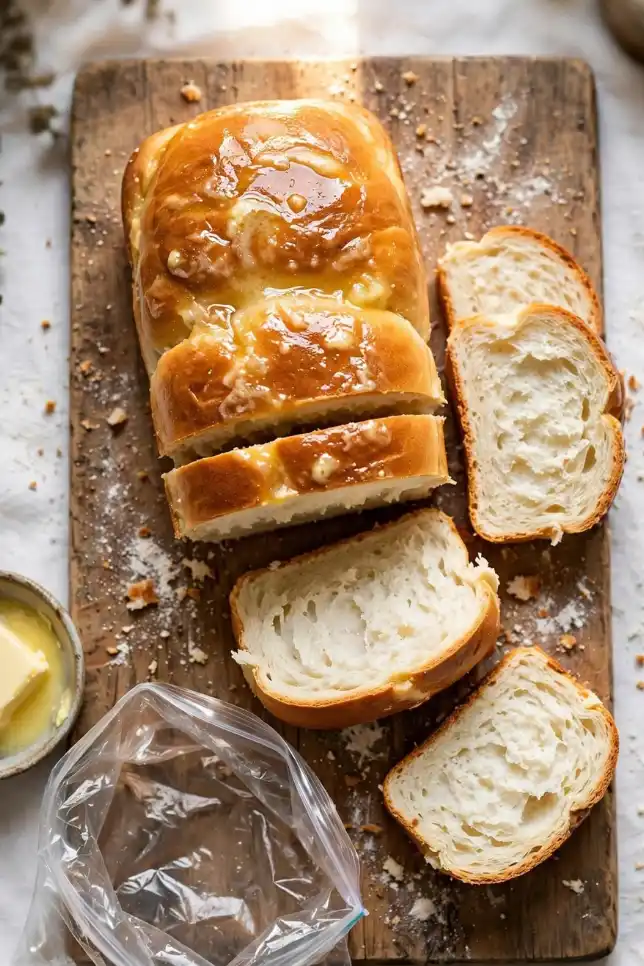
Step 9: Cool. Brush the top with butter if you like, then let it cool for at least 20 minutes before slicing. I know. It’s hard.
Pro Tips
The mistake I used to make was water that was too hot. I once used water straight from the kettle, killed the yeast and ended up with a brick you could use as a doorstop. Warm bath temperature is what you want. If it feels hot on your wrist, wait a bit.
Use a freezer bag, not a thin sandwich bag. I learned this one the hard way when a seam split and sticky dough went all over my niece’s shirt. We laughed, but I’d rather you didn’t repeat it.
On cold winter days, let the dough rise in your oven with only the light switched on. In summer your kitchen does the work for you, so check the dough early.
Measure flour by spooning it into the cup and leveling it off. Scooping straight from the bag packs it down and gives you a dry loaf.
FAQs
Can I make Bread in a Bag without kneading on the counter?
Yes. Knead it in the bag a few minutes longer. The texture will be a little less even, but it still turns out lovely.
Why didn’t my bread rise?
Usually the yeast is old or the water was too hot. Always check the expiration date on the packet.
Can I freeze this bread?
Absolutely. Wrap the cooled loaf tightly, or slice it first and store it in good airtight food storage containers. It keeps for up to 3 months.
Is this good for kids’ cooking classes?
It’s one of the best. Every child gets their own bag, and cleanup is nearly zero.
Can I double the recipe?
Use two separate bags. One bag can’t handle double the dough.
Recipe Info
| Detail | Info |
|---|---|
| Prep Time | 20 minutes |
| Rise Time | 60 to 75 minutes |
| Cook Time | 25 to 30 minutes |
| Total Time | About 2 hours |
| Servings | 12 slices |
| Yield | 1 standard loaf (9×5 inch) |
| Difficulty | Easy |
Why You’ll Love This Recipe
You don’t need a mixer, and there’s barely any cleanup. The loaf comes out soft and fluffy with a buttery golden crust. It costs less than a dollar to make, which is a nice win for budget meal planning. It’s also simple enough for a first-time baker and fun enough to keep kids busy on a rainy afternoon.
What Makes This Recipe Unique
Most homemade bread recipes ask you to dirty a bowl, a spatula, a dough hook and half your counter. This one keeps the messiest steps sealed inside a bag. Kids can also watch the yeast bubble through the plastic, so they see the science happening in real time, not just read about it. I’ve used it with my nieces, at a neighborhood baking day and even at a school fundraiser.
Key Features
- Six pantry ingredients
- No stand mixer or bread machine needed
- Kid-friendly and classroom-friendly
- Freezer-friendly loaf
- Easy to adapt with whole wheat flour, honey or herbs
Nutrition Facts (per slice, approximate)
| Nutrient | Amount |
|---|---|
| Calories | 155 kcal |
| Carbohydrates | 27 g |
| Protein | 3 g |
| Fat | 3.5 g |
| Fiber | 1 g |
| Sugar | 3 g |
| Sodium | 290 mg |
Values are estimates and will vary with the brands and swaps you use.
You’ll Also Love
If this loaf gets you hooked on baking bread, try my Miracle No-Knead Bread next. It’s almost as easy and has a crackly artisan crust. For busy weeks, my 4-Ingredient Daily Bread is the one I bake most often. And a warm slice of Bread in a Bag with my Creamy Garlic Herb Butter Spread is honestly hard to beat.
Want to compare notes? The classic version on Food.com has been around for years, and it’s fun to see how bakers everywhere tweak it.
Conclusion
Bread in a Bag reminds me why I fell in love with baking in the first place. It’s simple, a little messy in the best way, and it ends with something warm to share. It won’t win a fancy bakery competition, and the crumb isn’t perfect every time. But it’s homemade, it’s real, and the people you bake it with will remember it.
So grab a bag, call a little helper into the kitchen and give it a try. Then come back and tell me how your loaf turned out. I read every comment, and I love hearing about your kitchen wins and your floury disasters too.
Happy baking,
Linda

Bread in a Bag
The easiest homemade bread recipe you will ever make. Mix and knead the dough right inside a zip-top bag for a soft, fluffy golden loaf with no stand mixer and almost no mess. Perfect for beginners and kids.
Ingredients
- 3 cups all-purpose flour, divided (bread flour works too)
- 1 packet (2 ¼ tsp) active dry or instant yeast
- 3 tablespoons granulated sugar
- 1 cup warm water (about 110°F)
- 3 tablespoons vegetable oil or melted butter
- 1 ½ teaspoons salt
- 1 gallon-size heavy-duty zip-top freezer bag
Equipment
- 9×5 inch loaf pan
- Measuring cups and spoons
- Kitchen thermometer (optional)
Instructions
- Wake up the yeast: Add 1 cup flour, the yeast, sugar and warm water to the bag. Seal, squish for 1 minute and let it sit 10 minutes until bubbly.
- Add the rest: Add the oil, salt and another cup of flour. Seal and squish into a thick, shaggy batter.
- Finish the dough: Add the last cup of flour and knead through the bag for about 5 minutes until a ball forms.
- Knead: Turn the dough onto a floured counter and knead 5 to 8 minutes until smooth and springy.
- First rise: Cover and let rise in a warm spot for 30 to 45 minutes, until doubled.
- Shape: Punch down gently, roll into a log and place seam side down in a greased loaf pan.
- Second rise: Cover loosely and let rise 30 minutes until it crowns above the rim. Preheat the oven to 375°F (190°C).
- Bake: Bake 25 to 30 minutes until deep golden and the loaf sounds hollow when tapped (190°F inside).
- Cool: Brush with butter if you like and cool at least 20 minutes before slicing.
Linda’s Notes
Nutrition (per slice, approx.)
| Calories | 155 kcal |
| Carbohydrates | 27 g |
| Protein | 3 g |
| Fat | 3.5 g |
| Fiber | 1 g |
| Sugar | 3 g |
| Sodium | 290 mg |
Rate This Recipe
Made this bread? Tap the stars and tell me how it turned out in the comments.