The Ultimate Crispy Fried Chicken Recipe (Restaurant-Quality at Home)
I’ll never forget the first time I tried to make fried chicken at home. I was maybe 23, fresh out of culinary school, and convinced I could nail it on the first try. The result? Burnt on the outside, raw on the inside, and a kitchen that looked like a crime scene. My roommate walked in, took one look at the oil splattered across every surface, and asked if I was okay. I wasn’t, but that disaster taught me everything I know about making truly perfect fried chicken.
Ten years and countless batches later, I’ve finally cracked the code. This isn’t one of those recipes where you cross your fingers and hope for the best. This is the real deal, the kind of crispy fried chicken that makes people ask for seconds before they’ve finished their first piece.
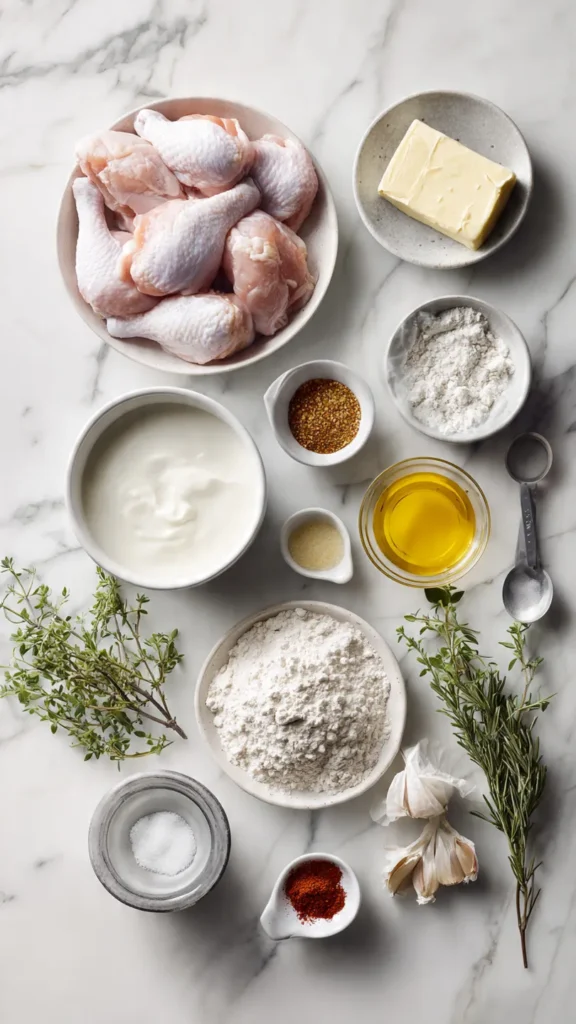
Essential Ingredients
For the Brine:
- 4 cups buttermilk
- 2 tablespoons hot sauce (I use Frank’s RedHot)
- 2 tablespoons kosher salt
- 1 tablespoon black pepper
- 1 tablespoon garlic powder
- 1 tablespoon onion powder
For the Chicken:
- 3-4 pounds chicken pieces (I prefer thighs and drumsticks, but breasts work too)
For the Coating:
- 3 cups all-purpose flour
- 2 tablespoons cornstarch (secret weapon for extra crunch)
- 1 tablespoon paprika
- 1 tablespoon garlic powder
- 1 tablespoon onion powder
- 2 teaspoons cayenne pepper (adjust to taste)
- 2 teaspoons black pepper
- 1 tablespoon kosher salt
- 1 teaspoon dried thyme
- 1 teaspoon dried oregano
For Frying:
- 8 cups vegetable oil or peanut oil (for a 12-inch cast iron skillet)
- Alternatively, Crisco shortening for traditional Southern-style
Alternative Ingredients
Listen, I get it. Sometimes you don’t have every single ingredient on hand, and that’s completely fine. Here’s what you can swap:
No buttermilk? Mix 4 cups whole milk with 4 tablespoons white vinegar or lemon juice. Let it sit for 10 minutes. It’s not quite the same tang, but it works in a pinch.
No hot sauce? Skip it, but add an extra teaspoon of cayenne to your brine. The heat won’t be quite as complex, but you’ll still get a kick.
Different chicken parts? Wings are fantastic, but they fry faster (about 10-12 minutes). Bone-in breasts need closer to 16-18 minutes. Your mileage may vary.
Gluten-free option? Replace the all-purpose flour with a 1:1 gluten-free flour blend plus an extra tablespoon of cornstarch. The texture won’t be identical, but it’ll still be crispy.
No cast iron skillet? A heavy-bottomed Dutch oven works beautifully. Actually, some argue it’s even better because the high sides contain oil splatter. I’ve used both for years, and honestly, both do the job.
Step-by-Step Directions
Step 1: Brine the Chicken (Absolutely Non-Negotiable)
This is where most people mess up. They skip the brine, thinking they can save time. Don’t be that person. Combine your buttermilk, hot sauce, salt, pepper, garlic powder, and onion powder in a large bowl. Add your chicken pieces, making sure every piece is fully submerged. Cover it and stick it in the fridge for at least 4 hours. I usually do overnight, which gives you deeper flavor and ridiculously tender meat.
The buttermilk does two things. First, the lactic acid breaks down proteins in the chicken, making it tender. Second, it creates this amazing flavor base that penetrates deep into the meat. This is the difference between good fried chicken and legendary fried chicken.
Step 2: Set Up Your Dredging Station
About 30 minutes before you’re ready to fry, take the chicken out of the fridge. This is important because cold chicken hits hot oil and the temperature plummets. You want room-temperature chicken.
Mix all your coating ingredients in a large, shallow dish. I use a 9×13 baking dish because it gives me plenty of room to work. Here’s a trick I learned from a line cook in Nashville: save about 3 tablespoons of your buttermilk brine and drizzle it into your flour mixture. Use your fingers to work it in until you get these little clumps. Those clumps become the extra-crispy bits everyone fights over.
Step 3: Double Dredge for Maximum Crunch
Pull each piece of chicken from the buttermilk, letting excess drip off but keeping it pretty wet. Press it firmly into your flour mixture, coating every surface. I’m talking about really pressing it in, not just a gentle pat.
Now here’s the game-changer: dip that floured piece back into the buttermilk for just a second, then back into the flour mixture for a second coat. This double-dredge technique creates layers of coating that fry up incredibly crispy. Set your dredged pieces on a wire rack and let them rest for 15 minutes. This rest time lets the coating adhere properly so it doesn’t fall off in the oil.
Step 4: Heat Your Oil to Exactly 350°F
Pour your oil into your cast iron skillet or Dutch oven. You want about 2 inches of oil, no more. Clip a thermometer to the side of your pan (if you’re serious about frying, get a good candy thermometer or an instant-read digital thermometer, trust me).
Heat the oil over medium-high heat until it reaches exactly 350°F. Not 325°F, not 375°F. This is the sweet spot where the coating crisps up without burning before the chicken cooks through.
Step 5: Fry in Batches (Patience is Key)
Don’t crowd the pan. I know you’re hungry, but cramming too many pieces in there drops the oil temperature and you end up with soggy, greasy chicken instead of crispy perfection.
For a 12-inch skillet, I do 3-4 pieces at a time. Carefully lower each piece into the oil using tongs (never drop it in, unless you enjoy oil burns). The oil temperature will drop to around 325°F when you add the chicken, which is normal. Just adjust your heat to bring it back up to 340-350°F.
Fry for 14-16 minutes for thighs and drumsticks, flipping once halfway through. You’re looking for a deep golden-brown color and an internal temperature of 165°F. I check with an instant-read thermometer inserted into the thickest part, away from the bone.
Step 6: Rest and Stay Crispy
This is crucial. Don’t pile your fried chicken on a plate lined with paper towels. That traps steam and makes your coating soggy. Instead, set up a wire rack over a baking sheet and place your fried pieces on there. If you’re making multiple batches, you can keep the finished pieces warm in a 200°F oven while you finish frying.
Pro Tips
Temperature Control is Everything: That thermometer isn’t optional. Oil that’s too cool makes greasy chicken. Oil that’s too hot burns the outside before cooking the inside. Maintain that 340-350°F range and you’ll be golden (literally).
The Right Oil Matters: I’ve tried every frying oil imaginable. Peanut oil has a high smoke point and adds a subtle nutty flavor that’s fantastic. Vegetable oil is neutral and works great. Avoid olive oil, it smokes at too low a temperature.
Cast Iron Holds Heat Better: I’ve fried in stainless steel, non-stick (don’t do this), and cast iron. The cast iron wins every time because it maintains a steady temperature even when you add cold chicken. If you’re investing in cookware, a good 12-inch Lodge cast iron skillet is worth every penny.
Meal Prep Friendly: Want to know a secret? You can fry this chicken, let it cool completely, and freeze it in freezer-safe containers or bags. When you’re ready to eat, reheat it in a 375°F oven for 20-25 minutes. It won’t be quite as crispy as fresh, but it’s still incredible and way better than takeout.
Air Fryer Alternative: I know some of you are thinking about using an air fryer. I’ve tested this extensively. You can get decent results at 375°F for 22-25 minutes, flipping halfway through. It won’t be quite as crispy or flavorful as traditional frying, but if you’re watching calories, it’s a solid compromise.
Frequently Asked Questions
How do I keep fried chicken crispy?
Place fried chicken on a wire rack instead of paper towels. This allows air circulation so the crust stays crispy.
Why should chicken be brined in buttermilk?
Buttermilk tenderizes the meat and adds flavor while helping the flour coating stick better during frying.
What oil is best for frying chicken?
Peanut oil and vegetable oil are ideal because they handle high heat without burning.
How do I know fried chicken is fully cooked?
Use a thermometer. Chicken should reach 165°F in the thickest part.
Can fried chicken be reheated and stay crispy?
Yes. Reheat in a 375°F oven on a rack for about 20 minutes.
Recipe Info Table
| Prep Time | 30 minutes (plus 4+ hours brining) |
| Cook Time | 45 minutes |
| Total Time | 5 hours 15 minutes |
| Servings | 6 people |
| Yield | 3-4 pounds fried chicken |
Why You’ll Love This Recipe
This isn’t trying to be fancy or complicated. It’s just really, really good fried chicken made the right way. The kind of chicken where everyone at the table goes quiet for the first few bites because they’re too busy enjoying it to talk.
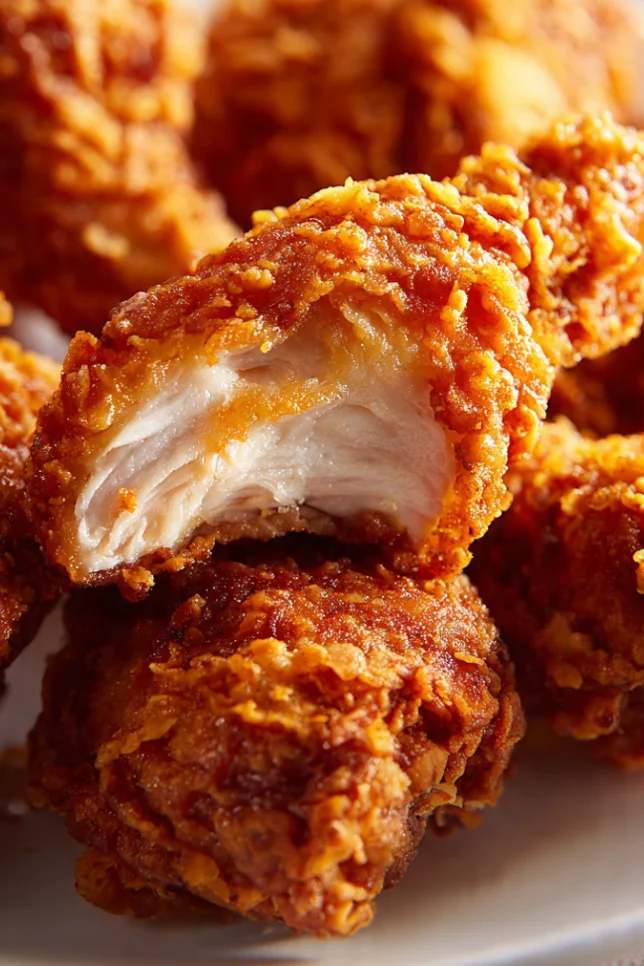
The buttermilk brine makes the meat so tender it practically falls off the bone. The double-dredge coating creates these incredibly crunchy layers that stay crispy even after sitting for a few minutes (though let’s be honest, it never sits that long). And the spice blend has just enough heat to be interesting without overwhelming the chicken flavor.
What Makes This Recipe Unique
Here’s the thing about fried chicken recipes: there are thousands of them online, and most are pretty similar. What makes this one different is the combination of techniques I’ve borrowed from three distinct traditions.
The buttermilk brine is classic Southern technique. The double-dredge method I learned from a Korean fried chicken shop in Los Angeles. The spice blend is inspired by Nashville hot chicken, but dialed back so it doesn’t numb your mouth.
I’ve also included the little details that cookbooks often leave out, like why your chicken needs to rest before frying, or what to do if you don’t have certain ingredients. After ten years of making this recipe and teaching it to friends, I know exactly where people get confused or mess up.
Key Features
Restaurant-Quality Crispy Coating: That double-dredge technique creates multiple layers of crunch that stay crispy longer than single-coated chicken.
Incredibly Moist Interior: The buttermilk brine ensures every bite is juicy and flavorful, never dry or bland.
Flexible and Forgiving: You can adjust the spice level, use different chicken parts, or even make this gluten-free with just a few simple swaps.
Make-Ahead Friendly: Perfect for meal prep or batch cooking. Fry a big batch on Sunday, freeze it, and you’ve got ready-to-reheat dinners for weeks.
Works with Different Equipment: Whether you’re using a cast iron skillet, a Dutch oven, or even an air fryer, this recipe adapts to what you have.
Nutrition Facts Table
Per serving (approximately 5 ounces of chicken with coating)
| Nutrient | Amount |
|---|---|
| Calories | 485 |
| Total Fat | 28g |
| Saturated Fat | 6g |
| Cholesterol | 135mg |
| Sodium | 890mg |
| Total Carbohydrates | 24g |
| Dietary Fiber | 1g |
| Sugars | 3g |
| Protein | 35g |
Note: Nutrition values are estimates and will vary based on chicken parts used and how much coating adheres to each piece.
You’ll Also Love
If you’re into this crispy fried chicken, you’ll definitely want to check out my buttermilk biscuits recipe, they’re the perfect side. I’ve also got a killer Nashville hot chicken sandwich that uses this same base recipe but kicks the heat up about three notches.
My honey butter drizzle is incredible on fried chicken, especially if you like that sweet and savory combination. And if you’re looking for more ways to use that cast iron skillet, my cornbread recipe is a family favorite that’s been passed down for three generations.
Conclusion
Look, I’m not going to pretend this is a quick weeknight dinner. With the brining time, you’re looking at planning ahead. But here’s the truth: once you taste homemade fried chicken that’s actually crispy, actually flavorful, and actually cooked properly, you’ll understand why it’s worth the effort.
The first time you pull that golden-brown chicken out of the oil and hear that perfect crunch when you bite into it, you’ll get it. This is the kind of cooking that makes you feel accomplished, you know? Like you’ve actually mastered something instead of just following steps.
So grab your cast iron skillet, pick up some buttermilk at the store, and give this a shot. Your kitchen might get a little messy (mine always does), but I promise the results are worth it. And hey, if your first batch isn’t perfect, that’s okay. Mine wasn’t either. That’s how you learn.
Happy frying, and don’t forget the napkins. You’re going to need them.
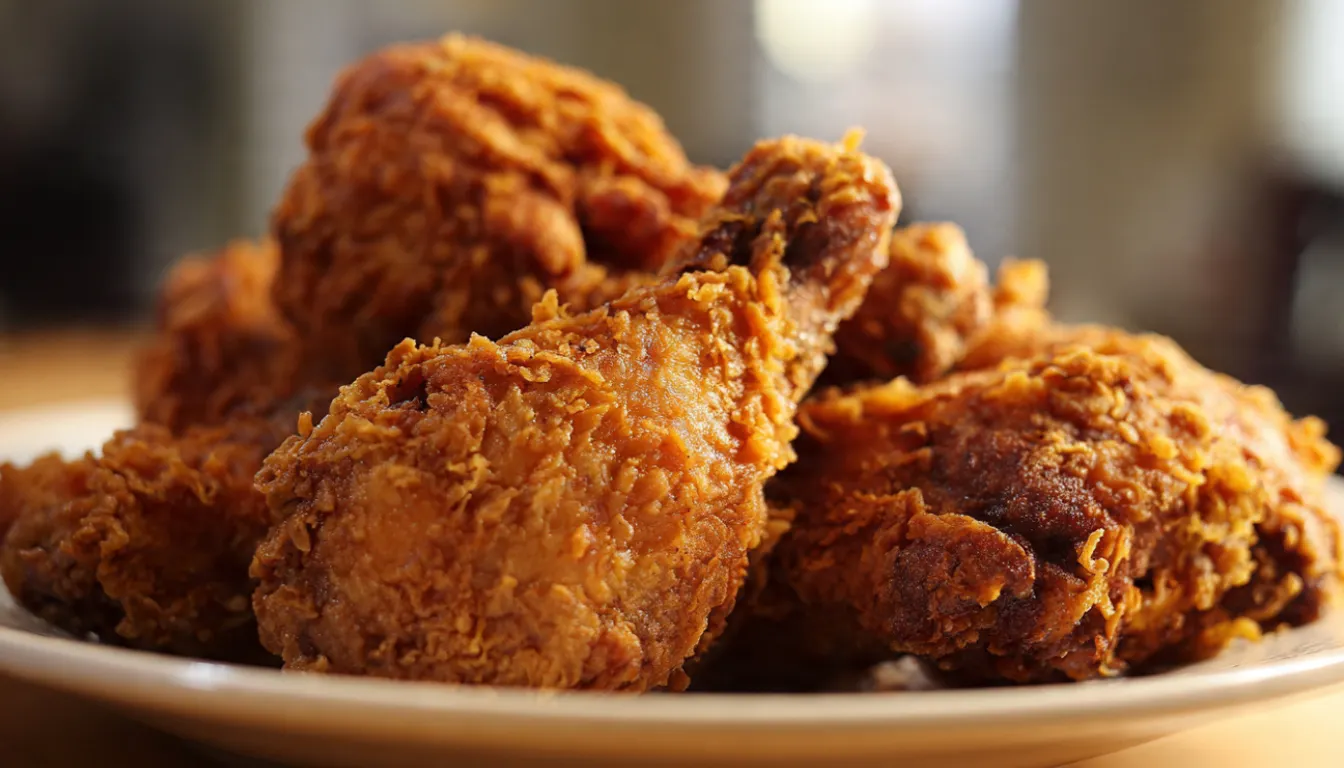
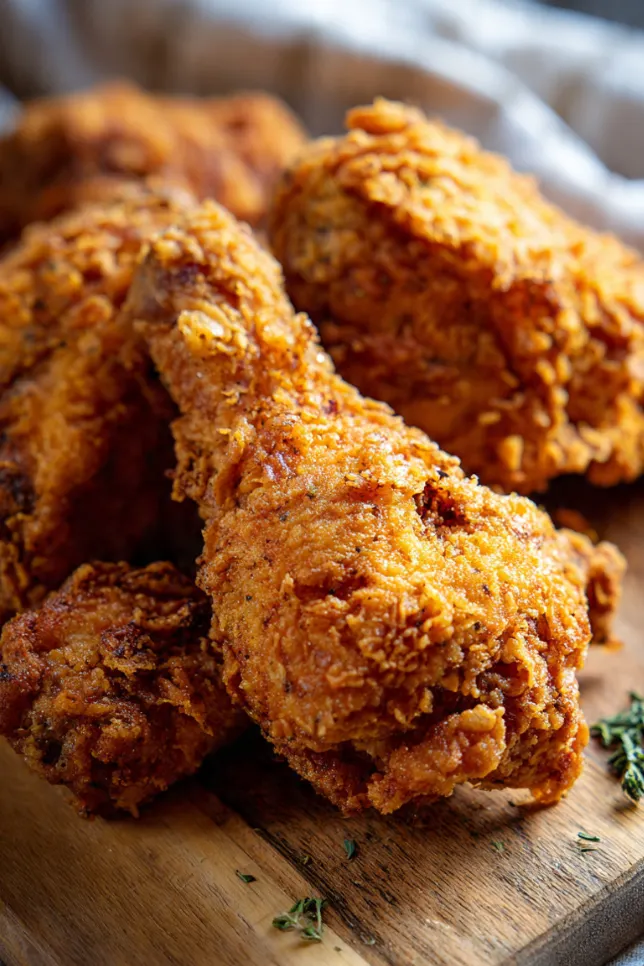
Ultimate Crispy Fried Chicken
Golden brown, incredibly crunchy fried chicken with juicy meat and a seasoned crust using the classic buttermilk brine technique.
Ingredients
- 4 cups buttermilk
- 2 tablespoons hot sauce
- 2 tablespoons kosher salt
- 1 tablespoon black pepper
- 1 tablespoon garlic powder
- 1 tablespoon onion powder
- 3 to 4 pounds chicken pieces
- 3 cups all-purpose flour
- 2 tablespoons cornstarch
- 1 tablespoon paprika
- 1 tablespoon garlic powder
- 1 tablespoon onion powder
- 2 teaspoons cayenne pepper
- 2 teaspoons black pepper
- 1 tablespoon kosher salt
- 1 teaspoon dried thyme
- 1 teaspoon dried oregano
- 8 cups vegetable oil for frying
Instructions
- Whisk buttermilk, hot sauce, salt, pepper, garlic powder, and onion powder. Submerge chicken and refrigerate for at least 4 hours.
- Mix flour, cornstarch, paprika, garlic powder, onion powder, cayenne, pepper, salt, thyme, and oregano in a large dish.
- Remove chicken from brine and coat heavily in flour mixture.
- Dip back into brine briefly then coat again in flour for a double crust.
- Let coated chicken rest on a rack for 15 minutes.
- Heat oil to 350°F in a cast iron skillet or Dutch oven.
- Fry chicken in batches 14 to 16 minutes turning halfway until golden brown and cooked to 165°F.
- Place on wire rack to drain and keep crispy.
Notes
The buttermilk brine tenderizes the chicken and adds flavor. Double dredging creates extra crunchy layers. Always fry in batches to maintain oil temperature and prevent greasy coating.