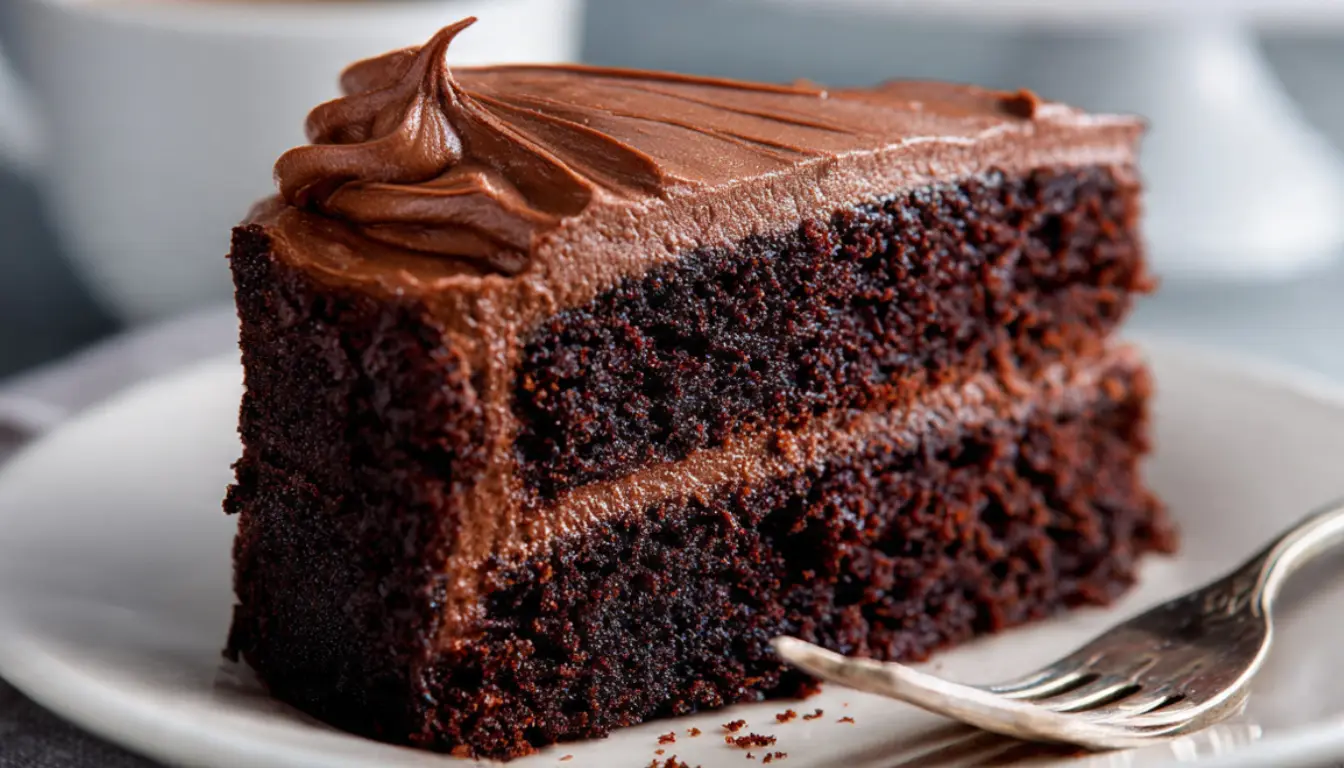
Moist Chocolate Cake
You know that moment when you bite into a slice of chocolate cake and it’s so dry you need a glass of milk just to swallow it? I’ve been there too many times. After ten years of baking and testing countless chocolate cake recipes, I finally cracked the code to creating the moistest, most decadent chocolate cake that stays tender for days.
This isn’t one of those finicky recipes that requires fancy ingredients or professional equipment (although I’ll admit my KitchenAid stand mixer makes the process smoother). This is the real deal chocolate cake that grandmas made, with a modern twist that keeps it incredibly moist. I’ve served this at birthday parties, brought it to potlucks, and made it for Tuesday night desserts when I just needed chocolate in my life.
The secret? Coffee. Yes, really. Hot coffee intensifies the chocolate flavor without making it taste like a mocha. I was skeptical the first time I saw this trick, but trust me on this one. It works magic.
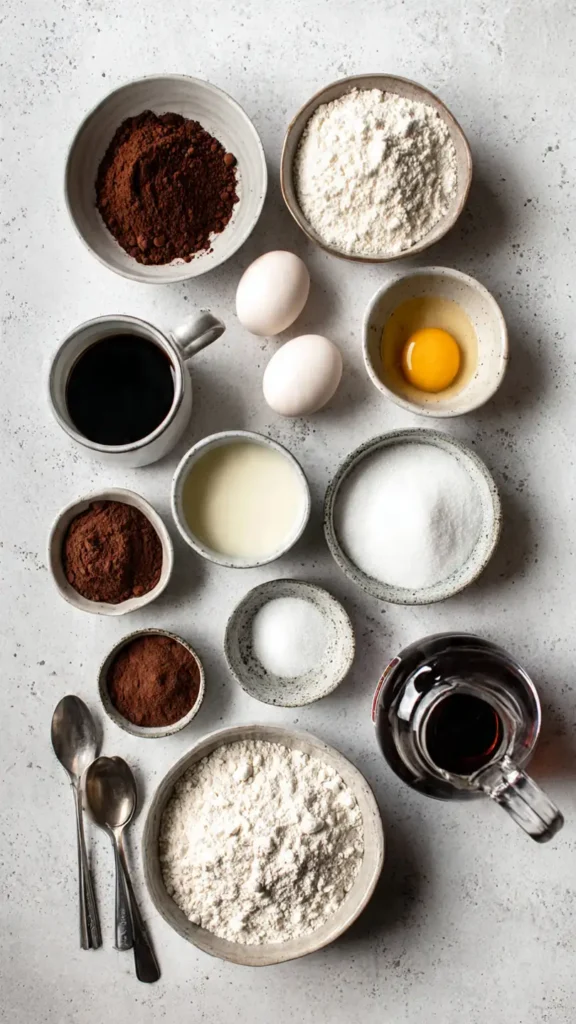
Essential Ingredients
- 2 cups all-purpose flour
- 2 cups granulated sugar
- 3/4 cup unsweetened cocoa powder (Dutch-process works best)
- 2 teaspoons baking soda
- 1 teaspoon baking powder
- 1 teaspoon salt
- 2 large eggs, at room temperature
- 1 cup buttermilk
- 1 cup hot brewed coffee (or hot water)
- 1/2 cup vegetable oil
- 2 teaspoons vanilla extract
Alternative Ingredients
Over the years, I’ve learned that baking is more flexible than people think. If you don’t have buttermilk, mix 1 cup of whole milk with 1 tablespoon of white vinegar and let it sit for 5 minutes. It creates that same tangy richness. For the coffee, strong black tea works in a pinch, though it won’t have quite the same depth. You can also use melted coconut oil instead of vegetable oil if you’re into that sort of thing (I do this when I’m trying to feel fancy).
The cocoa powder matters more than you’d think. I used to buy whatever was cheapest, and my cakes were okay but not spectacular. When I splurged on good quality Dutch-process cocoa, the difference was night and day. That said, regular unsweetened cocoa powder still works fine if that’s what you have.
For a gluten-free version, I’ve successfully used a 1:1 gluten-free baking flour blend. The texture is slightly different but still delicious. Just don’t try to substitute the sugar with artificial sweeteners because I learned that lesson the hard way. The cake turned out dense and weird.
Step-by-Step Directions
Prep Your Pans and Oven
Preheat your oven to 350°F (175°C). Grease two 9-inch round cake pans with butter or cooking spray, then line the bottoms with parchment paper. I cannot stress this enough: the parchment paper is not optional. I’ve had too many beautiful cakes stick to the pan and fall apart when I skipped this step. Dust the pans lightly with cocoa powder instead of flour to keep the cake looking dark and rich.
Mix the Dry Ingredients
In a large mixing bowl (or the bowl of your stand mixer if you have one), whisk together the flour, sugar, cocoa powder, baking soda, baking powder, and salt. Make sure there are no lumps in the cocoa powder because those turn into bitter pockets in the finished cake. I usually sift the cocoa powder separately before adding it.
Combine the Wet Ingredients
In a separate bowl, whisk together the eggs, buttermilk, coffee, oil, and vanilla extract. The mixture will look thin and a bit strange. That’s totally normal. This is actually what makes the cake so moist because the batter has a higher liquid ratio than most cake recipes.
Bring It All Together
Pour the wet ingredients into the dry ingredients. If you’re using a stand mixer, mix on low speed for about 30 seconds until just combined, then increase to medium speed and beat for 2 minutes. The batter will be very thin, almost like a thick liquid. Don’t panic. I remember the first time I made this recipe, I thought I’d messed up royally because the batter was so runny. But that’s exactly how it should be.
If you’re mixing by hand with a whisk or wooden spoon, just stir until everything is well combined and no dry flour remains. It’ll take a bit more elbow grease, but it’s definitely doable without fancy equipment.
Bake to Perfection
Divide the batter evenly between your prepared pans. I use a kitchen scale to be precise, but you can also eyeball it. Bake for 30-35 minutes, or until a toothpick inserted into the center comes out with just a few moist crumbs. Here’s the thing: you don’t want the toothpick to come out completely clean because that means you’ve overbaked it.
The cakes will pull away from the sides of the pan slightly when they’re done. Let them cool in the pans for 10 minutes (set a timer because I’ve forgotten and ended up with stuck cakes), then turn them out onto wire racks to cool completely.
Pro Tips
The coffee trick is what separates this cake from mediocre chocolate cakes. Hot coffee blooms the cocoa powder and brings out flavors you didn’t even know were there. If you’re morally opposed to coffee or making this for kids, use hot water instead. It won’t have quite the same depth, but it’ll still be delicious.
Room temperature eggs make a huge difference. Cold eggs don’t emulsify properly with the other ingredients. If you forget to take them out ahead of time (which I do constantly), just place them in a bowl of warm water for 5 minutes.
Don’t overmix once you add the wet to the dry. You’re not trying to get a workout in. Overmixing develops the gluten in the flour and makes the cake tough. Mix until just combined and then stop.
I learned this the hard way, but always check your baking soda and baking powder expiration dates. I once made this cake with ancient baking soda and it barely rose. It was a flat, dense disaster that my dog wouldn’t even eat.
For an extra moist cake, brush each layer with simple syrup (equal parts sugar and water, heated until the sugar dissolves) before frosting. Bakeries do this all the time, and it keeps cakes from drying out.
FAQs
Why is this chocolate cake so moist?
The oil, buttermilk, and coffee create an ultra soft texture that stays moist for days.
Does it taste like coffee?
No. Coffee only enhances the chocolate flavor.
Can I make it ahead?
Yes. Store unfrosted layers for up to 2 days or freeze.
Can I turn it into cupcakes?
Yes. Bake for 18 to 22 minutes.
Best frosting?
Chocolate buttercream or ganache works perfectly.
Why You’ll Love This Recipe
This chocolate cake is foolproof. I’ve watched complete beginners make it successfully, and I’ve also served it to picky eaters who claimed they didn’t like chocolate cake (they changed their minds). The texture stays moist for days, which means you’re not racing against time to eat it all.
It’s also incredibly versatile. I’ve turned this into birthday cakes with elaborate decorating, simple weeknight desserts with just a dusting of powdered sugar, and everything in between. The flavor is rich and chocolatey without being overwhelming or too sweet.
The best part? You probably have most of these ingredients in your pantry already. No trips to specialty stores for weird ingredients you’ll never use again. This is real, accessible baking that produces bakery-quality results.
What Makes This Recipe Unique
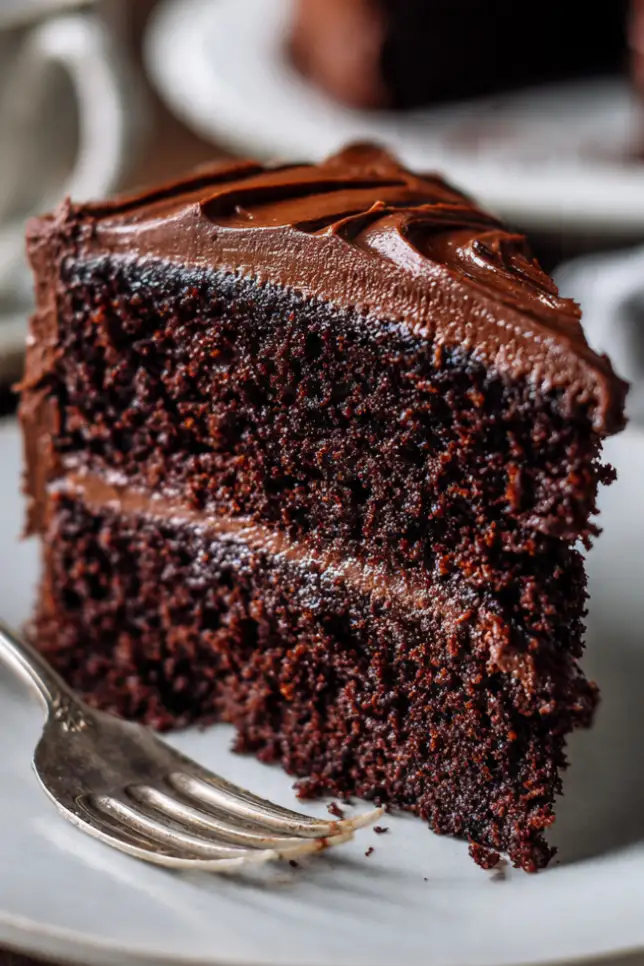
Unlike most chocolate cake recipes that use only butter, this one uses oil. Oil keeps cakes moister than butter because it stays liquid at room temperature. Butter is solid at room temperature, which is why butter-based cakes can become dry faster.
The high liquid-to-flour ratio is another game changer. Most cake batters are thick and spoonable. This batter is so thin you’ll pour it into the pans. That extra liquid creates an incredibly tender crumb that practically melts in your mouth.
The combination of both baking soda and baking powder gives you the perfect rise and texture. Baking soda reacts with the acidic buttermilk immediately, while baking powder provides a secondary rise in the oven. This double leavening is the secret to getting a light, fluffy cake that’s also moist.
Key Features
- Ready in under an hour from start to finish
- Uses simple pantry ingredients
- No mixer required (though a stand mixer makes it easier)
- Stays moist for up to 5 days
- Works well with any frosting
- Can be made ahead and frozen
- Perfect for celebrations or casual weeknight desserts
- Rich chocolate flavor without being too sweet
- Beginner-friendly with consistent results
You’ll Also Love
If you enjoyed this Moist Chocolate Cake, you need to try my Classic Vanilla Buttercream Frosting (it’s the perfect pairing for this cake), my One-Bowl Brownies (same chocolate intensity, different texture), and my Chocolate Chip Cookie Dough Ice Cream (because why stop at just cake?).
For more layer cake recipes, check out my Red Velvet Cake with Cream Cheese Frosting and my Lemon Layer Cake with Lemon Curd Filling. Both use similar techniques but completely different flavor profiles.
Conclusion
After a decade of baking, this is the chocolate cake recipe I keep coming back to. It’s the one I make when someone says they want “the best chocolate cake ever,” and it never disappoints. The secret combination of coffee, buttermilk, and oil creates something truly special that stays moist and delicious for days.
Whether you’re baking for a special occasion or just because you need chocolate in your life right now, this recipe delivers every single time. I’ve made it in my tiny apartment kitchen with basic tools, and I’ve made it with my full collection of baking equipment. It works beautifully either way.
So grab your mixing bowls (or your stand mixer if you have one) and give this a try. I promise you’ll be adding it to your regular rotation. And when people ask for the recipe, you can smile and share it knowing you’ve got the moistest chocolate cake recipe around.
Happy baking!
Linda
Moist Chocolate Cake
Rich, soft, and incredibly moist chocolate cake made with a secret ingredient that enhances deep chocolate flavor.
Ingredients
- 2 cups flour
- 2 cups sugar
- 3/4 cup cocoa powder
- 2 tsp baking soda
- 1 tsp baking powder
- 1 tsp salt
- 2 eggs
- 1 cup buttermilk
- 1 cup hot coffee
- 1/2 cup oil
- 2 tsp vanilla
Instructions
- Preheat oven and prepare pans.
- Mix dry ingredients.
- Combine wet ingredients.
- Mix into a smooth batter.
- Bake 30 to 35 minutes.
- Cool completely before frosting.
Notes
Hot coffee enhances chocolate flavor. Do not overmix. Use room temperature eggs for best texture.