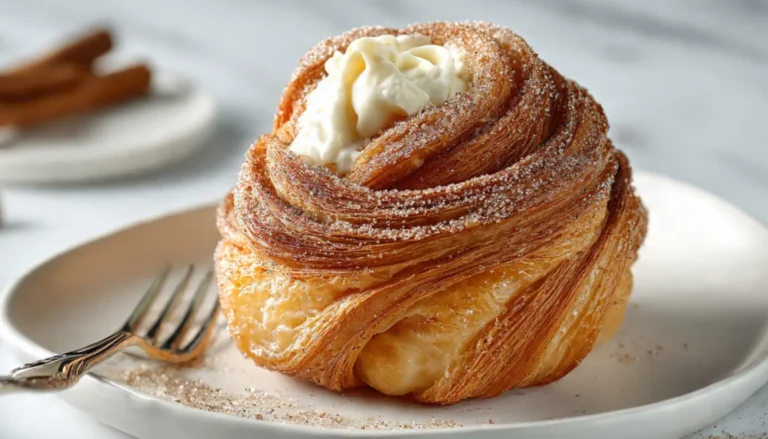
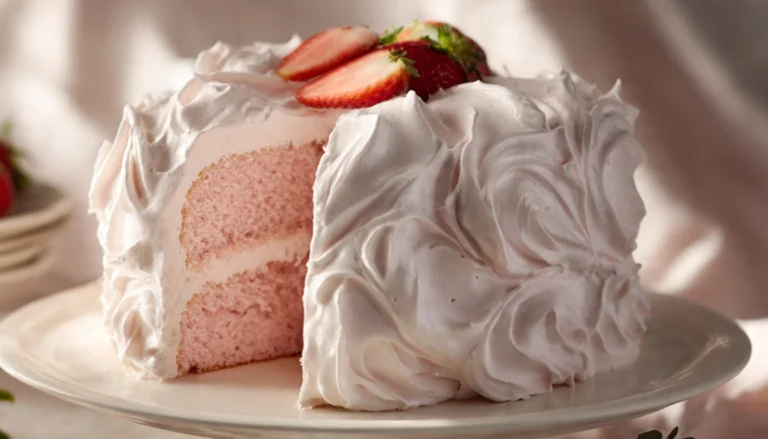
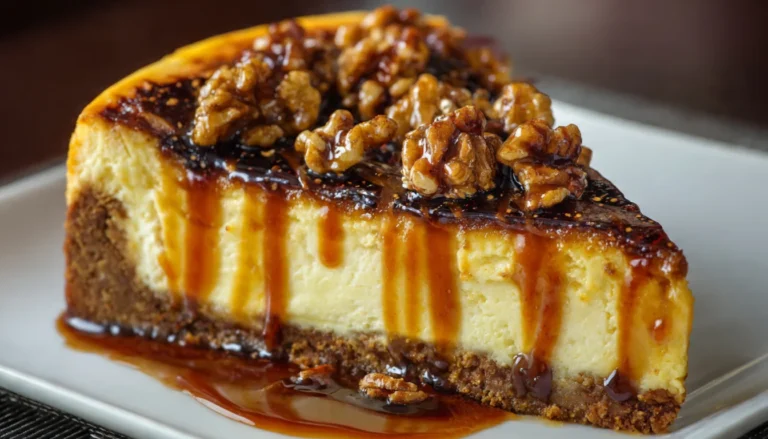
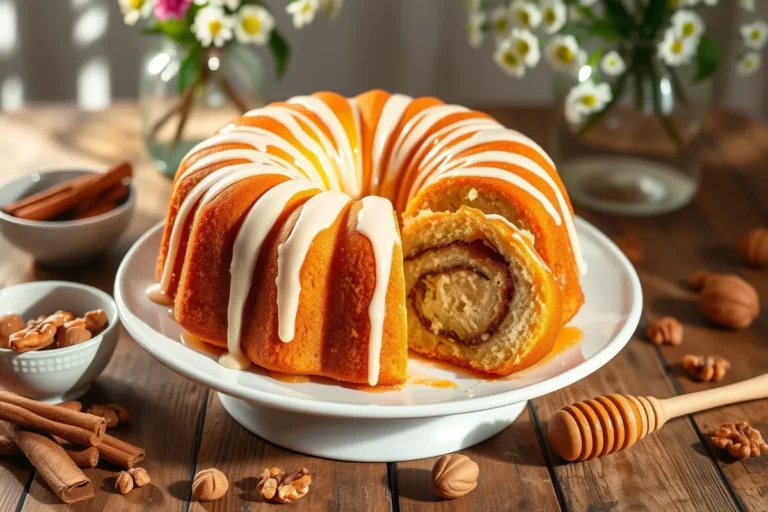
Cloud Cake (Blender Cake): The Fluffiest Dessert You’ll Ever Make
You know what’s funny? I spent years using my stand mixer for every single cake recipe, thinking that was the only way to get that perfect, fluffy texture. Then one afternoon, my KitchenAid decided to give up the ghost right in the middle of making a birthday cake. I had guests coming in two hours, and I did what any desperate baker would do… I threw everything into my blender.
Best accident ever.
That’s how I discovered cloud cake, and honestly, I’ve never looked back. This cake lives up to its name (it’s seriously lighter than air), and the best part? Your blender does all the hard work. No creaming butter for ten minutes, no worrying about overmixing. Just blend, pour, and bake.
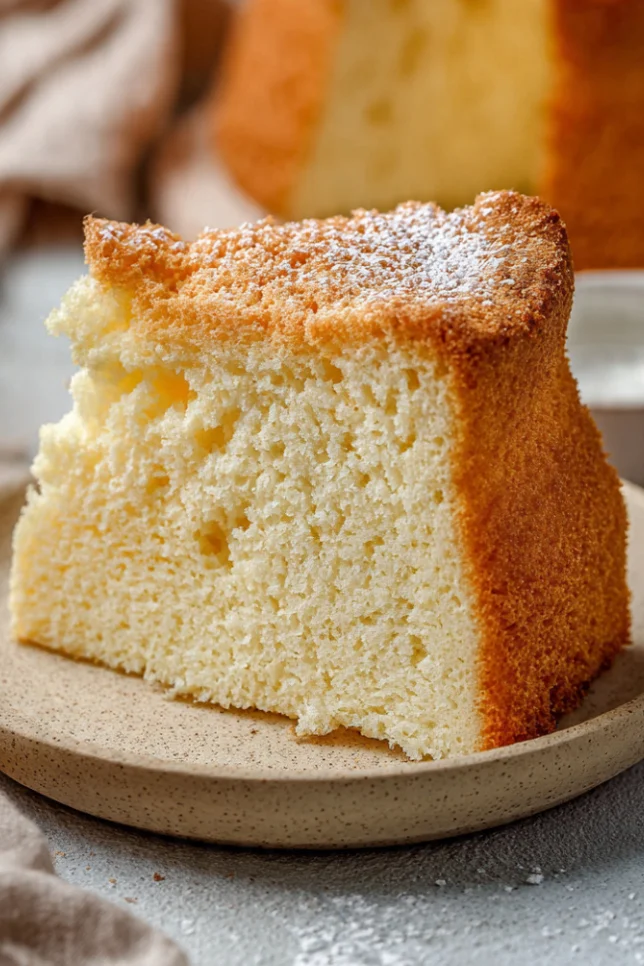
I’ve been making this recipe for about five years now, and it’s become my go-to whenever I need a quick dessert that looks impressive but doesn’t require me to haul out all my baking equipment. The texture is somewhere between a traditional sponge cake and a soufflé (you know, that fancy French dessert that scares most people). But unlike a soufflé, this won’t deflate the second you breathe on it.
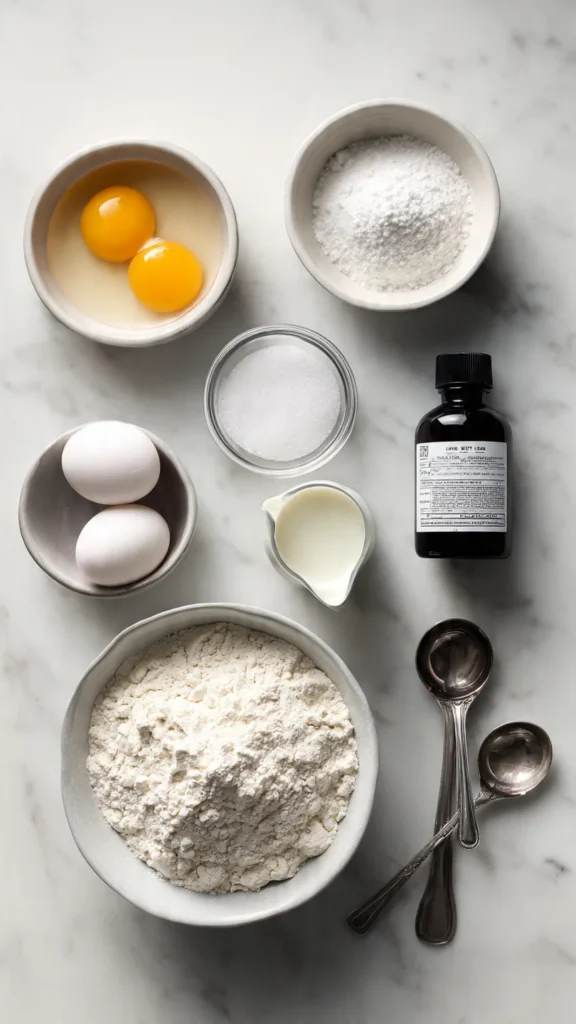
Essential Ingredients
Let me walk you through what you’ll need. The ingredient list is surprisingly short, which is part of why I love this recipe so much.
- 4 large eggs (room temperature, this matters)
- 1 cup granulated sugar
- 1 cup all-purpose flour
- 1/3 cup whole milk (or 2% works fine)
- 1/4 cup vegetable oil (or melted butter if you’re feeling fancy)
- 2 teaspoons vanilla extract
- 1 teaspoon baking powder
- 1/4 teaspoon salt
That’s it. No fancy ingredients, nothing you need to hunt down at specialty stores. I keep all of this on hand anyway.
Alternative Ingredients
Here’s where you can get creative without ruining the cake. I’ve tested all of these substitutions because, let’s face it, we’ve all been there at 9 PM realizing we’re missing something.
Flour: You can use cake flour instead of all-purpose for an even lighter texture. I’ve also made this with a gluten-free flour blend (the kind with xanthan gum already in it), and it worked surprisingly well. Just don’t use almond flour alone. Trust me on that one.
Milk: Any milk works here. I’ve used almond milk, oat milk, even coconut milk when that’s all I had. The coconut milk version has a subtle tropical flavor that’s actually really nice.
Oil: Melted coconut oil, avocado oil, or melted butter all work. Each one gives a slightly different flavor. The butter version tastes more traditional, while coconut oil adds this almost imperceptible richness.
Sugar: You can reduce this to 3/4 cup if you want it less sweet. I wouldn’t go lower than that though, because the sugar actually helps with the structure.
Step-by-Step Directions
Okay, this is where the magic happens. And I mean that literally (it’s almost too easy).
Step 1: Preheat and Prep
Get your oven going at 350°F (175°C). Grease an 8-inch round cake pan and line the bottom with parchment paper. I learned the parchment paper trick the hard way after having my first cloud cake stick like crazy. If you’re using a 9-inch pan, the cake will be slightly thinner but still delicious.
Step 2: Blend Everything
Here’s where your blender becomes your best friend. Add the eggs and sugar to your blender first. Pulse a few times to break up the eggs, then blend on high for about 30 seconds until it’s frothy and pale yellow.
Add the milk, oil, and vanilla. Blend for another 10 seconds.
Now add the flour, baking powder, and salt. This is important: pulse just until combined. You want to see no flour streaks, but you don’t want to over-blend. I usually do about 8-10 pulses. My Vitamix can be aggressive, so I’ve learned to use the pulse function rather than continuous blending.
If you’re using a regular blender (not a high-powered one), you might need to stop and scrape down the sides once. That’s totally normal.
Step 3: Pour and Bake
Pour the batter into your prepared pan. It’ll be quite thin, and you might think something went wrong. It didn’t. This is exactly what it should look like.
Bake for 28-32 minutes. You’re looking for a golden top and a toothpick that comes out clean. Here’s the thing though, this cake rises like crazy in the oven, then settles as it cools. Don’t panic when you see it deflate a bit. That’s supposed to happen.
Step 4: Cool Properly
Let it cool in the pan for 10 minutes. This is crucial. If you try to remove it too soon, it might fall apart because it’s so light and delicate. After 10 minutes, run a knife around the edges and flip it onto a cooling rack.
Let it cool completely before frosting. I know waiting is hard (I’m impatient too), but warm cake + frosting = melted mess.
Pro Tips
After making this probably a hundred times, here’s what I’ve learned:
Room temperature eggs are key. Cold eggs don’t blend as smoothly and won’t incorporate as much air. I usually take them out while the oven preheats.
Don’t open the oven door. I know you’ll want to peek because it rises so dramatically, but opening the door can cause it to collapse. Just wait until the timer goes off.
The batter is supposed to be thin. If it looks more like pancake batter than cake batter, you did it right. I questioned this myself the first three times I made it.
Use a food processor as backup. If you don’t have a blender, a food processor works too. Just be extra careful not to over-process once you add the flour.
Storage matters. This cake stays moist in an airtight container at room temperature for 2-3 days. After that, refrigerate it. I use these meal prep containers that are actually perfect for storing individual slices.
Frequently Asked Questions
What is the best cut of steak for steak bites?
Sirloin is a great choice because it is flavorful and affordable. Ribeye, strip steak or tenderloin can also be used for even more tenderness.
Can I make garlic butter steak bites ahead of time?
Yes. Store cooked steak bites in the refrigerator for up to three days and reheat quickly in a hot skillet with butter.
How do I keep steak bites tender?
Use a very hot pan, cook in batches and avoid overcooking the meat. This ensures a great sear while keeping the center juicy.
Can I cook steak bites without cast iron?
Yes. Any heavy skillet such as stainless steel works well as long as it can handle high heat.
What should I serve with steak bites?
They are delicious with mashed potatoes, roasted vegetables, rice, salads, or even served as appetizer bites.
Why You’ll Love This Recipe
Look, I’m going to be honest with you. This isn’t a fancy, multi-layered showstopper cake. But here’s what it is: ridiculously easy, consistently good, and versatile enough to dress up or down.
It’s become my emergency dessert. Unexpected guests? Blender cake. Forgot about the potluck? Blender cake. Just want something sweet with your coffee? You guessed it.
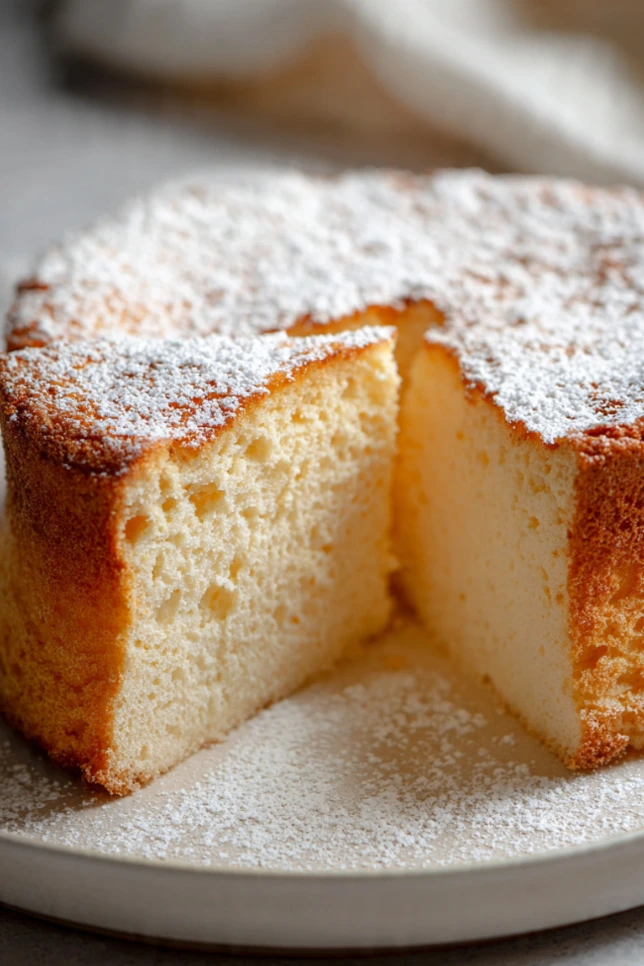
The texture is what gets people. It’s incredibly soft and moist, almost like a very delicate pound cake but lighter. I’ve served this at birthday parties, topped it with fresh berries for a “fancy” dessert, and eaten it plain for breakfast (don’t judge me).
It’s also foolproof in a way that traditional cakes aren’t. I’ve seen friends who claim they “can’t bake” make this perfectly on their first try. The blender does most of the work, so there’s less room for human error.
What Makes This Recipe Unique
The blender method is obviously the star here. But what really sets this apart is how forgiving it is. Traditional cakes require precise mixing techniques (don’t overmix! but also make sure it’s fully mixed!). With this, the blender handles the mixing, and the timing is way less critical.
Also, the ingredient ratios create this really interesting texture that’s lighter than a regular cake but sturdier than angel food cake. It holds up well to frostings, fresh fruit, or even just a dusting of powdered sugar.
I started making this when I was trying to simplify my baking routine. I love baking, but I don’t always love the cleanup. One blender container, one cake pan. That’s all you need to wash. My old recipes would have me washing the stand mixer bowl, paddle attachment, multiple measuring cups… you get it.
Key Features
- One-blender method (seriously, that’s the whole thing)
- Light, cloud-like texture that melts in your mouth
- Minimal cleanup (this matters more than people admit)
- Adapts to different flavors easily
- No special equipment needed beyond a basic blender
- Quick enough for weeknights but impressive enough for company
You’ll Also Love
If you’re into easy blender recipes, you should try my Blender Banana Bread (uses the same concept), or my No-Churn Ice Cream (another blender win). For more traditional cakes that are still beginner-friendly, check out my Simple Vanilla Pound Cake or Lemon Drizzle Cake.
And if you’re looking for other quick desserts, my 5-Minute Chocolate Mug Cake and No-Bake Cheesecake are both reader favorites.
Conclusion
I’ve been making this cloud cake for years now, and it never gets old. Sometimes I top it with whipped cream and strawberries. Sometimes I make a simple chocolate ganache. And sometimes (okay, often) I just eat it plain with my morning coffee.
The best part? Every single time I serve this to someone new, they ask for the recipe. And every single time, they’re shocked when I tell them it’s just a blender cake. There’s something satisfying about making something this good with so little effort.
So next time you need a dessert and don’t feel like dealing with your stand mixer or doing a million dishes, give this a try. Your blender has been waiting for its moment to shine.
Now if you’ll excuse me, I have a slice calling my name from the kitchen.
Steak Bites with Garlic Butter
Juicy skillet seared steak bites tossed in rich garlic butter for a quick and irresistible dinner.
Ingredients
- 1.5 pounds sirloin steak cut into cubes
- 4 tablespoons unsalted butter
- 6 cloves garlic minced
- 2 tablespoons olive oil
- 1 teaspoon kosher salt
- 1/2 teaspoon black pepper
- 1/2 teaspoon smoked paprika
- 1 tablespoon Worcestershire sauce optional
- Fresh parsley chopped for garnish
Instructions
- Remove steak from refrigerator 20 minutes before cooking. Cut into cubes and pat dry.
- Toss steak with salt, pepper and smoked paprika.
- Heat a cast iron skillet over medium high heat until very hot and add olive oil.
- Sear steak bites in a single layer for 90 seconds without moving, then flip and cook another 60 to 90 seconds.
- Transfer cooked steak to a plate and repeat with remaining batches.
- Lower heat and melt butter in the same pan. Add garlic and cook about 30 seconds until fragrant.
- Return steak bites to the skillet and toss in the garlic butter until coated.
- Garnish with parsley and serve immediately.