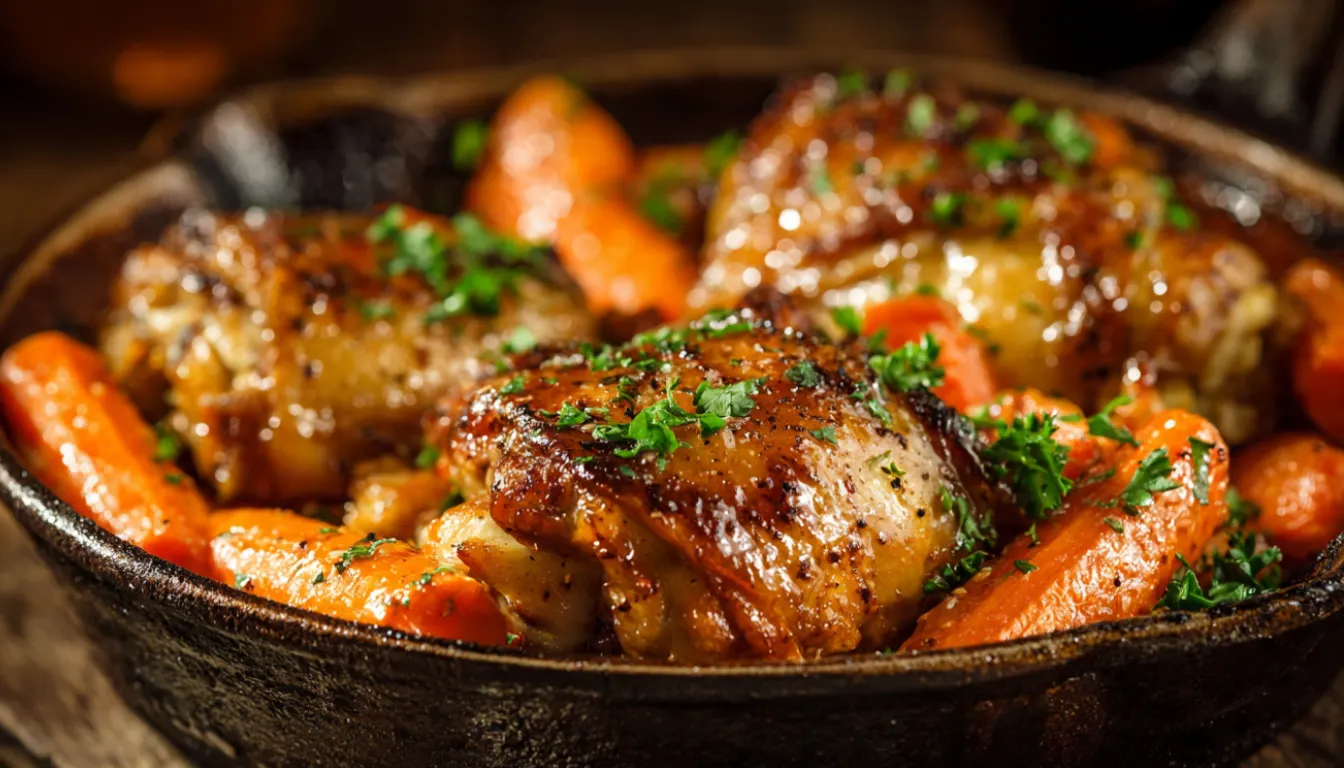
Honey Garlic Chicken with Carrots: The One-Pan Dinner I Make Every Single Week
I’ll be honest with you. I didn’t think a recipe this simple could become the most-requested dish in my house. But here we are, ten years into this cooking journey, and my Honey Garlic Chicken with Carrots is still the thing my family asks for on a Tuesday night when everyone is tired and no one has patience for anything complicated.
The first time I made it, I was trying to use up some chicken thighs and a sad bag of carrots sitting in my fridge. I had garlic, I had honey, and I had about 30 minutes before dinner needed to be on the table. What came out of that cast iron skillet was sticky, golden, sweet, savory, and absolutely addictive. My husband ate two servings and asked me to write it down so we “never lost it.” That was 2015. I’ve made it close to 400 times since.
What I love most about this recipe, besides the obvious flavor payoff, is how well it fits into real life. It works for weeknight meal prep, it reheats beautifully, and the whole thing comes together in one pan. Less cleanup means more time doing literally anything else.
Why You’ll Love This Recipe
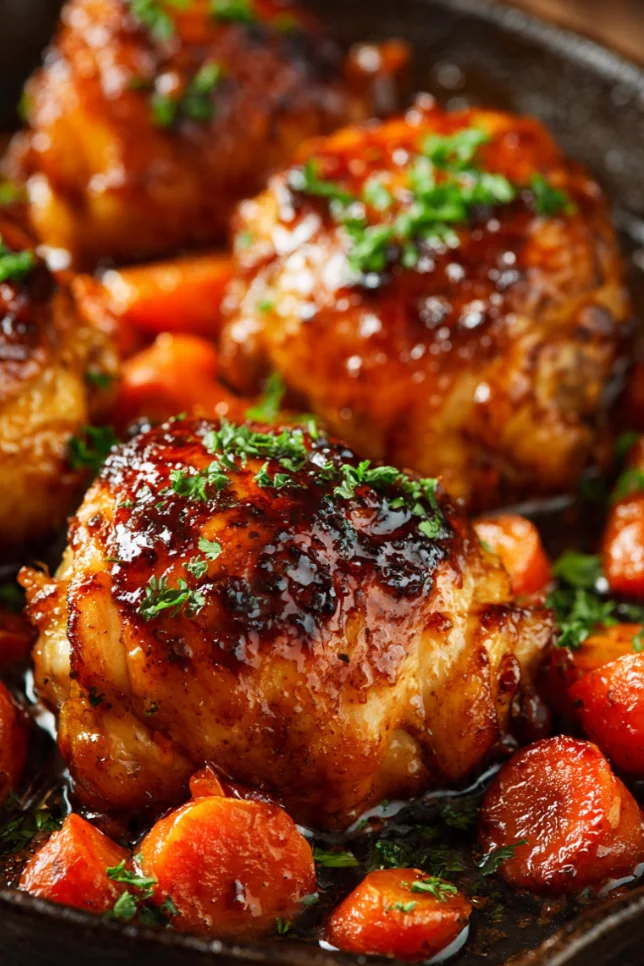
This is genuinely one of those dinners that looks and tastes way more impressive than the effort it takes. The honey caramelizes around the chicken as it cooks, creating this beautiful lacquered glaze that smells incredible the moment it hits a hot pan. The carrots soften and soak up all that garlicky sweetness, which turns them into something almost completely different from the raw vegetable you started with.
It’s also a high-protein, lower-carb dinner that fits naturally into a healthy eating routine without feeling like “diet food.” Each serving gives you solid lean protein from the chicken and natural vitamins from the carrots. If you’re doing any kind of weight loss meal prep or just trying to eat cleaner during the week, this one checks all the right boxes.
What Makes This Recipe Unique
Most honey garlic chicken recipes go straight into the oven without building any flavor first. That’s the mistake I used to make, and the result was always a little flat. The difference here is searing the chicken skin-side down first in the skillet until it turns deep golden brown. That step takes maybe 6 minutes, but it builds a layer of flavor that you simply cannot get any other way. The fond that develops on the bottom of the pan becomes the base of your sauce. It’s a small move that changes everything.
Adding the carrots to the same pan means they pick up every bit of that flavor as they cook. They’re not just a side dish here. They’re part of the whole dish.
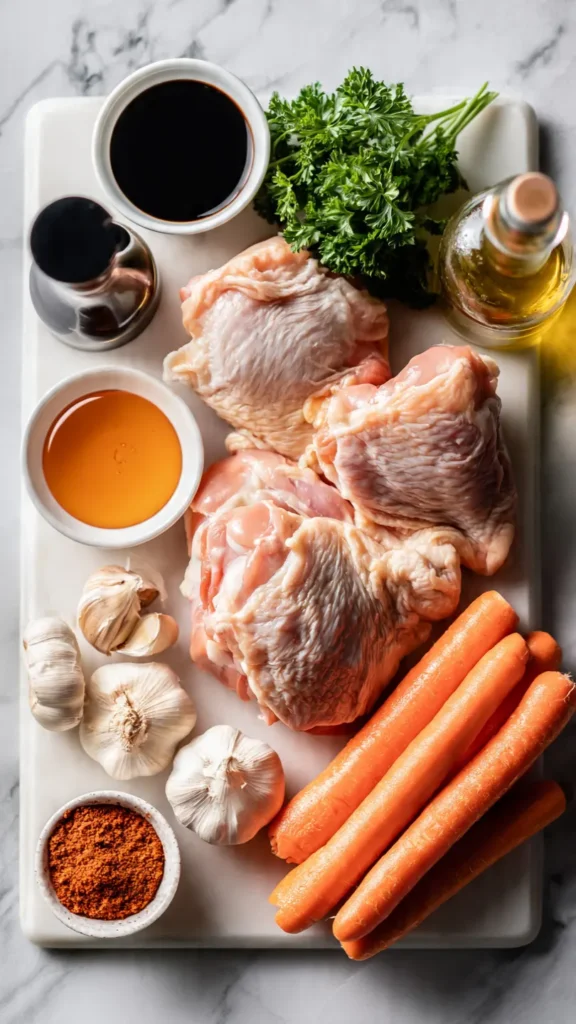
Essential Ingredients
- 4 bone-in, skin-on chicken thighs (about 2 lbs)
- 3 medium carrots, peeled and cut into 2-inch pieces
- 6 cloves garlic, minced
- 3 tablespoons raw honey
- 2 tablespoons soy sauce (low sodium works great)
- 1 tablespoon olive oil
- 1 tablespoon unsalted butter
- 1 teaspoon apple cider vinegar
- 1/2 teaspoon smoked paprika
- Salt and black pepper to taste
- Fresh parsley for garnish (optional but pretty)
Alternative Ingredients
No bone-in thighs? Boneless chicken thighs work fine, just reduce the cook time by about 5 minutes. You can also use chicken breasts, but keep an eye on them because they dry out faster. I’ve even made this with drumsticks when that was all I had.
For the carrots, rainbow carrots are a fun visual upgrade if you find them at the store or farmers market. Baby carrots are convenient and work well. Parsnips are a surprisingly good substitute if you want something a little more earthy and sweet.
If you’re reducing sugar, you can swap honey for a small drizzle of maple syrup or even use a sugar-free honey alternative. The glaze won’t be quite as thick, but the flavor is still solid.
Coconut aminos is a good swap for soy sauce if you’re gluten-free or doing a Whole30 reset. It’s slightly sweeter, so just reduce the honey by a small amount to balance it.
Step-by-Step Directions
Step 1: Season the chicken. Pat the chicken thighs completely dry with paper towels. This step matters more than people realize. Dry skin = crispy skin. Season both sides generously with salt, pepper, and smoked paprika.
Step 2: Make the sauce. In a small bowl, mix together the honey, soy sauce, minced garlic, and apple cider vinegar. Stir it well and set it aside. You want this ready to go before the chicken hits the pan.
Step 3: Sear the chicken. Heat your cast iron skillet or a heavy-bottomed non-stick pan over medium-high heat. Add the olive oil and let it get hot. Place the chicken thighs skin-side down and do not move them. Let them sear for 6 to 7 minutes until the skin is deep golden and releases easily from the pan.
Step 4: Add butter and carrots. Flip the chicken skin-side up. Add the tablespoon of butter to the pan along with the carrot pieces. Let the butter melt and start coating everything.
Step 5: Pour in the sauce. Pour the honey garlic sauce all over the chicken and carrots. It will sizzle and start bubbling right away. Use a spoon to baste the chicken with the sauce.
Step 6: Finish cooking. Reduce the heat to medium. Cover the pan with a lid and cook for 15 minutes, basting the chicken with the sauce every 5 minutes or so. The chicken is done when it reaches an internal temperature of 165°F. I always use a meat thermometer here. No guesswork.
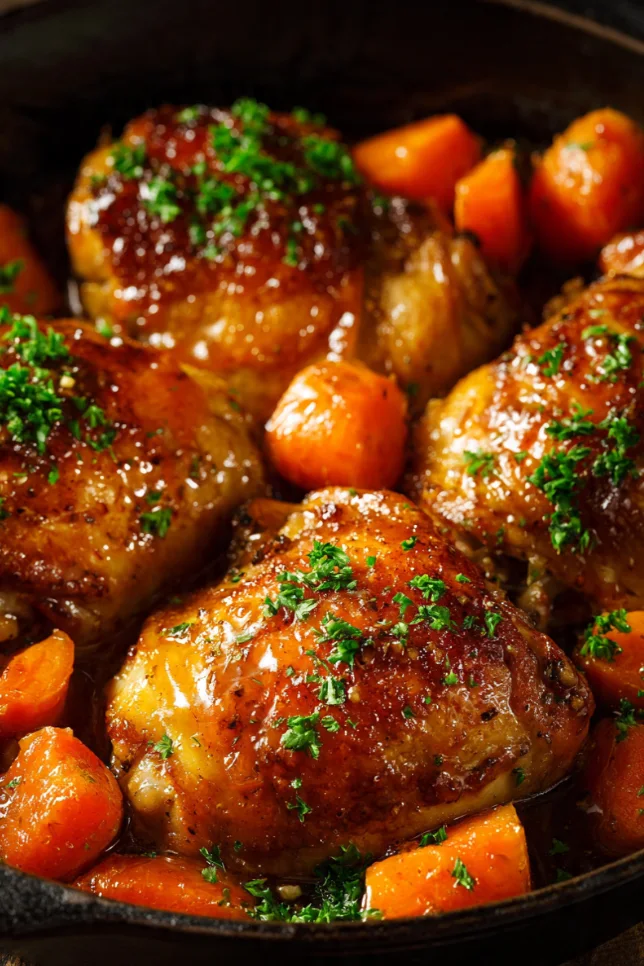
Step 7: Rest and serve. Let the chicken rest in the pan for 3 to 4 minutes before serving. Spoon the sauce from the pan over the top, add fresh parsley if you have it, and get it on the table while it’s hot.
Key Features
This recipe is naturally gluten-free when you use coconut aminos. It’s also a solid choice for clean eating meal planning because it uses whole food ingredients with no processed fillers. It stores well in glass meal prep containers in the fridge for up to 4 days, making it one of my top choices for Sunday prep sessions.
Tools That Make This Easier
A good cast iron skillet is the best tool for this recipe. I’ve been using mine for eight years and it just gets better with age. If you don’t own one yet, it’s the single best cookware investment you’ll make. They hold heat evenly, go from stovetop to oven if needed, and last forever with basic care.
If you want to make this even faster, an Instant Pot version works beautifully. Sear the chicken using the sauté function, add everything else, seal the lid, and cook on high pressure for 12 minutes with a quick release. The carrots come out perfectly tender every time.
A meat thermometer is non-negotiable for me. I use one every time I cook chicken because internal temperature is the only reliable way to know it’s done safely. They’re inexpensive and completely worth it.
For storing leftovers, airtight glass containers keep this fresh and reheat without any off smells or texture loss. Much better than plastic for anything with sauce.
Pro Tips
Dry the chicken skin before cooking. I mentioned it in the steps but it really is the most important thing. Moisture is the enemy of crispy skin.
Do not skip the sear. If you’re tempted to just throw everything in and go, resist it. That initial sear on the skin side builds the flavor that makes this dish what it is.
Fresh garlic makes a real difference here. I know the jarred stuff is convenient, but fresh minced garlic gives you a sharper, more aromatic result. It’s worth the extra two minutes.
If the sauce reduces too quickly and looks like it’s burning, add a splash of chicken broth or even water to loosen it up and keep it glossy.
This reheats best in a skillet on the stovetop over medium-low heat with a spoonful of water added to revive the sauce. The microwave works in a pinch, but the skin will soften.
FAQs
Can I use chicken breast instead of thighs? Yes, but reduce the cooking time. Bone-in breasts take about 20 minutes total after searing. Boneless breasts cook even faster, around 14 to 16 minutes. Always check with a thermometer.
Is this recipe good for meal prep? Absolutely. This is one of my favorite healthy meal prep recipes. It holds up well in the fridge for 4 days and reheats easily. I often double the batch on Sunday and use it for lunches all week.
Can I make this in the oven instead? Yes. After searing the chicken, transfer everything to a baking dish, pour the sauce over, and bake at 400°F for 20 to 25 minutes, basting once halfway through.
Can I freeze honey garlic chicken? You can. Let it cool completely, store in a freezer-safe container, and freeze for up to 2 months. Thaw overnight in the fridge before reheating.
What do I serve with this? White rice is the classic choice because it soaks up the sauce beautifully. Steamed jasmine rice, cauliflower rice for a low-carb version, or even mashed potatoes all work great.
Why You’ll Love This Recipe (Summary)
It’s fast. It’s one pan. It tastes like something you’d order at a restaurant. The sauce is sticky and rich, the chicken is juicy with crispy skin, and the carrots are soft and full of flavor. It fits into a healthy eating plan without sacrificing anything in the taste department. And honestly, after making this so many times, I can tell you it never gets old.
You’ll Also Love
If this recipe hit the spot, here are a few others from beesrecipes.com that follow the same simple, satisfying approach:
- Lemon Herb Chicken Thighs with Potatoes
- Garlic Butter Salmon with Roasted Vegetables
- Teriyaki Chicken Meal Prep Bowls
- One-Pan Balsamic Chicken with Green Beans
- Brown Sugar Glazed Carrots (when you just want the carrots)
Conclusion
Honey Garlic Chicken with Carrots is the kind of recipe that earns a permanent spot in your weekly dinner rotation. It’s the dish you make when you’re tired but still want something that tastes like you put in real effort. Which, honestly, you kind of did. Just not as much as it looks like.
Ten years of cooking has taught me that the best recipes aren’t the complicated ones. They’re the ones you actually make, repeatedly, because they work every single time. This is one of those.
Try it this week and let me know how it goes in the comments. And if you made any tweaks that worked for you, I want to hear about it. That’s how the best recipes get even better.
Happy cooking, Linda
Honey Garlic Chicken with Carrots
Sticky honey garlic chicken thighs cooked in one pan with tender carrots for an easy family dinner.
Recipe Details
- Prep Time: 10 minutes
- Cook Time: 25 minutes
- Total Time: 35 minutes
- Servings: 4
Ingredients
- 4 bone-in, skin-on chicken thighs
- 3 medium carrots, peeled and cut into pieces
- 6 cloves garlic, minced
- 3 tablespoons honey
- 2 tablespoons soy sauce
- 1 tablespoon olive oil
- 1 tablespoon butter
- 1 teaspoon apple cider vinegar
- 1/2 teaspoon smoked paprika
- Salt and pepper
- Fresh parsley
Instructions
- Season chicken with salt, pepper, and paprika.
- Mix honey, soy sauce, garlic, and vinegar.
- Sear chicken skin-side down for 6 to 7 minutes.
- Flip chicken and add butter and carrots.
- Pour sauce over chicken and carrots.
- Cover and cook 15 minutes until chicken reaches 165°F.
- Rest for 3 to 4 minutes and serve.