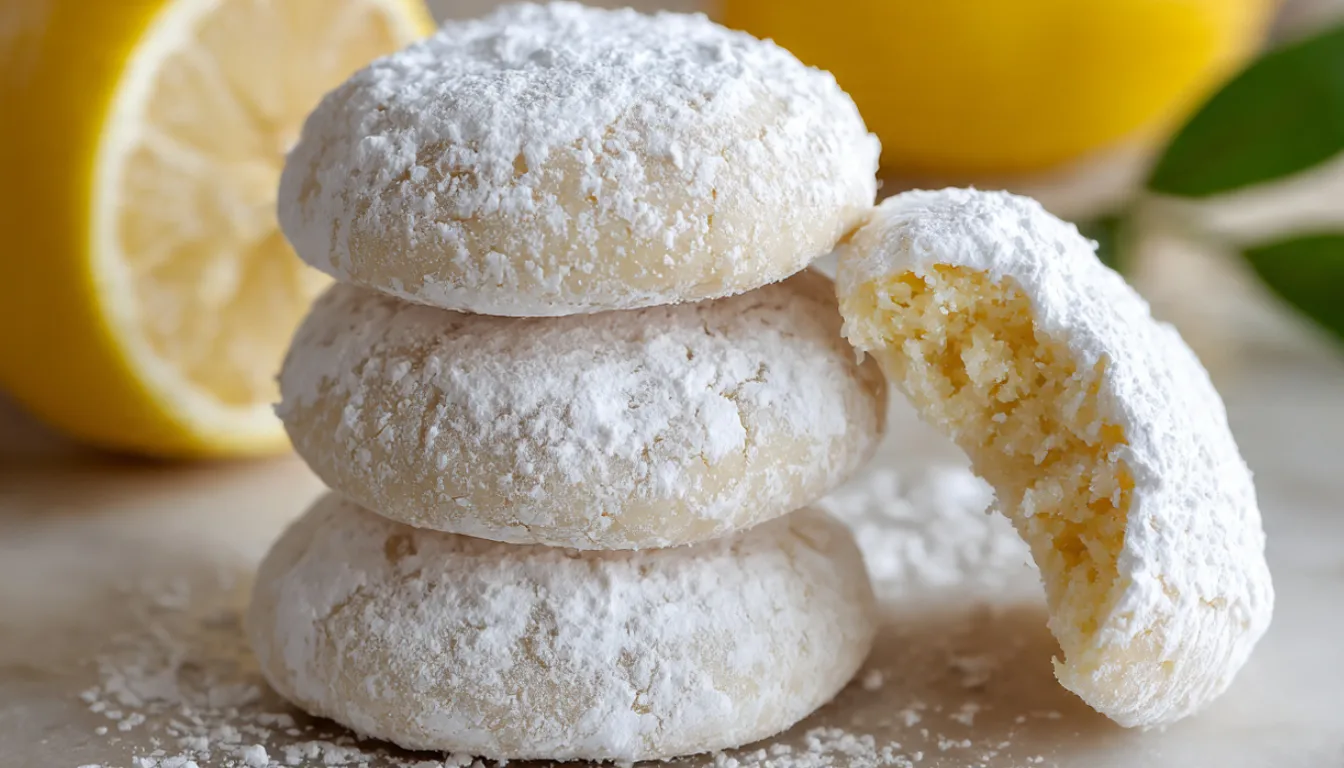
Homemade Lemon Meltaway Cookies Recipe – Buttery and Tender
I still remember the first time I made these cookies. I was trying to impress my mother-in-law during a summer visit, and let’s just say my first batch turned out more like lemon hockey pucks than delicate meltaways. The problem? I didn’t understand how crucial the butter temperature was. After ten years of baking professionally, I can tell you that these cookies are actually one of the easiest treats to master once you know a few key tricks.
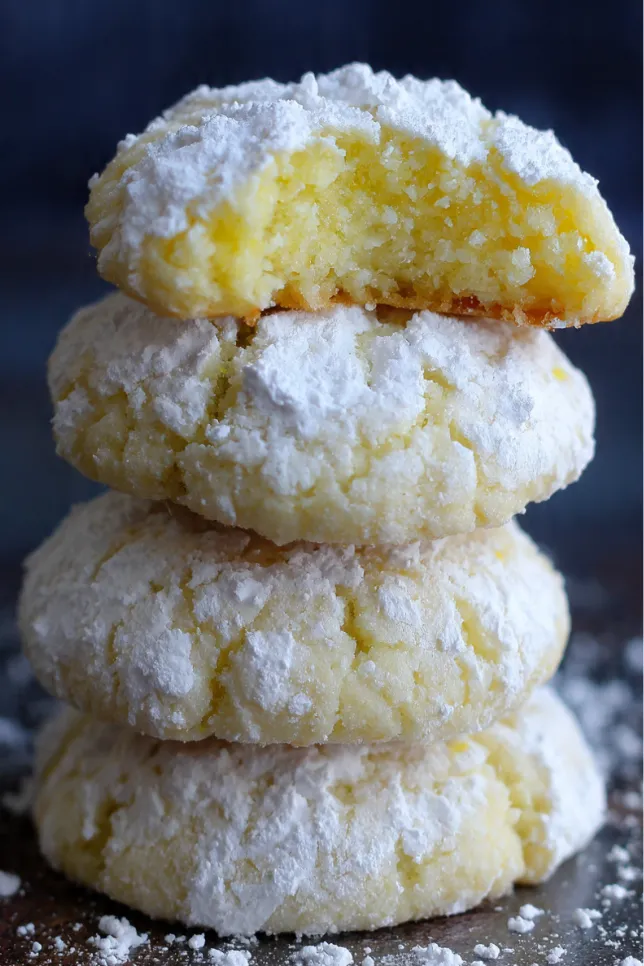
These buttery, tender cookies literally dissolve on your tongue. The secret is in the cornstarch, which creates that signature melt-in-your-mouth texture that gives them their name. I’ve been making these for garden parties, cookie swaps, and just because they’re my daughter’s favorite afternoon snack. They look fancy enough for special occasions but come together faster than you’d think.
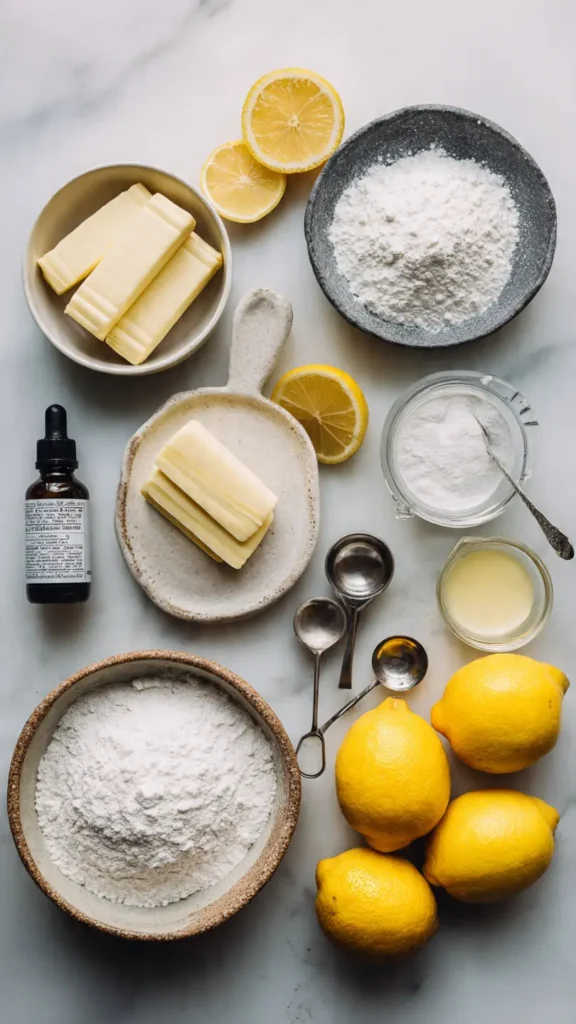
Essential Ingredients
The beauty of meltaway cookies is their simplicity. You probably have most of these in your pantry already:
- 1 cup (2 sticks) unsalted butter, softened to room temperature
- 1/2 cup powdered sugar, plus extra for coating
- 2 tablespoons fresh lemon juice
- 1 tablespoon lemon zest (from about 2 lemons)
- 1 teaspoon vanilla extract
- 1 3/4 cups all-purpose flour
- 1/4 cup cornstarch
- 1/4 teaspoon salt
Alternative Ingredients
Here’s what I’ve learned about substitutions over the years. If you don’t have fresh lemons, bottled lemon juice works in a pinch, but you’ll lose some of that bright, fresh flavor. The zest is really where the magic happens, so I’d recommend keeping fresh lemons on hand.
For a twist, try lime or orange zest instead. I made blood orange meltaways last winter and they were stunning. You can also swap half the butter for cream cheese if you want a slightly tangy variation, though they won’t be quite as delicate.
Can’t find cornstarch? I’ve used arrowroot powder with decent results, but the texture isn’t quite the same. The cornstarch is really what makes these cookies special, so I’d hunt for it if you can.
Step-by-Step Directions
Step 1: Prep Your Workspace
Before you start, make sure your butter is at the right temperature. This is critical. It should be soft enough that you can press your finger into it easily, but not so soft that it’s greasy or melting. I usually leave mine on the counter for about 45 minutes. If you’re like me and forget to take it out early, you can cut it into small cubes to speed up the softening process. Just don’t microwave it. Trust me on this one.
Step 2: Cream the Butter and Sugar
In a large mixing bowl (I use my KitchenAid stand mixer for this, but a hand mixer works fine), beat the softened butter and powdered sugar together until it’s light and fluffy. This takes about 3 to 4 minutes. Don’t rush this step. You want to incorporate air into the mixture, which helps create that tender texture.
Step 3: Add the Lemon and Vanilla
Beat in the lemon juice, lemon zest, and vanilla extract. The mixture might look a little curdled at this point. That’s normal. The liquid from the lemon juice can make it seem broken, but it’ll come together once you add the dry ingredients.
Step 4: Combine Dry Ingredients
In a separate bowl, whisk together the flour, cornstarch, and salt. I like to use a fine-mesh strainer to sift the cornstarch because it can be clumpy. This extra step makes a real difference in the final texture.
Step 5: Mix It All Together
Add the dry ingredients to the butter mixture and mix on low speed just until combined. Here’s where a lot of people mess up. Overmixing will make your cookies tough instead of tender. As soon as you don’t see any dry flour, stop mixing. The dough should be soft and slightly sticky.
Step 6: Chill the Dough
This is the step I always skipped when I was starting out, and it was a mistake every single time. Wrap the dough in plastic wrap and refrigerate for at least 30 minutes. I usually do an hour. Chilled dough is way easier to work with and helps the cookies keep their shape.
Step 7: Shape the Cookies
Preheat your oven to 350°F. Line your cookie sheets with parchment paper or a silicone baking mat. I prefer parchment paper for these because they tend to spread less.
Roll the chilled dough into 1-inch balls. If the dough is still too sticky, dust your hands with a little powdered sugar. Place them about 2 inches apart on your prepared baking sheets. They’ll spread slightly but not dramatically.
Step 8: Bake
Bake for 10 to 12 minutes. This is the tricky part. You want to take them out when the edges are just barely starting to turn golden and the centers still look slightly underdone. They’ll continue cooking on the hot pan after you remove them from the oven. I set a timer for 10 minutes and then watch them like a hawk for the next 2 minutes.
Step 9: Cool and Coat
Let the cookies cool on the baking sheet for about 5 minutes. They’re very delicate when they’re hot. While they’re still warm (but not hot), gently roll them in powdered sugar. I put the sugar in a shallow bowl and carefully turn each cookie to coat all sides.
Once they’ve cooled completely, roll them in powdered sugar again for that classic snowy appearance.
Pro Tips
After making these cookies probably a hundred times, here’s what I’ve learned:
The Butter Temperature is Everything – Room temperature butter should leave a slight indent when you press it. If your kitchen is warm, keep an eye on it because butter can go from perfectly soft to too melted quickly.
Invest in Good Cookie Sheets – I fought this for years, trying to make do with cheap, thin pans. Quality cookie sheets make a huge difference. They heat evenly and prevent burning on the bottom. I finally got a set of heavy-duty aluminum sheets and I’ll never go back.
Freeze the Unbaked Dough – These are perfect for meal prep. Roll the dough into balls, freeze them on a baking sheet, then transfer to a freezer-safe container. You can bake them straight from frozen. Just add a couple extra minutes to the baking time.
Don’t Skip the Double Sugar Coating – Rolling them once while warm helps the sugar stick, and the second coating when cool gives you that beautiful, professional finish.
Use Real Vanilla Extract – The imitation stuff just doesn’t cut it here. With so few ingredients, each one really matters.
FAQs
Why are my lemon meltaway cookies spreading too much?
This usually happens if the butter is too soft or the dough wasn’t chilled properly.
Can I make lemon meltaway cookies ahead of time?
Yes, they stay fresh for up to 5 days and taste even better the next day.
What makes meltaway cookies soft?
Cornstarch creates that signature melt-in-your-mouth texture.
Can I use other citrus flavors?
Lime or orange zest works perfectly as a substitute.
Can I freeze the dough?
Yes, freeze dough balls and bake directly from frozen.
Recipe Info
| Prep Time | 20 minutes | | Chill Time | 30-60 minutes | | Cook Time | 10-12 minutes | | Total Time | 1 hour 10 minutes | | Servings | 36 cookies | | Yield | About 3 dozen cookies |
Why You’ll Love This Recipe
These cookies have become my go-to for so many occasions. They’re elegant enough for a wedding shower but simple enough for a Tuesday afternoon treat. I love that I can make the dough ahead, keep it in the fridge, and bake fresh cookies whenever I need them.
They’re also incredibly versatile. I’ve brought them to potlucks, given them as gifts, and served them at book club meetings. Everyone always asks for the recipe, and honestly, I think it’s because they taste like something you’d get from a fancy bakery, not something you whipped up at home.
The best part? They’re not overly sweet. The lemon gives them this bright, fresh flavor that’s perfect with afternoon tea or coffee. My kids actually prefer these to chocolate chip cookies, which is saying something.
What Makes This Recipe Unique
Most meltaway cookie recipes use a ton of powdered sugar, which can make them cloyingly sweet. This version balances the sweetness with fresh lemon juice and zest. The citrus cuts through the butter and sugar, making them feel lighter and more refined.
The texture is what really sets these apart. They’re so tender they practically dissolve on your tongue. That comes from the combination of cornstarch and not overbaking them. It took me years to perfect the timing, but once you nail it, you’ll see why these cookies are worth making.
Key Features
- Delicate, melt-in-your-mouth texture
- Bright, fresh lemon flavor
- Simple ingredients you likely have on hand
- Perfect for gift-giving or special occasions
- Freezer-friendly dough for easy make-ahead baking
- No chilling required between batches
- Naturally elegant presentation
Nutrition Facts
| Per Cookie (1 cookie) | | | Calories | 78 | | Total Fat | 5g | | Saturated Fat | 3g | | Cholesterol | 14mg | | Sodium | 18mg | | Total Carbohydrates | 8g | | Dietary Fiber | 0g | | Sugars | 3g | | Protein | 1g |
Note: Nutrition information is approximate and based on standard ingredients.
You’ll Also Love
If you enjoyed these lemon meltaways, you’ll definitely want to try:
- Shortbread Cookies – Another buttery, tender cookie that’s perfect for afternoon tea
- Russian Tea Cakes – Similar melt-in-your-mouth texture with a nutty twist
- Lemon Bars – If you’re a lemon lover, these are a must-try
- Snowball Cookies – Basically the same technique but with pecans instead of lemon
- Butter Cookies – Classic and simple, just like these meltaways
Conclusion
I hope you’ll give these lemon meltaway cookies a try. They’ve been a staple in my recipe box for years, and I still get excited every time I make them. There’s something special about pulling a tray of these delicate, buttery cookies out of the oven and knowing that in just a few minutes, you’ll have a treat that tastes like it came from a professional bakery.
The first time you make them, follow the recipe exactly. Once you’ve got the basic technique down, feel free to experiment with different citrus flavors or add-ins. Just remember the golden rules: proper butter temperature, don’t overmix, and don’t overbake.
Happy baking! And if you try these, I’d love to hear how they turn out for you. These cookies have brought so much joy to my kitchen over the years, and I’m excited for you to experience that same magic.
Lemon Meltaway Cookies
Soft, buttery cookies with a delicate lemon flavor that literally melt in your mouth.
Ingredients
- 1 cup butter
- 1/2 cup powdered sugar
- 2 tbsp lemon juice
- 1 tbsp lemon zest
- 1 tsp vanilla
- 1 3/4 cups flour
- 1/4 cup cornstarch
- 1/4 tsp salt
Instructions
- Cream butter and sugar until fluffy
- Add lemon juice, zest, and vanilla
- Mix dry ingredients separately
- Combine gently
- Chill dough
- Roll into balls
- Bake 10-12 minutes
- Coat in powdered sugar twice
Notes
Use room temperature butter and avoid overmixing. Chill dough for best texture.