Miracle No Knead Bread – Easy Artisan Loaf Recipe
Introduction
I still remember the first time someone told me you could make artisan-quality bread without kneading. I laughed. After 10 years of baking professionally, I thought I knew better. Bread means work, right? Wrong. This no-knead method changed everything about how I approach bread baking, and honestly, it’s the recipe I recommend most often to beginners.
The magic happens while you sleep. Mix four simple ingredients, let time do the work, and wake up to dough that’s ready to become the crustiest, most bakery-worthy loaf you’ve ever made at home. The secret? A Dutch oven and patience. That’s it.
I’ve taught this recipe to dozens of friends who swore they “couldn’t bake bread,” and every single one succeeded on their first try. If you can stir and wait, you can make this bread.
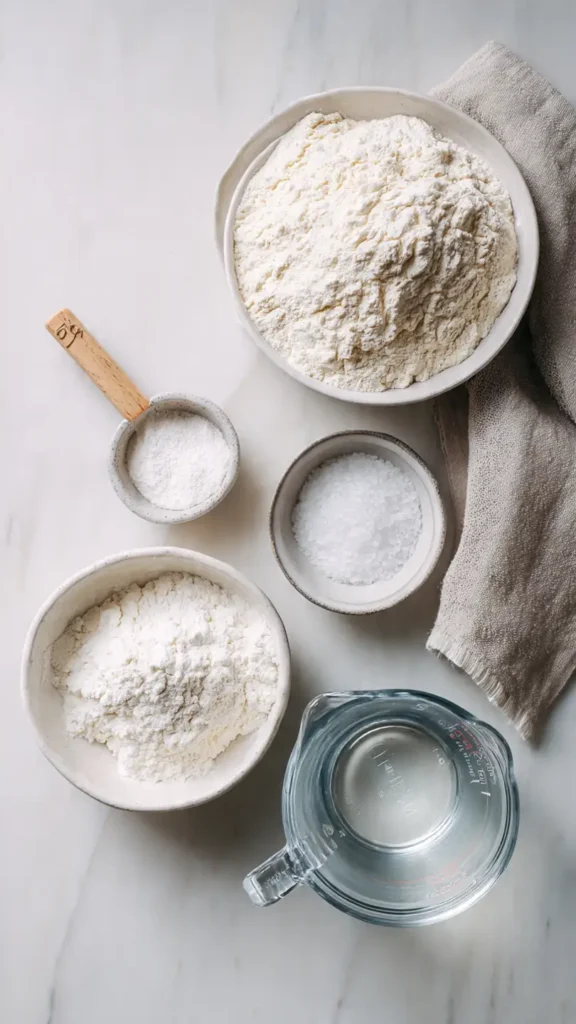
Essential Ingredients
- 3 cups all-purpose flour (plus extra for dusting)
- 1/4 teaspoon instant yeast (yes, really just 1/4 teaspoon)
- 1 1/2 teaspoons salt
- 1 1/2 cups warm water (about 110°F)
That’s the entire list. Four ingredients you probably already have.
Alternative Ingredients
Flour Variations:
- Swap 1/2 cup all-purpose flour for whole wheat flour (adds nutty flavor)
- Use bread flour for an even chewier texture
- Try 1/4 cup rye flour for complexity
Flavor Additions (Optional):
- 1 tablespoon honey in the water (subtle sweetness)
- 2 tablespoons herbs like rosemary or thyme
- 1/2 cup shredded cheese folded in before baking
- 1/4 cup seeds (sunflower, pumpkin, or sesame)
Yeast Notes: If you only have active dry yeast instead of instant, use the same amount but let it proof in the warm water for 5 minutes first.
Step-by-Step Directions
Step 1: Mix the Dough (5 minutes) In a large bowl, whisk together the flour, yeast, and salt. Add the warm water and stir with a wooden spoon until you’ve got a shaggy, sticky dough. It’ll look rough and uneven, which is perfect. Don’t overmix or try to make it smooth.
Step 2: First Rise (12-18 hours) Cover the bowl with plastic wrap or a damp kitchen towel. Leave it on your counter at room temperature for 12 to 18 hours. I usually mix mine around 8 PM and bake it the next morning around 10 AM. The dough will double in size and get bubbly on top.
Step 3: Shape the Dough (5 minutes) Flour your work surface generously. The dough will be very sticky and wet, which is exactly what you want. Scrape it out onto the floured surface and fold it over itself 2-3 times. Shape it into a rough ball. Don’t worry about perfection here.
Step 4: Second Rise (2 hours) Place a clean kitchen towel on your counter and dust it heavily with flour. Put your dough ball seam-side down on the towel. Cover with another towel and let it rise for 2 hours. It should nearly double again.
Step 5: Preheat the Dutch Oven (30 minutes) About 30 minutes before you’re ready to bake, put your Dutch oven (with the lid on) into your oven and preheat to 450°F. This is crucial. You need that pot screaming hot. I use a cast iron Dutch oven, but any heavy pot with a lid works. If you have a stand mixer, you won’t need it for this recipe, but I mention it because some people like using the dough hook for traditional kneaded breads.
Step 6: Bake (45 minutes) Carefully remove your hot Dutch oven. I use oven mitts and move slowly because that pot is dangerously hot. Place a piece of parchment paper over your dough, flip it over so the seam side is up, and use the parchment to lift it into the hot pot. Put the lid on.
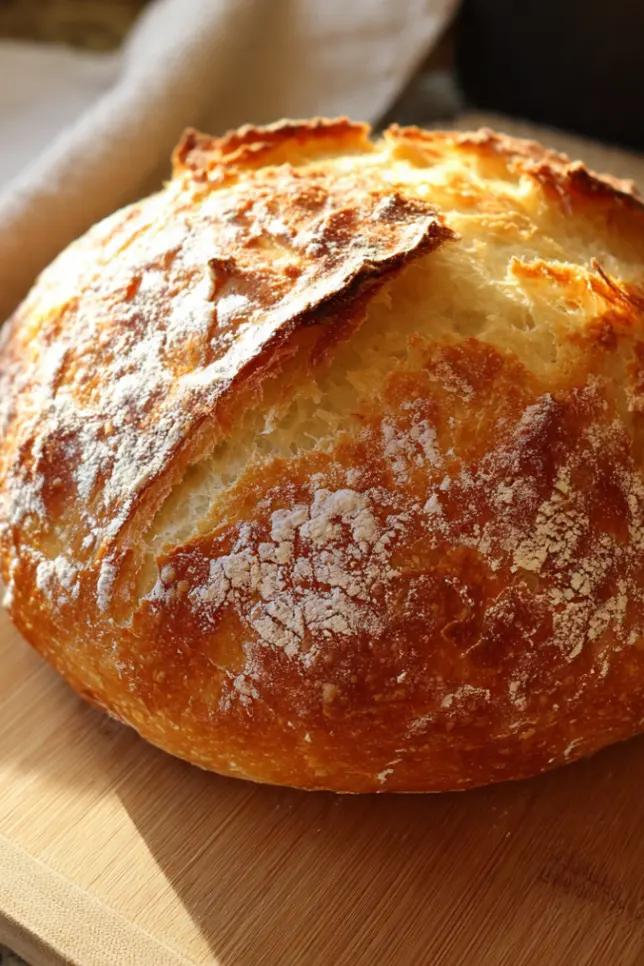
Bake covered for 30 minutes. Then remove the lid and bake another 15 minutes until the crust is deep golden brown. The sound when you tap the bottom should be hollow.
Step 7: Cool (Critical Step) Transfer to a wire rack. Wait at least 30 minutes before slicing. I know this is torture, but cutting hot bread turns it gummy inside. Trust me on this one.
Pro Tips
Temperature Matters Room temperature affects rise time. In winter, my dough sometimes needs 20 hours. In summer, 12 hours is plenty. You’ll know it’s ready when the surface is dotted with bubbles.
The Parchment Paper Trick When I started making this, I burned myself twice trying to drop sticky dough into a hot pot. Using parchment paper as a sling changed my life. Just lift and lower the whole thing in.
Don’t Skip the Preheat That 30-minute preheat with the Dutch oven inside creates the steam environment that gives you that bakery crust. Cold pot equals sad, soft bread.
Meal Prep Version This bread freezes beautifully. I often make two loaves on Sunday for meal prep throughout the week. Slice it, wrap portions in foil, and freeze. Toast straight from frozen.
Storage Solutions Once cooled, store in a paper bag on the counter for 2-3 days. Bread storage containers work, but honestly, a paper bag keeps the crust better. Plastic makes it soggy.
Frequently Asked Questions
Why is my no knead bread dense?
It usually means the dough didn’t rise long enough or the yeast is inactive.
Can I make this without a Dutch oven?
Yes, but a heavy pot with a lid gives the best crust.
How long should the dough rise?
Between 12 and 18 hours depending on temperature.
Can I add flavors?
Yes, herbs, cheese, and seeds work great.
How do I store it?
Keep in a paper bag or freeze slices for later.
Recipe Info Table
| Detail | Information |
|---|---|
| Prep Time | 10 minutes (plus 14-20 hours rising) |
| Cook Time | 45 minutes |
| Total Time | 15-21 hours |
| Servings | 8-10 slices |
| Yield | 1 large loaf |
| Difficulty | Beginner |
Why You’ll Love This Recipe
This bread requires zero skill and delivers professional results. The long, slow rise develops complex flavors that you’d normally only get from expensive bakery loaves. You’ll save money, impress everyone, and actually enjoy the process because there’s no hard work involved.
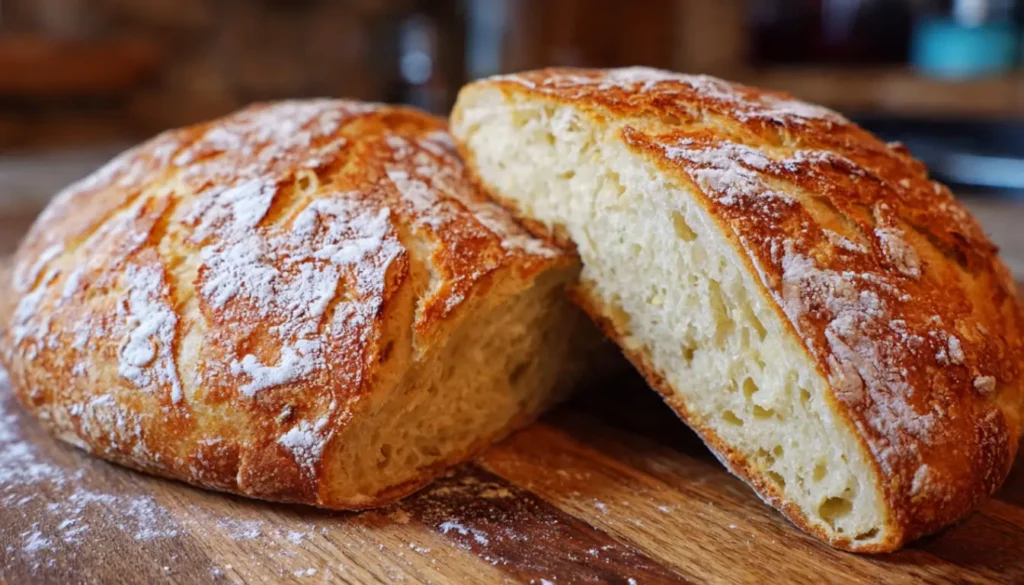
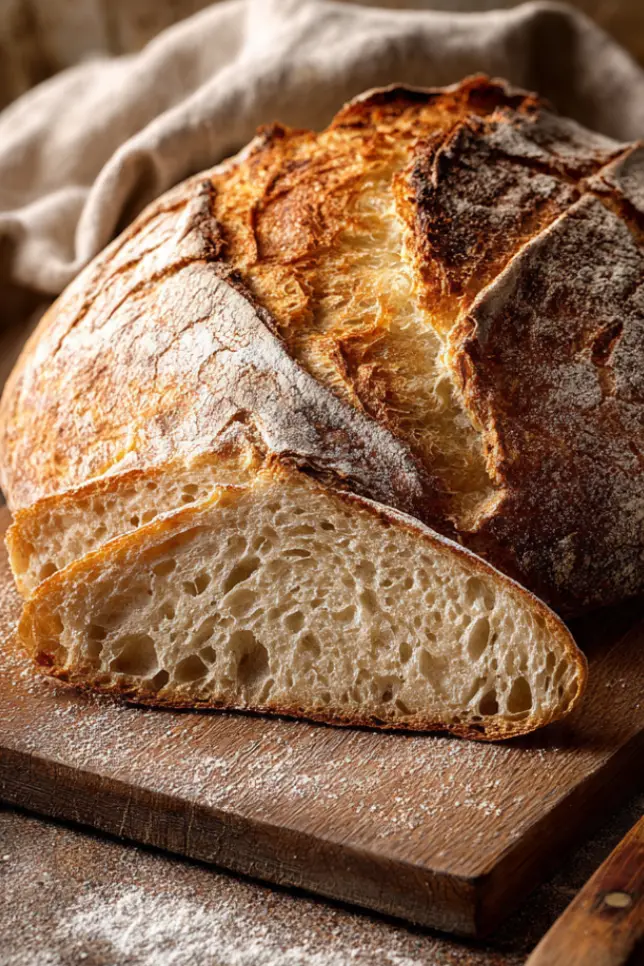
The crust shatters when you cut it. The inside has those beautiful irregular holes you see in artisan bread. And your house smells incredible for hours.
What Makes This Recipe Unique
Most bread recipes demand precise kneading, specific temperatures, and constant attention. This one laughs at all that. The extended fermentation does what kneading normally does, developing the gluten structure naturally through time rather than mechanical work.
The Dutch oven creates a mini steam oven environment. Professional bakers use steam injection ovens that cost thousands of dollars. You’re getting the same effect with a $30 pot.
Key Features
- Hands-on time: Under 15 minutes total
- No kneading required: Time does all the work
- Four ingredients: Flour, water, yeast, salt
- Beginner-friendly: Nearly impossible to mess up
- Bakery-quality crust: Crispy outside, chewy inside
- Customizable: Add herbs, cheese, seeds, or olives
- Freezer-friendly: Meal prep multiple loaves
- Cost-effective: Pennies per loaf versus $6 at bakeries
Nutrition Facts Table
Per serving (1 slice, assuming 10 slices per loaf):
| Nutrient | Amount |
|---|---|
| Calories | 150 |
| Total Fat | 0.5g |
| Sodium | 350mg |
| Total Carbohydrates | 31g |
| Dietary Fiber | 1g |
| Sugars | 0g |
| Protein | 5g |
Note: Nutrition facts are approximate and will vary based on specific ingredients used.
You’ll Also Love
If this recipe worked for you, try these other minimal-effort favorites:
- Easy Overnight Cinnamon Rolls (Another overnight rise recipe)
- No-Knead Pizza Dough (Same technique, different shape)
- Homemade Focaccia Bread (Requires even less shaping)
- Simple Sourdough Starter (Next-level fermentation)
Conclusion
I’ve been baking professionally for a decade, and this is still the bread I make most often at home. It’s proof that sometimes the simplest methods produce the best results.
Give yourself the gift of time. Mix this dough tonight, go to bed, and wake up to bread that’ll make your kitchen smell like a French bakery. The first time you hear that crust crackle as it cools, you’ll understand why this recipe changed my whole approach to bread baking.
Your friends will ask if you bought it from that expensive bakery downtown. Let them wonder.
Miracle No Knead Bread
Bakery-quality artisan bread made with just four ingredients and zero kneading.
Ingredients
- 3 cups all-purpose flour
- 1/4 teaspoon instant yeast
- 1 1/2 teaspoons salt
- 1 1/2 cups warm water
Instructions
- Mix flour, yeast, and salt. Add water and stir into sticky dough.
- Cover and let rise 12-18 hours until bubbly.
- Shape lightly on floured surface.
- Let rise again for 2 hours.
- Preheat Dutch oven at 450°F.
- Bake covered 30 minutes, then uncovered 15 minutes.
- Cool before slicing.
Notes
Use parchment paper to transfer dough safely. Do not skip preheating the Dutch oven for best crust.