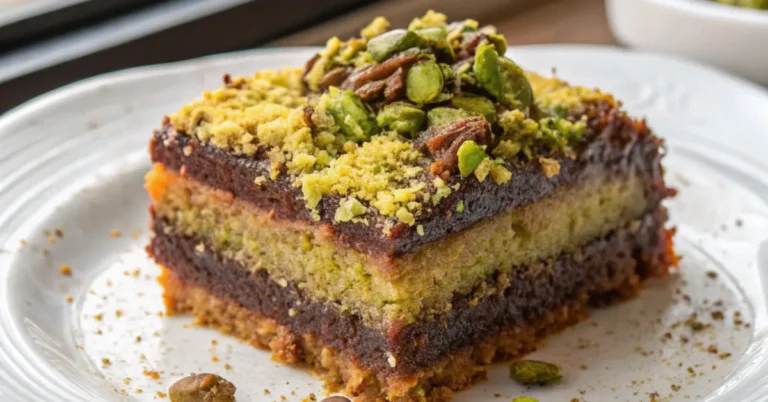
No-Bake Chocolate Cream Biscuit Dessert
My mom used to make a version of this every summer because the oven turned the kitchen into a sauna and nobody wanted to deal with that. She’d layer plain biscuits, chocolate cream, and nothing else, and somehow it was the thing we all asked for the most.
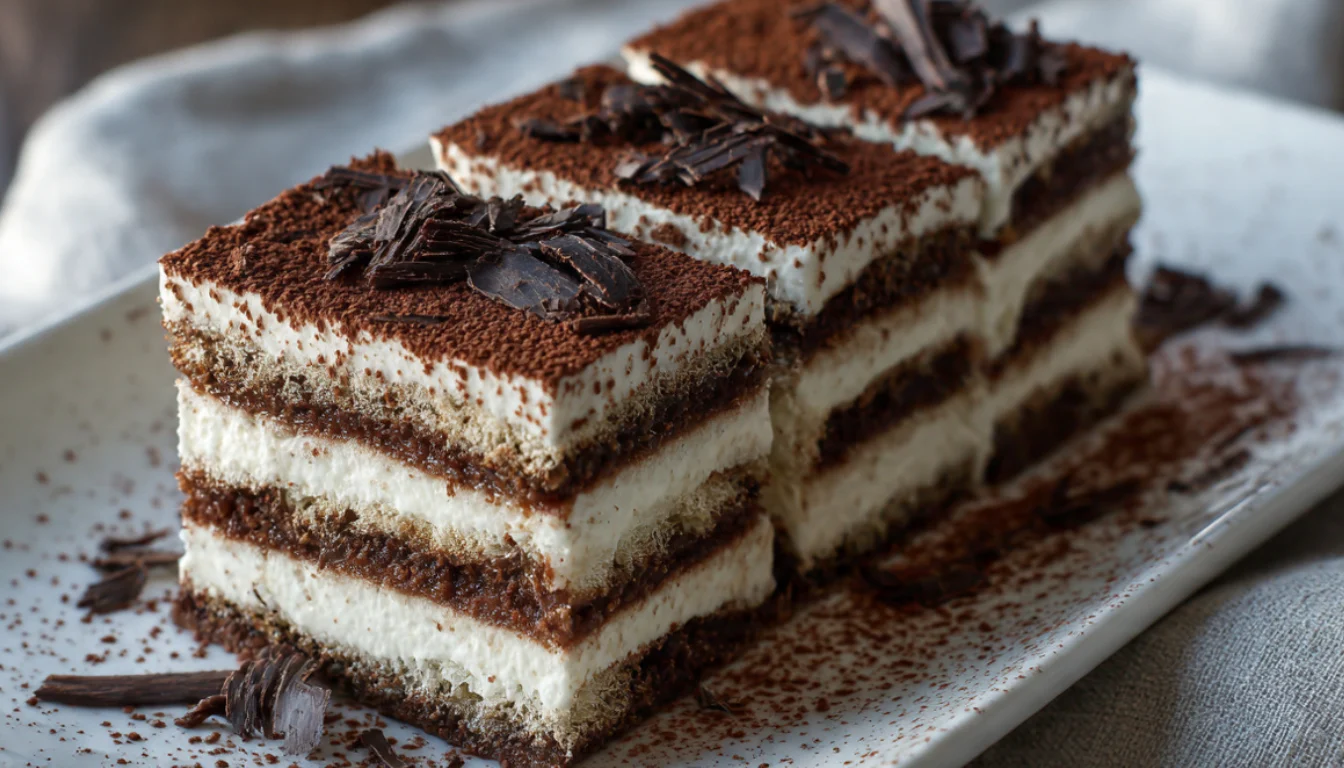
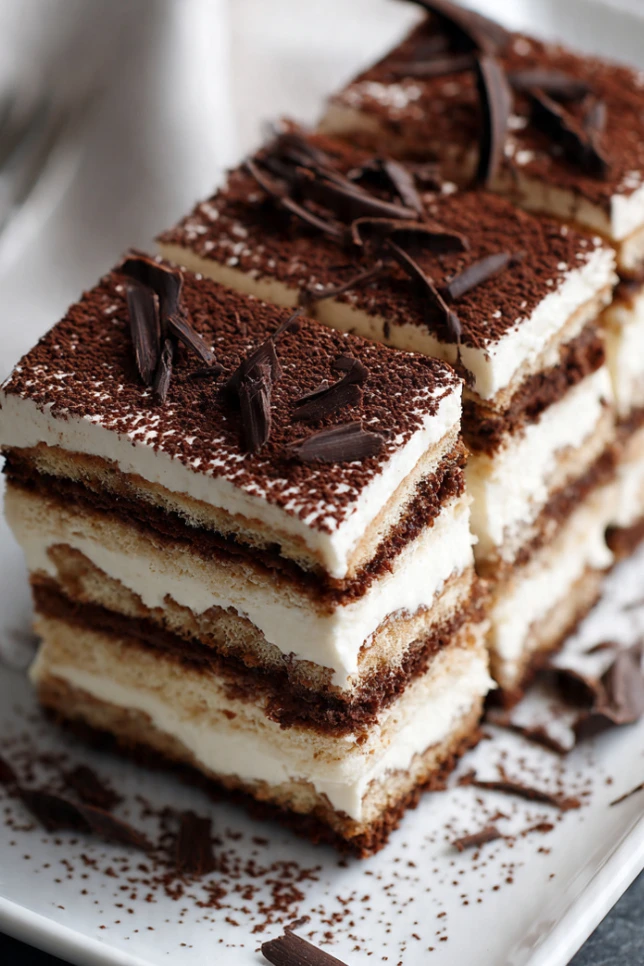
This dessert goes by a dozen different names depending on where you’re from. Biscuit cake, icebox cake, chocolate biscuit log, fridge cake. Doesn’t matter what you call it. The idea is always the same: layers of cookies softened by cream, chilled until everything holds together, sliced and eaten cold. No baking, no thermometers, no stress.
It’s the kind of thing you make when you don’t feel like cooking but still want to show up with something real.
What This Dessert Actually Is
At its core, it’s biscuits layered with chocolate cream, refrigerated overnight, and served cold. The magic is what happens in the fridge. The cream softens the biscuits until they’re almost cake-like, and everything compresses into a sliceable block that looks like you put in way more effort than you did.
It’s not mousse. It’s not a tart. It’s somewhere in between and honestly better than both for how little work it takes.
People serve this at birthday parties, bring it to potlucks, make it for kids who are helping in the kitchen for the first time. It travels well if it stays cold, holds up in the fridge for several days, and gets better after the first 24 hours once everything has really settled together.
The Ingredients
You don’t need much. That’s part of why this works.
For the cream layer: heavy whipping cream (at least 35% fat), cocoa powder, powdered sugar, a splash of vanilla extract, and cream cheese if you want something a little thicker and more stable.
For the biscuits: plain tea biscuits or digestive biscuits work best. Something without too much flavor so they absorb the cream instead of competing with it. Rich Tea biscuits, Petit Beurre, or Digestives are all good options.
Optional add-ins: a little espresso powder in the cream if you want depth, crushed hazelnuts between layers, or a few tablespoons of Nutella folded into the chocolate cream.
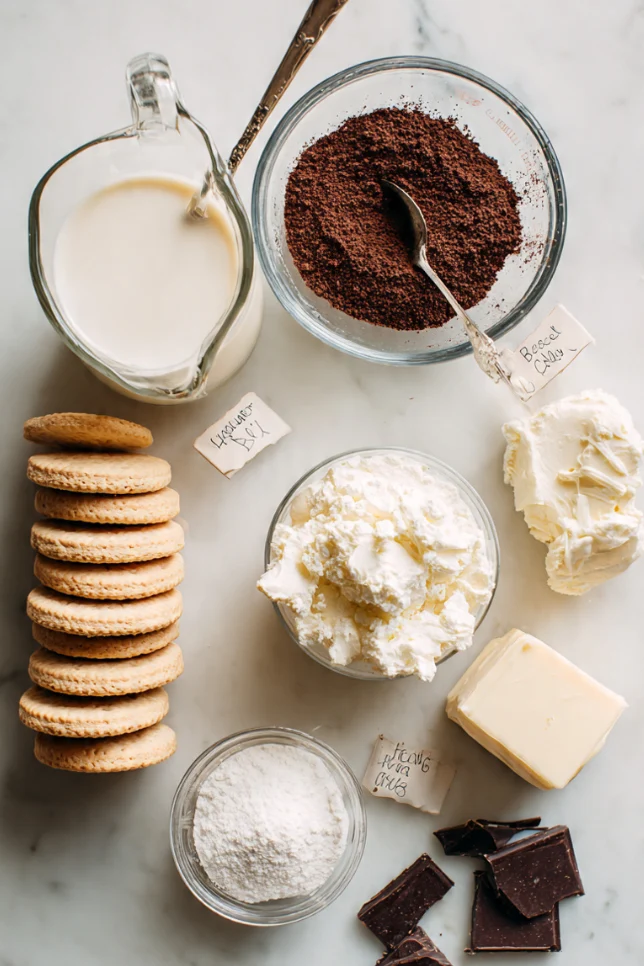
Full amounts:
- 300g plain biscuits (tea biscuits or digestives)
- 400ml heavy cream
- 3 tablespoons cocoa powder
- 4 tablespoons powdered sugar
- 1 teaspoon vanilla extract
- 150g cream cheese, softened (optional but recommended)
- Chocolate shavings or cocoa powder for the top
How to Make It
- Whip the heavy cream to soft peaks. You want it thick enough to hold shape but not grainy. Stop before it looks fluffy.
- Add the cream cheese if using and beat briefly until combined. Then sift in cocoa powder and powdered sugar and fold gently. Taste it. Adjust sweetness here if needed.
- Add vanilla and fold one more time. The cream should be smooth, chocolate-colored, and thick enough to spread without running off the biscuits.
- Start layering. Spread a thin layer of cream on the bottom of your dish or loaf pan. Add biscuits in a single layer. Spread cream over the biscuits. Repeat until you’ve used everything, finishing with cream on top.
- Smooth the top, cover with plastic wrap, and refrigerate for at least 6 hours. Overnight is better.
- Before serving, dust the top with cocoa powder or add chocolate shavings. Slice with a sharp knife wiped clean between cuts.
A Few Things Worth Knowing
The biscuit choice matters more than people think. I used chocolate biscuits once figuring it would make it more chocolatey and the whole thing just became too sweet and muddy. Plain biscuits are the move. They absorb the cream cleanly and you end up with clear layers when you slice it.
Don’t dip the biscuits in milk or coffee the way some recipes suggest. It sounds like a good idea for faster softening, but you lose control of the texture and it can turn soggy instead of soft. The cream does all the work on its own if you give it enough time in the fridge.
The cream cheese makes a real difference if you’re in a warm climate or if you need to transport this. Without it, the cream layer can get a little soft at room temperature. With it, the whole thing stays firm and slices cleanly even if it sits out for 20 minutes.
If you want to add a flavored layer, chocolate hazelnut spread works really well. Spread a thin layer directly on the biscuits before adding the cream and it creates little pockets of richness through the whole dessert.
How to Store It
This keeps well in the fridge for up to 4 days covered tightly. The texture actually improves on day two when everything has fully compressed. After day 4 the biscuits start to get a little too soft and lose their structure.
You can freeze it. Slice it first, lay the slices on a parchment-lined tray to firm up, then transfer to a container. Frozen slices last up to a month and thaw in about 30 minutes on the counter.
Don’t store it at room temperature for more than an hour or so. The cream softens fast and you’ll lose the clean layers.
That’s really it. Make the cream, layer it, wait. There’s no part of this that requires skill, which is exactly why it’s been around so long and why it keeps showing up at every potluck no matter the season.
No-Bake Chocolate Cream Biscuit Dessert
Layers of soft biscuits and rich chocolate cream, chilled into a sliceable fridge cake. No oven needed.
Ingredients
Biscuit Layer
- 300g plain biscuits (tea biscuits, digestives, or Petit Beurre)
Chocolate Cream
- 400ml heavy whipping cream (35% fat or higher)
- 3 tbsp cocoa powder, sifted
- 4 tbsp powdered sugar
- 1 tsp vanilla extract
- 150g cream cheese, softened (optional but recommended)
Topping
- to taste cocoa powder or chocolate shavings
Instructions
- Whip the cream Whip heavy cream to soft peaks. It should be thick enough to hold shape but not grainy or stiff. Stop before it looks fluffy.
- Make the chocolate cream Add softened cream cheese and beat briefly until combined. Sift in cocoa powder and powdered sugar, then fold gently. Add vanilla and fold one more time. Taste and adjust sweetness here.
- Start layering Spread a thin layer of chocolate cream on the bottom of a loaf pan or rectangular dish. Add biscuits in a single layer, fitting them snugly.
- Continue layers Spread cream over the biscuits. Repeat until you have used everything, finishing with a cream layer on top. Smooth it out evenly.
- Chill overnight Cover tightly with plastic wrap and refrigerate for at least 6 hours. Overnight gives better results. The biscuits need time to soften fully.
- Finish and serve Dust the top with cocoa powder or scatter chocolate shavings. Slice with a sharp knife, wiping the blade between cuts for clean layers.
Notes
Do not dip the biscuits in milk or coffee before layering. It sounds like a good shortcut but you lose control of the texture and end up with soggy layers instead of soft ones. The cream softens the biscuits on its own overnight. Cream cheese is optional but makes the whole thing more stable, especially in warm weather. Store covered in the fridge for up to 4 days. Freeze individual slices for up to 1 month, they thaw in about 30 minutes on the counter.