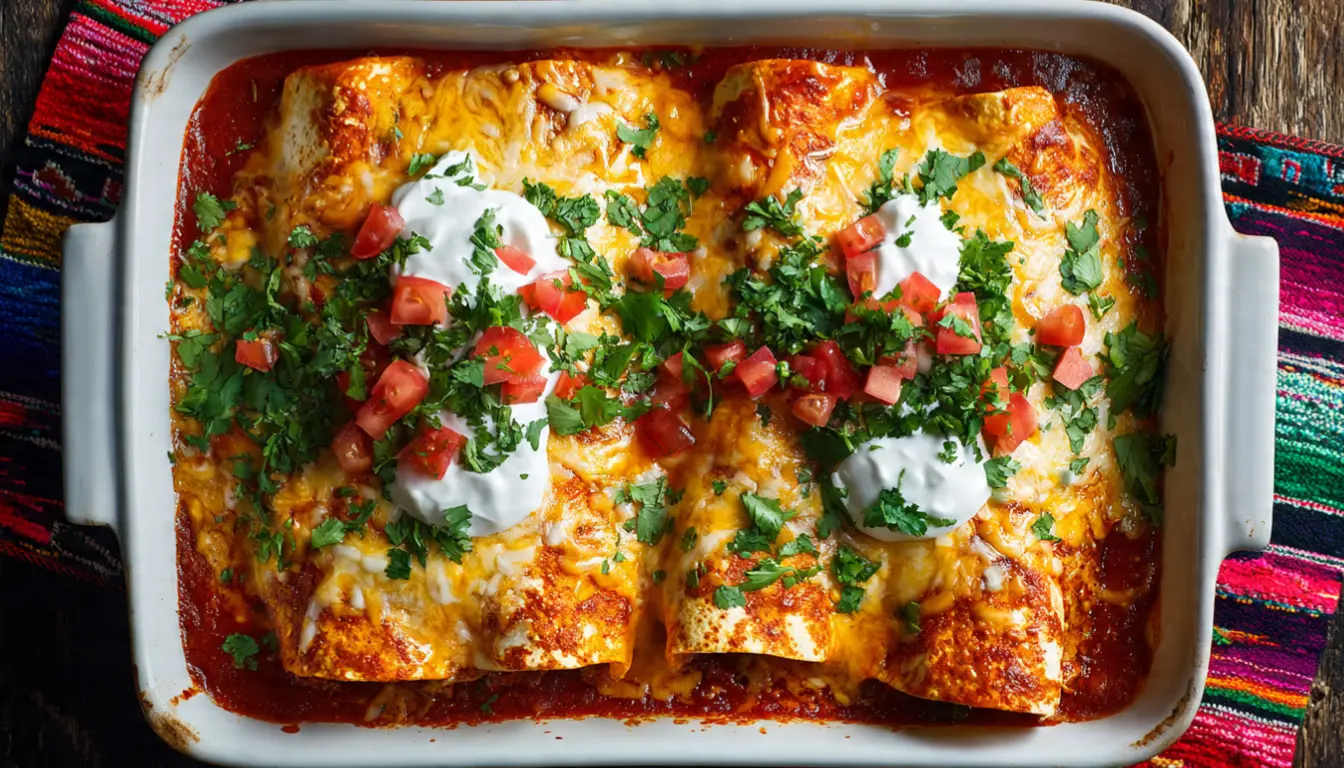
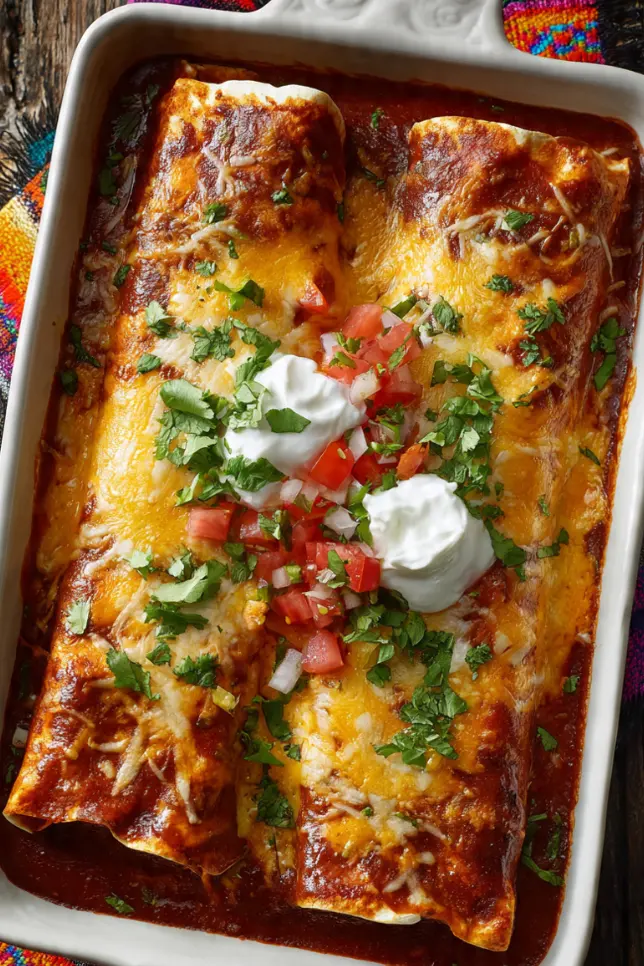
Fabulous Wet Burritos Smothered in Enchilada Sauce
The first time I tried making wet burritos at home, I honestly thought they were just regular burritos drowned in sauce. Wrong. So wrong. After a minor kitchen disaster involving sauce everywhere and soggy tortillas that fell apart, I finally figured out what makes these things actually work. Turns out, wet burritos are their own thing, and when you get them right, they’re absolutely incredible.
I’ve been making these for about seven years now, and they’ve become my go-to for Sunday meal prep. The whole family loves them, they freeze beautifully, and honestly, they’re way better than anything you’d get at a restaurant. Plus, once you nail the technique, you can make a huge batch in your cast iron skillet and have dinner sorted for the week.
What Are Wet Burritos Anyway?
If you’ve never had one, a wet burrito is basically a stuffed burrito that gets smothered in enchilada sauce and cheese, then baked until everything’s hot and bubbly. Think of it as the love child between a burrito and an enchilada. The tortilla stays soft (not crispy like a chimichanga), and the sauce keeps everything moist and flavorful.
They’re huge in the Midwest, particularly Michigan, though the exact origins are a bit fuzzy. Some people call them “smothered burritos,” and honestly, that name makes total sense once you see one.
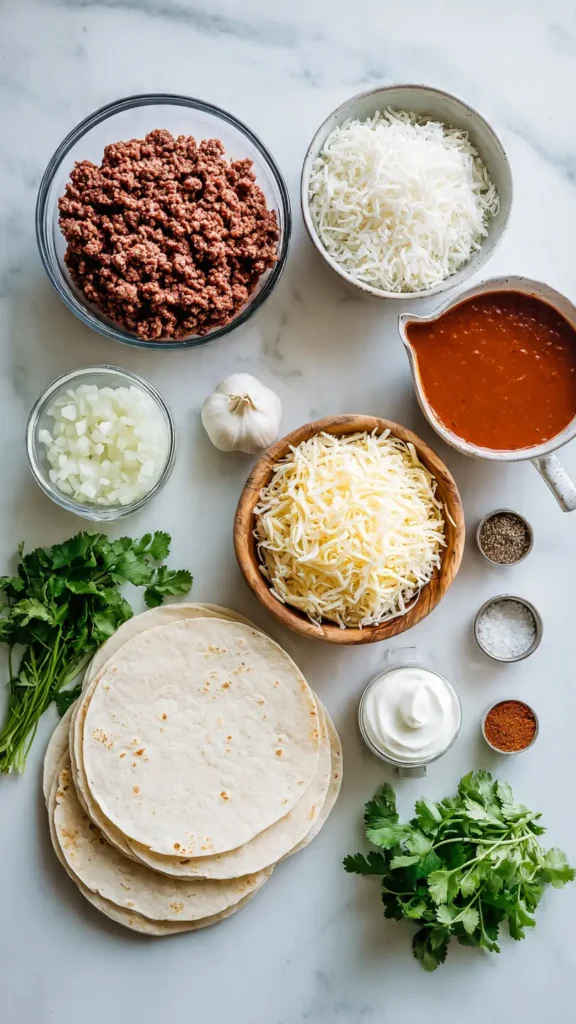
Essential Ingredients
Here’s what you’ll need to make these properly:
For the Filling:
- 1.5 pounds ground beef (or ground turkey if you prefer)
- 1 medium onion, diced
- 3 cloves garlic, minced
- 1 can (15 oz) refried beans
- 1 cup cooked rice (white or brown, your call)
- 1 packet taco seasoning (or make your own)
- 1/2 cup beef broth
- Salt and pepper to taste
For Assembly:
- 8 large flour tortillas (burrito size, around 10 inches)
- 2 cups enchilada sauce (homemade or store-bought works great)
- 3 cups shredded Mexican cheese blend
- 1/2 cup sour cream
- 1/4 cup chopped fresh cilantro
Optional Toppings:
- Diced tomatoes
- Sliced black olives
- Jalapeño slices
- Green onions
- Extra sour cream
- Guacamole
Alternative Ingredients
Look, I get it. Sometimes you don’t have everything, or you’re working with dietary restrictions. Here’s what I’ve successfully swapped over the years:
Protein Options: Ground turkey, chicken, or even a plant-based ground meat work perfectly. I’ve made these vegetarian using black beans and extra veggies, and they were fantastic.
Rice Alternatives: Cauliflower rice keeps it low-carb, or you can skip the rice entirely and add more beans.
Cheese Swaps: Any melting cheese works. I’ve used sharp cheddar, Monterey Jack, or even pepper jack when I want extra kick.
Tortilla Options: Whole wheat tortillas, low-carb tortillas, or even corn tortillas (just use smaller ones and adjust portions).
Sauce Variations: Red enchilada sauce is traditional, but green enchilada sauce (salsa verde) is incredible. You can also use a mix of both for variety.
Step-by-Step Directions
Step 1: Prep Your Filling
Heat your cast iron skillet or a large Dutch oven over medium-high heat. Brown the ground beef, breaking it up as it cooks. This takes about 6-8 minutes. Don’t rush this part. You want good color on that meat.
Step 2: Build the Flavor
Once the beef is mostly browned, add your diced onion. Cook for another 3-4 minutes until the onion softens. Add the garlic and cook for just 30 seconds (garlic burns fast, trust me on this).
Step 3: Season Everything
Sprinkle in your taco seasoning and stir well. Pour in the beef broth and let it simmer for about 5 minutes. The liquid should reduce and the mixture should look saucy but not soupy.
Step 4: Add Beans and Rice
Stir in your refried beans and cooked rice. Mix everything together until it’s well combined and heated through. Taste it and adjust the seasoning. This is your chance to make it perfect.
Step 5: Warm Those Tortillas
Here’s a mistake I made for years: using cold tortillas. They crack when you roll them. Warm your tortillas for about 15 seconds each in the microwave, or quickly heat them in a dry skillet. They should be pliable, not hot.
Step 6: Assemble the Burritos
Preheat your oven to 375°F. Grab a 9×13 glass baking dish and spray it with cooking spray.
Place about 1/2 cup of filling down the center of each tortilla. Don’t overfill (another lesson learned the hard way). Fold in the sides, then roll from bottom to top, keeping it tight. Place each burrito seam-side down in your baking dish.
Step 7: The “Wet” Part
Pour your enchilada sauce evenly over all the burritos. Make sure they’re well covered. Sprinkle the shredded cheese generously over the top. I’m talking a good, thick layer here.
Step 8: Bake
Cover the dish with aluminum foil and bake for 20 minutes. Remove the foil and bake for another 10 minutes until the cheese is melted and just starting to brown in spots.
Step 9: Let Them Rest
This is crucial. Let the burritos sit for about 5 minutes after you take them out of the oven. The sauce needs to settle, and the cheese needs to firm up slightly. If you dig in immediately, everything slides everywhere. Been there, done that.
Pro Tips
After making these hundreds of times, here are my hard-won tips:
Prep in Batches: This recipe is perfect for meal prep. I usually double it and freeze half. Wrap individual burritos in foil before adding sauce, then freeze them. When you’re ready to eat, add the sauce and cheese fresh, then bake. They taste just as good as fresh-made.
The Right Tortilla: Get good quality, fresh flour tortillas. The cheap ones tear easily. Mission brand works great for me, but any burrito-size tortilla will do.
Sauce Matters: I used to cheap out on enchilada sauce, and you can taste the difference. If you’re buying canned, Las Palmas or Hatch are solid choices. Homemade is even better if you have 20 minutes.
Don’t Skip the Rice: It might seem like filler, but the rice absorbs liquid and helps prevent soggy burritos. It’s actually functional, not just bulk.
Cheese Distribution: Save some cheese to sprinkle on after baking. That fresh cheese on top adds a nice texture contrast to the melted stuff underneath.
Storage Strategy: These keep in the fridge for 3-4 days in an airtight container or wrapped in foil. For freezing, I use my glass meal prep containers, which stack beautifully in the freezer and reheat evenly.
Wet Burritos FAQs
What is the difference between a burrito and a wet burrito?
A regular burrito is served dry and eaten by hand. A wet burrito is covered in enchilada sauce and cheese then baked, making it a fork-and-knife dish.
Can wet burritos be made ahead of time?
Yes. Assemble the burritos without sauce and freeze them. Add sauce and cheese just before baking.
What sauce is best for wet burritos?
Red enchilada sauce is traditional, but green salsa verde also works great for a tangy flavor.
Can I make wet burritos vegetarian?
Absolutely. Replace the ground beef with black beans, lentils, or plant-based meat alternatives.
Why You’ll Love This Recipe
First off, it’s incredibly versatile. You can customize literally everything to your taste. Second, it’s a true crowd-pleaser. I’ve served these at potlucks, family dinners, and casual weeknight meals, and they always disappear. Third, they’re budget-friendly. Making eight servings costs way less than takeout, and the ingredients are all pantry staples.
The leftovers (if you have any) are actually better the next day once all the flavors meld together. And if you’re into meal planning, these are a game-changer. Make them on Sunday, portion them out, and you’ve got lunch or dinner sorted for half the week.
What Makes This Recipe Unique
Unlike regular burritos that you eat with your hands, these are fork-and-knife territory. The generous amount of sauce keeps everything moist and prevents that common problem where burritos get dry in the middle. The combination of textures is what really sets them apart: tender beef, creamy beans, fluffy rice, melted cheese, and that rich sauce tying it all together.
I also love that they’re basically foolproof. If you can brown meat and roll a tortilla, you can make these. There’s no fancy technique or special equipment needed beyond a basic skillet and baking dish.
Key Features
Family-Friendly: Kids love these. The flavors aren’t too spicy, and you can let everyone add their own toppings at the table.
Meal Prep Champion: Make ahead, freeze, and reheat without losing quality. Perfect for busy weeks.
Budget-Conscious: Feeds a crowd without breaking the bank. Most ingredients are affordable staples.
Customizable: Endless variations possible based on dietary needs or preferences.
Restaurant Quality: Honestly tastes better than most Mexican restaurants, and you control exactly what goes in them.
You’ll Also Love
If you’re into this style of Mexican cuisine, definitely try my chicken enchilada casserole. It has similar flavors but comes together even faster. My beef taco pasta is another weeknight winner that uses a lot of the same ingredients. And if you want to stick with the burrito theme, my breakfast burritos are perfect for meal prepping Sunday morning fuel for the whole week.
Conclusion
Wet burritos might not be traditional Mexican food (they’re more Tex-Mex or Michigan-Mex if we’re being honest), but they’ve earned their place in my regular dinner rotation. They’re comforting, satisfying, and way easier than they look. Once you get the hang of the assembly process, you’ll be cranking these out without even thinking about it.
The best part? Everyone thinks you spent hours cooking when really, most of this is just throwing ingredients together and letting the oven do the work. That’s my kind of cooking.
Give these a shot next Sunday when you’re doing meal prep. Your future self will thank you when you’re reheating one of these for a quick Wednesday dinner instead of ordering takeout again. And if you’re using a food processor to chop your onions and garlic (total time-saver, by the way), this whole recipe comes together even faster.
Let me know how they turn out for you! I’m always curious to hear what variations people come up with.
Fabulous Wet Burritos
Cheesy, saucy burritos baked in enchilada sauce for the ultimate comfort meal.
Ingredients
- 1.5 lb ground beef
- 1 onion diced
- 3 garlic cloves
- 1 can refried beans
- 1 cup cooked rice
- 1 packet taco seasoning
- 1/2 cup beef broth
- 8 large tortillas
- 2 cups enchilada sauce
- 3 cups shredded Mexican cheese
- Sour cream and cilantro
Instructions
- Brown the ground beef in a skillet.
- Add onion and garlic and cook until soft.
- Stir in taco seasoning and broth and simmer.
- Add beans and rice and mix well.
- Fill tortillas with the mixture and roll tightly.
- Place in baking dish seam side down.
- Pour enchilada sauce and sprinkle cheese.
- Bake at 375°F for 30 minutes.
- Rest 5 minutes then serve.