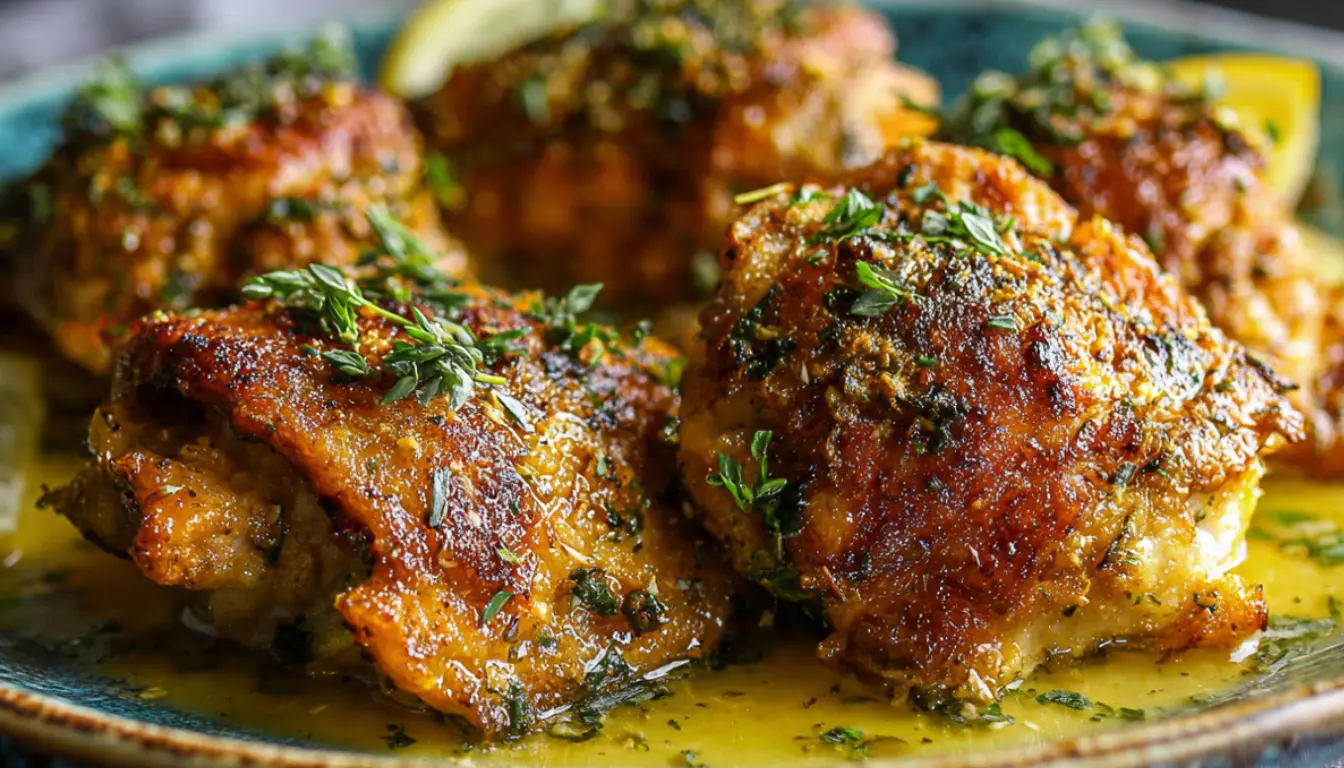
Crispy Garlic Butter Chicken Thighs
Listen, I’ve spent the better part of a decade perfecting chicken thighs, and this recipe might just be the one I’m most proud of. There’s something about the combination of crispy skin, tender meat, and that buttery garlic sauce that makes even weeknight dinners feel special.
I’ll be honest. For years, I avoided cooking chicken thighs because I could never get the skin crispy enough. They’d come out rubbery or, worse, the skin would stick to my pan and tear off completely. It wasn’t until I learned a few key techniques (and invested in a decent cast iron skillet) that everything changed. Now? These garlic butter chicken thighs are my go-to when I want something that looks and tastes impressive but doesn’t require me to babysit the stove for hours.
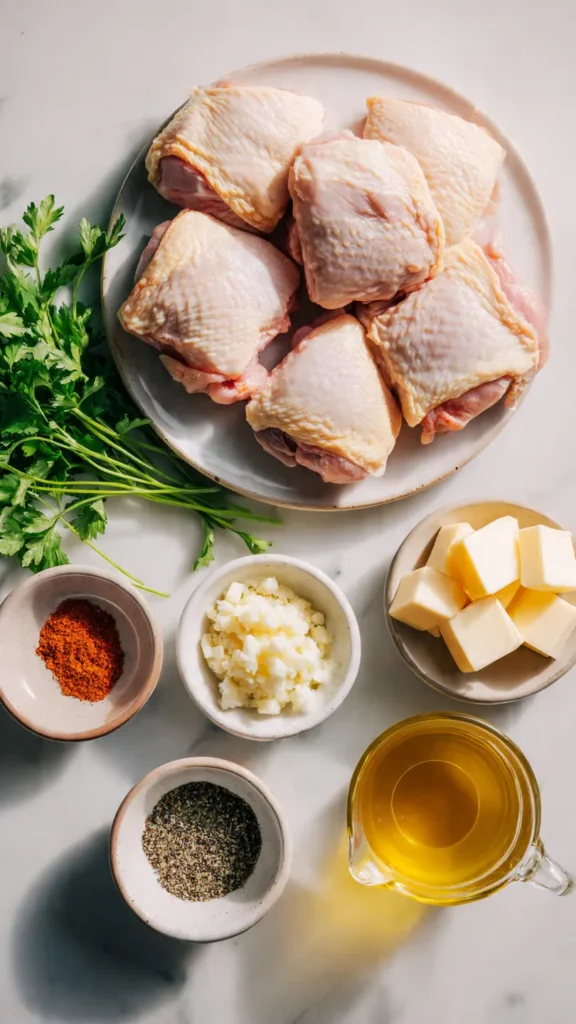
Essential Ingredients
Here’s what you’ll need for four servings:
- 8 bone-in, skin-on chicken thighs
- 4 tablespoons unsalted butter, divided
- 6 cloves fresh garlic, minced
- 2 teaspoons kosher salt
- 1 teaspoon black pepper
- 1 teaspoon smoked paprika
- 1/2 teaspoon garlic powder
- 2 tablespoons olive oil
- Fresh parsley, chopped (for garnish)
- 1/2 cup chicken broth
Alternative Ingredients
Not everyone has the exact ingredients on hand, and that’s totally fine. I’ve made this recipe dozens of ways:
If you don’t have bone-in thighs, boneless will work, but you’ll need to reduce the cooking time by about 8-10 minutes. The bones actually help keep the meat juicy, so boneless thighs dry out faster.
No smoked paprika? Regular paprika works, though you’ll miss that subtle smoky depth. I sometimes use a tiny pinch of cayenne if I want a little kick.
For the garlic, fresh is really best here. I tried using pre-minced garlic from a jar once when I was in a rush, and honestly, the flavor just wasn’t the same. Fresh garlic has this pungent, aromatic quality that mellows beautifully in butter.
Salted butter can replace unsalted, but go easy on the additional salt in the seasoning. I learned that lesson the hard way when my first batch came out way too salty.
Step-by-Step Directions
Step 1: Prep Your Chicken
Pat those chicken thighs completely dry with paper towels. This is not optional. Moisture is the enemy of crispy skin. I usually set them on a plate and let them air-dry in the fridge for 30 minutes if I have time. It makes a noticeable difference.
Season both sides generously with salt, pepper, smoked paprika, and garlic powder. Don’t be shy. The skin needs enough seasoning to create that flavorful crust we’re after.
Step 2: Heat Your Pan
This is where your cookware matters. I use my 12-inch cast iron skillet for this recipe because it retains heat so well and gives you those gorgeous crispy edges. If you’re using a non-stick pan, that works too, just make sure it’s oven-safe.
Heat the olive oil over medium-high heat. You want the pan hot but not smoking. The oil should shimmer slightly.
Step 3: Sear the Skin Side
Place the chicken thighs skin-side down in the pan. Here’s the trick I wish someone had told me years ago: don’t move them. Seriously. Leave them alone for a good 7-8 minutes.
You’ll hear them sizzling away, and you might be tempted to peek. Resist. The skin needs direct, undisturbed contact with that hot surface to get crispy. When they’re ready, they’ll release easily from the pan. If they’re sticking, they need more time.
Step 4: Flip and Continue Cooking
Once the skin is deep golden brown and crispy, flip the thighs over. Add 2 tablespoons of butter to the pan and let it melt around the chicken. Cook for another 5-6 minutes on the flesh side.
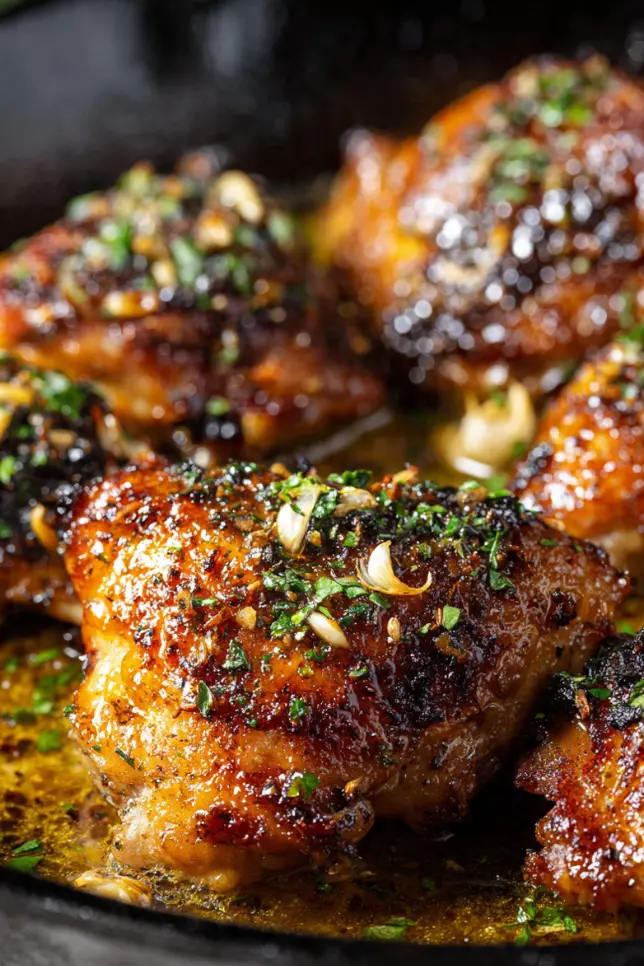
Step 5: Add the Garlic
Reduce heat to medium. Add the remaining 2 tablespoons of butter and all that minced garlic to the pan. Use a spoon to baste the chicken with the garlic butter. This is where the magic happens. The garlic will get fragrant and golden, and the butter creates this incredible sauce.
Step 6: Finish in the Oven (Optional)
If your thighs are particularly thick, you might want to finish them in a 400°F oven for 10-12 minutes to ensure they’re cooked through. I use a meat thermometer to check. The internal temperature should reach 165°F. Trust me, a good digital meat thermometer is worth every penny. No more guessing games or cutting into your chicken to check doneness.
Step 7: Rest and Serve
Let the chicken rest for 5 minutes before serving. Pour that gorgeous garlic butter sauce right over the top and sprinkle with fresh parsley.
Pro Tips
After making this recipe probably a hundred times, here are the things that really matter:
Don’t Crowd the Pan: If you’re doubling the recipe, use two pans or cook in batches. Overcrowding drops the pan temperature and you’ll end up steaming the chicken instead of getting that crispy skin.
Room Temperature Chicken: Let the thighs sit out for 20-30 minutes before cooking. Cold chicken straight from the fridge won’t cook evenly.
The Right Heat: Too high and the skin burns before the meat cooks. Too low and it never crisps up. Medium-high is the sweet spot for most stovetops.
Meal Prep Friendly: These chicken thighs reheat beautifully. I make a double batch every Sunday and store them in meal prep containers. They’re perfect for quick lunches all week. Just reheat in a 350°F oven for 10 minutes to recrisp the skin.
Save That Fat: The rendered chicken fat mixed with butter and garlic at the bottom of your pan? Don’t toss it. Drizzle it over roasted vegetables or use it to make the most incredible fried rice.
FAQs
How do I get chicken skin extra crispy?
Make sure the chicken is completely dry and avoid moving it while cooking. Let it sear until golden and crispy.
Can I use boneless chicken thighs?
Yes, just reduce the cooking time since boneless thighs cook faster than bone-in cuts.
Can I make this recipe ahead of time?
Yes, store leftovers in the fridge and reheat in the oven for best texture.
What sides go best with this dish?
Rice, roasted vegetables, potatoes, or salad all pair perfectly with garlic butter chicken.
Why is my chicken not crispy?
It’s usually due to moisture, low heat, or moving the chicken too soon during cooking.
Why You’ll Love This Recipe
This isn’t just another chicken recipe. It’s the one I turn to when I need dinner on the table fast but still want it to taste like I put in effort. The crispy skin satisfies that craving for something crunchy, while the garlic butter adds a richness that feels indulgent.
Plus, it’s incredibly versatile. Serve it over rice, alongside roasted potatoes, or on top of a fresh salad. I’ve even shredded the leftovers and used them in tacos.
The best part? Most of the cooking is hands-off. Once those thighs hit the pan skin-side down, you can prep your side dishes, set the table, or just pour yourself a glass of wine and relax.
What Makes This Recipe Unique
Unlike a lot of chicken thigh recipes that bury the meat in sauce from the start, this method focuses on getting that skin perfectly crispy first. The garlic butter comes in at the end, creating a light coating rather than a heavy sauce. You get the best of both worlds: crispy texture and rich flavor.
I also love that this recipe doesn’t require any fancy ingredients or complicated techniques. It’s essentially pan-seared chicken with butter and garlic, but the execution makes all the difference.
Key Features
- One-Pan Cooking: Less cleanup is always a win in my book
- Crispy Skin Guaranteed: Following these steps gives you restaurant-quality results
- Budget-Friendly: Chicken thighs are usually one of the cheapest cuts at the grocery store
- Meal Prep Champion: Makes excellent leftovers for the week ahead
- Beginner-Friendly: If you can chop garlic and heat a pan, you can make this
You’ll Also Love
If you enjoyed this recipe, you might want to try some of my other chicken favorites:
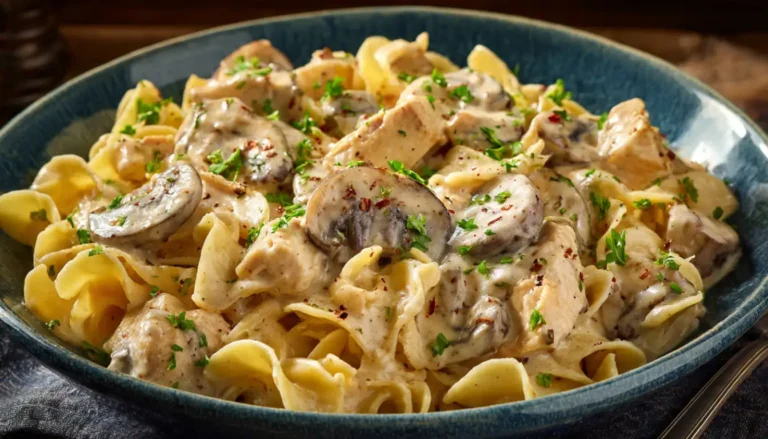
- Lemon Herb Roasted Chicken Thighs – Another simple preparation that delivers huge flavor
- One-Pan Chicken and Vegetables – Perfect for meal planning and batch cooking
- Honey Garlic Chicken Thighs – A slightly sweeter take on the garlic theme
- Crispy Baked Chicken Wings – Uses similar techniques to get that perfect crunch
Conclusion
I really hope you give these crispy garlic butter chicken thighs a try. They’ve become such a staple in my kitchen, and I think they’ll become one in yours too. There’s something deeply satisfying about mastering a simple technique that elevates an everyday ingredient into something special.
The key is not overthinking it. Good quality chicken thighs, a hot pan, patience while that skin crisps up, and plenty of butter and garlic. That’s really all it takes.
If you make this recipe, I’d love to hear how it turns out. And if you have any questions about the technique or want to share your own tips for perfect chicken thighs, drop a comment below. After ten years of cooking, I’m still learning new tricks from fellow home cooks.
Happy cooking, and enjoy those crispy, garlicky, buttery thighs!
Crispy Garlic Butter Chicken Thighs
Crispy, juicy chicken thighs cooked in a rich garlic butter sauce for an easy and flavorful dinner.
Ingredients
- 8 chicken thighs
- 4 tbsp butter
- 6 garlic cloves
- 2 tsp salt
- 1 tsp pepper
- 1 tsp paprika
- 1/2 tsp garlic powder
- 2 tbsp olive oil
- 1/2 cup chicken broth
Instructions
- Dry and season chicken thoroughly.
- Heat oil in skillet.
- Sear chicken skin-side down until crispy.
- Flip and cook with butter.
- Add garlic and baste.
- Finish in oven if needed.
- Rest and serve.