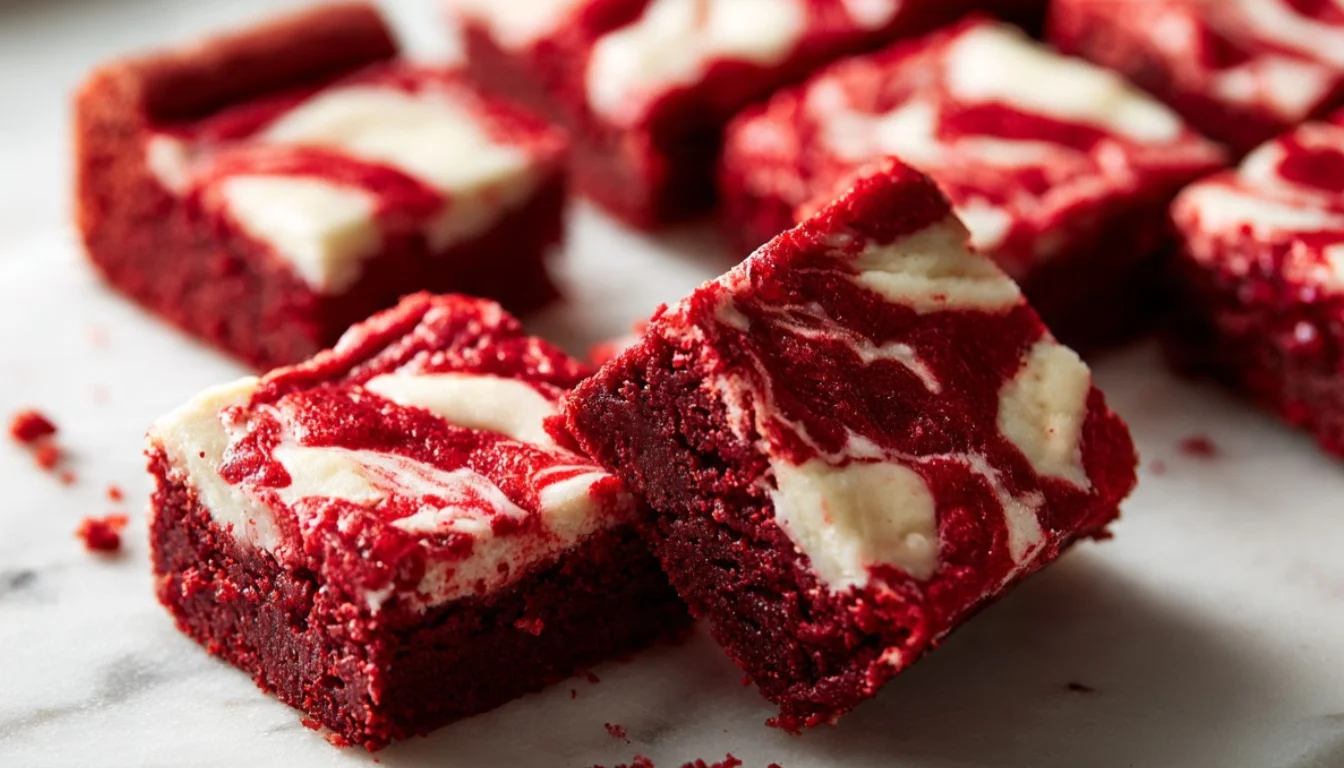
Red Velvet Cheesecake Brownies
I still remember the first time I made these. It was the night before my sister’s birthday and I had two problems: half a block of cream cheese that needed to be used, and a serious craving for something chocolate. I’d been testing red velvet cake recipes all month for the blog, so I had red food coloring everywhere. And honestly, I just thought, why not combine everything? The result looked so dramatic when I cut into it that my sister thought I’d bought them from a bakery. Ten years of baking, and that’s still one of my favorite reactions to get from someone.
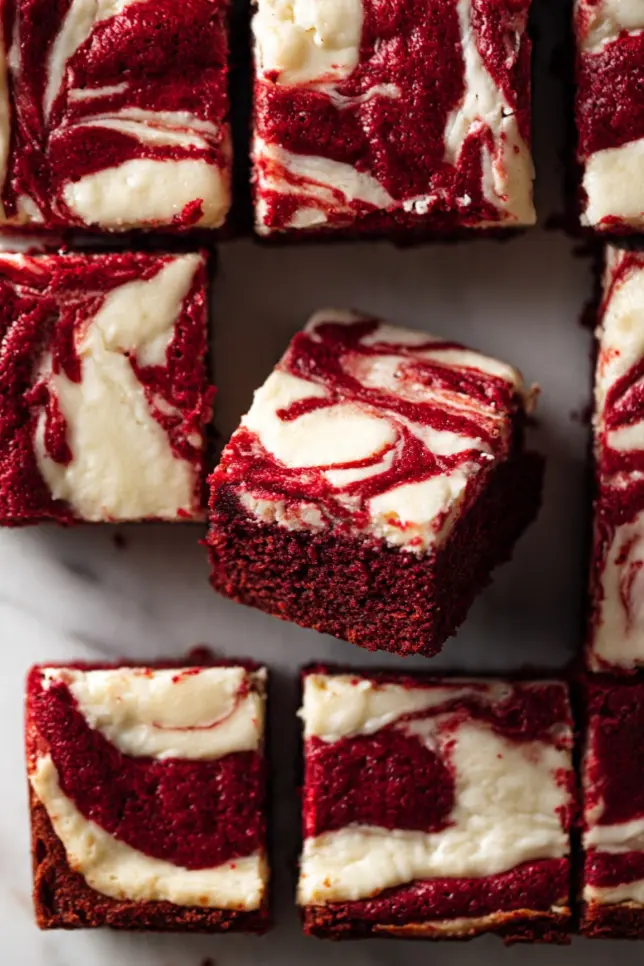
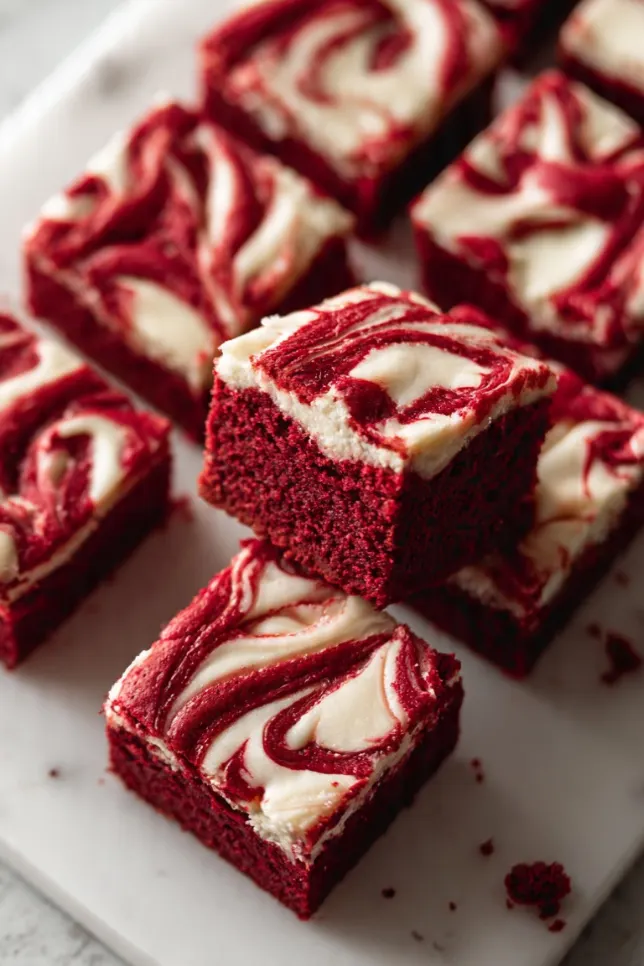
These Red Velvet Cheesecake Brownies are exactly what they sound like: a rich, fudgy red velvet brownie base swirled with a creamy cheesecake filling. The contrast between that deep crimson and the white swirl is genuinely beautiful, and the flavor combination is even better than it looks. You get the subtle cocoa-vanilla depth of red velvet with the tang of cheesecake cutting right through the sweetness. It’s the kind of dessert that makes people put their fork down and say “okay, what IS this?”
Why You’ll Love This Recipe
Here’s the thing about red velvet: people think it’s complicated. It has a reputation. But brownies are actually one of the most forgiving things you can bake, and this recipe leans into that. You don’t need a stand mixer, you don’t need cake flour, and you definitely don’t need a lot of skill. What you need is about 20 minutes of hands-on time and a willingness to swirl a knife through batter (which, honestly, is the most fun part).
The cheesecake layer doesn’t need to be perfect. I used to stress about getting even swirls, and then I realized that every single cut looks different and that’s what makes them so pretty on a dessert board or holiday tray. They photograph beautifully too, which never hurts.
What Makes This Recipe Unique
Most red velvet brownie recipes are just chocolate brownies dyed red. That’s fine, but it’s not really red velvet flavor. Real red velvet has a specific balance: a small amount of cocoa (not dominant chocolate), vanilla, a hint of buttermilk tang, and just enough sweetness. I tested this recipe six times getting that balance right. The cocoa is there but it’s subtle. The cream cheese swirl adds that tang that traditional red velvet gets from buttermilk. Together they taste like the cake and the frosting in every single bite.
I also use a slightly underbaked center technique here, which keeps the brownie layer genuinely fudgy instead of cakey. If you’ve had dry red velvet brownies before, this is why.
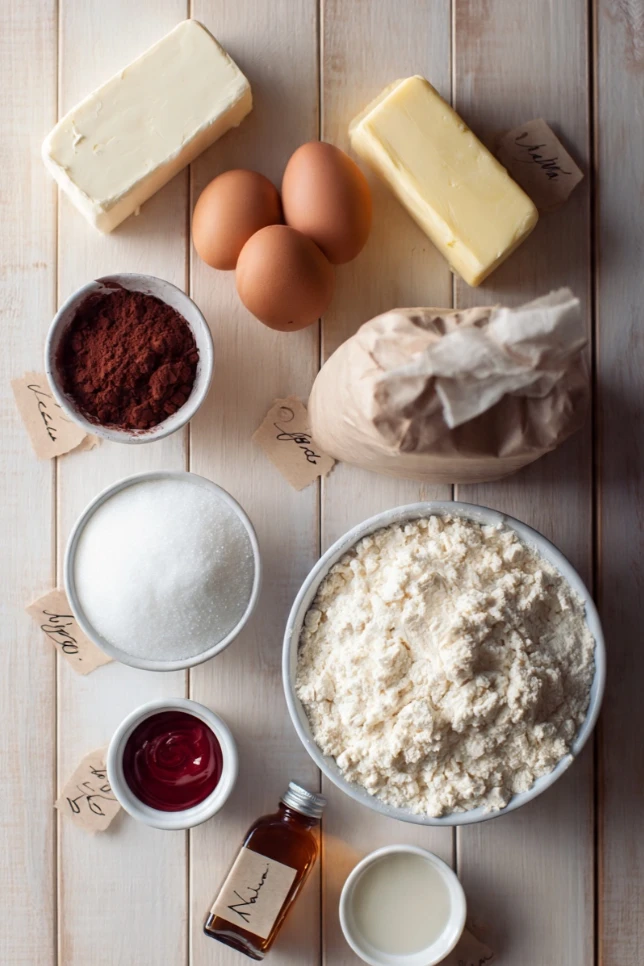
Essential Ingredients
For the Red Velvet Brownie Layer:
- 1/2 cup (1 stick) unsalted butter, melted
- 1 cup granulated sugar
- 2 large eggs, room temperature
- 2 teaspoons vanilla extract
- 1 tablespoon red food coloring (gel food coloring gives the most vivid color)
- 1 teaspoon white vinegar
- 3/4 cup all-purpose flour
- 2 tablespoons unsweetened cocoa powder
- 1/4 teaspoon salt
For the Cheesecake Swirl:
- 8 oz cream cheese, full-fat, softened to room temperature
- 1/4 cup granulated sugar
- 1 large egg
- 1 teaspoon vanilla extract
Alternative Ingredients
Running low on something? No problem. I’ve made these in a pinch more times than I can count.
You can swap the unsalted butter for coconut oil if you want a dairy-free brownie base (just keep the cream cheese layer as-is, or use a dairy-free cream cheese like Violife for the whole thing). The texture is slightly different but still very good.
If you don’t have gel food coloring, liquid food coloring works. You’ll need about 1.5 to 2 tablespoons to get that deep red. Natural beet powder is another option if you want to avoid artificial dyes. It gives a more muted brick-red color and adds a very faint earthiness that honestly works in a nice way.
No white vinegar? Apple cider vinegar is a perfect swap. It does the same job of reacting with the cocoa to enhance the red color (this is old-school red velvet chemistry going back to when cocoa had different acid levels, but it still matters with gel food coloring for color stability).
Tools That Make This Easier
You don’t need fancy equipment, but a few things make the process smoother. I use my KitchenAid hand mixer for the cream cheese layer since it gets perfectly smooth with no lumps in about 90 seconds. A regular hand mixer works just as well. For the brownie batter, I actually just use a whisk and a mixing bowl since you don’t want to over-mix it.
A good 8×8 inch non-stick baking pan is the main thing I’d invest in for this recipe. I use the USA Pan brand and it’s genuinely made a difference in how evenly my brownies bake. An airtight food storage container is worth having too since these store beautifully for up to 5 days and the flavor actually improves on day two. A digital kitchen scale is optional but if you bake regularly it removes all the guesswork from measuring flour.
Step-by-Step Directions
Step 1: Get Your Setup Right
Preheat your oven to 350°F (175°C). Line your 8×8 inch pan with parchment paper, leaving some overhang on the sides so you can lift the brownies out cleanly. Lightly grease the parchment. This step matters more than people think. I used to skip the parchment and spend 10 minutes trying to pry brownies out of the pan. Don’t do that.
Step 2: Make the Cheesecake Layer First
In a medium bowl, beat the softened cream cheese until smooth. Add the sugar, egg, and vanilla and mix until just combined, no longer. Overmixing introduces air, which can cause cracking. Set this aside.
Getting the cream cheese truly room temperature is the biggest tip I can give you here. Cold cream cheese will stay lumpy no matter how long you mix it. I leave mine on the counter for at least an hour. If you forget (I do this all the time), unwrap it and microwave it for 15 seconds at a time until it gives slightly when pressed.
Step 3: Make the Brownie Batter
Whisk the melted butter and sugar together in a large bowl until combined. Add the eggs one at a time, whisking well after each. Stir in the vanilla, red food coloring, and white vinegar. You’ll see the color get really vibrant when you add the vinegar, which is always satisfying.
Sift in the flour, cocoa powder, and salt. Fold everything together with a spatula until just combined. Stop when you don’t see dry streaks. Overworked brownie batter gets tough and cakey, and we want fudgy.
Step 4: Layer and Swirl
Pour about two-thirds of the brownie batter into your prepared pan and spread it into an even layer. Drop spoonfuls of the cream cheese mixture across the top. Then add the remaining brownie batter in small dollops between and over the cream cheese.
Now for the fun part: take a butter knife or a skewer and drag it through the batter in long, lazy S-curves. Don’t overdo it. Six to eight passes is plenty. Too much swirling just turns everything pink-ish, which is fine but not as dramatic. You want distinct red and white ribbons.
Step 5: Bake
Bake for 33 to 36 minutes. The edges should look set and the center should still have a very slight jiggle when you move the pan. This is the key to fudgy brownies. A toothpick inserted in the center will come out with a few moist crumbs, not wet batter.
Pull them when in doubt. They continue cooking in the pan out of the oven, and a slightly underbaked brownie becomes a perfectly fudgy brownie once it cools.
Step 6: Cool Completely
Let the pan cool on a wire rack for at least an hour before cutting. I know this is hard. But warm brownies with a cheesecake layer are messy to cut and the swirl pattern doesn’t show as clearly. Patience here pays off. For the cleanest cuts, refrigerate for 30 minutes before slicing, and wipe your knife clean between each cut.
Pro Tips
After making these more times than I can count, here’s what I’ve learned:
Room temperature ingredients matter for the cheesecake layer specifically. Cold eggs or cold cream cheese will give you a lumpy filling that doesn’t swirl smoothly.
If your red color looks dull after baking, it almost always means the cocoa amount was too high or you used natural cocoa instead of Dutch-process. Stick to the 2 tablespoons in this recipe.
For a more intense chocolate flavor (some people want this), you can bump the cocoa to 3 tablespoons, but know that the red color will be slightly less vivid.
These brownies freeze really well. Wrap individual squares in plastic wrap and store in a freezer-safe container for up to 3 months. Thaw in the refrigerator overnight. Great for holiday meal prep or baking ahead for a party.
FAQs
Can I make these in a 9×13 pan? Yes, but double the recipe and reduce the bake time check to around 28 minutes. Watch them closely since thinner brownies bake faster.
Do I need to refrigerate them? Because of the cream cheese layer, yes. Store them in an airtight container in the refrigerator for up to 5 days. Bring to room temperature before serving for the best texture.
Can I use a brownie box mix for the base? You can adapt a box mix, but you’ll lose the specific red velvet flavor. If you go that route, use a fudge brownie mix and add the food coloring and vinegar to the batter.
Why did my cheesecake layer turn brown on top? It baked too long or your oven runs hot. An oven thermometer is worth having if you bake often. The cheesecake swirl should stay pale cream-colored.
Can I add mix-ins? White chocolate chips scattered into the brownie batter are absolutely incredible in this recipe. Mini chocolate chips work too. I’d avoid nuts since they compete with the delicate cheesecake flavor, but that’s just my preference.
Key Features
This recipe is naturally nut-free, making it great for sharing with groups or bringing to schools. It requires no electric stand mixer for the brownie layer, just a bowl and a whisk. The ingredients are straightforward pantry staples with one refrigerated item (cream cheese). The visual presentation is impressive enough for special occasions but the process is simple enough for a Tuesday night.
You’ll Also Love
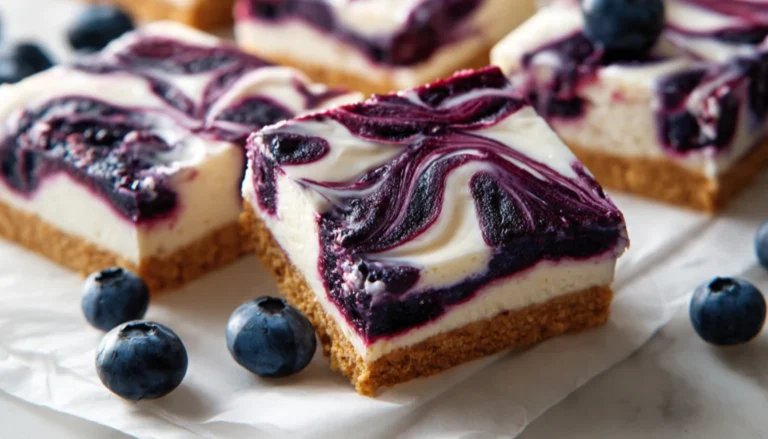
If these brownies hit the spot, you might also want to try classic fudgy chocolate brownies with salted caramel swirl, no-bake cheesecake bars with a graham cracker crust, red velvet cake with cream cheese frosting, or white chocolate raspberry cheesecake brownies (same technique, completely different flavor profile).
Conclusion
The thing about this recipe is that it delivers something that feels bakery-special without requiring bakery-level skills. It’s the kind of dessert I reach for when I want to impress someone but also when I just want something really satisfying on a weekend afternoon. That’s the sweet spot for me: recipes that punch above their difficulty level.
If you make these, I’d genuinely love to see how the swirls turn out. Every pan looks different and that’s the best part. Drop a comment below or tag me if you share them. And if you have questions about substitutions or anything that went sideways (it happens to all of us), ask away. Ten years of baking means I’ve probably made the same mistake already.
Happy baking. These are worth every minute.
Linda