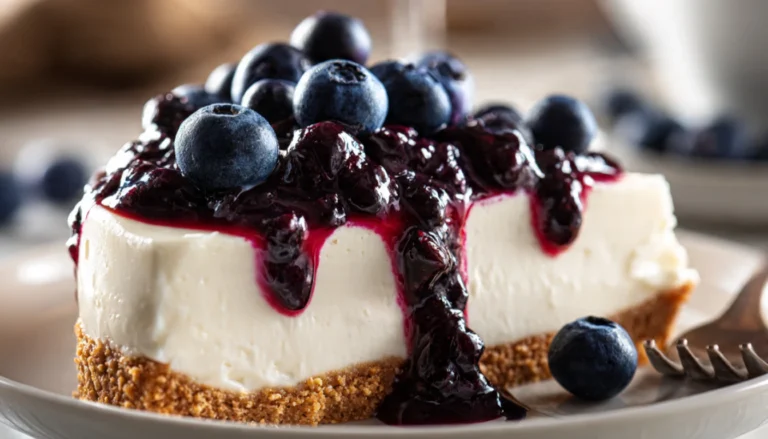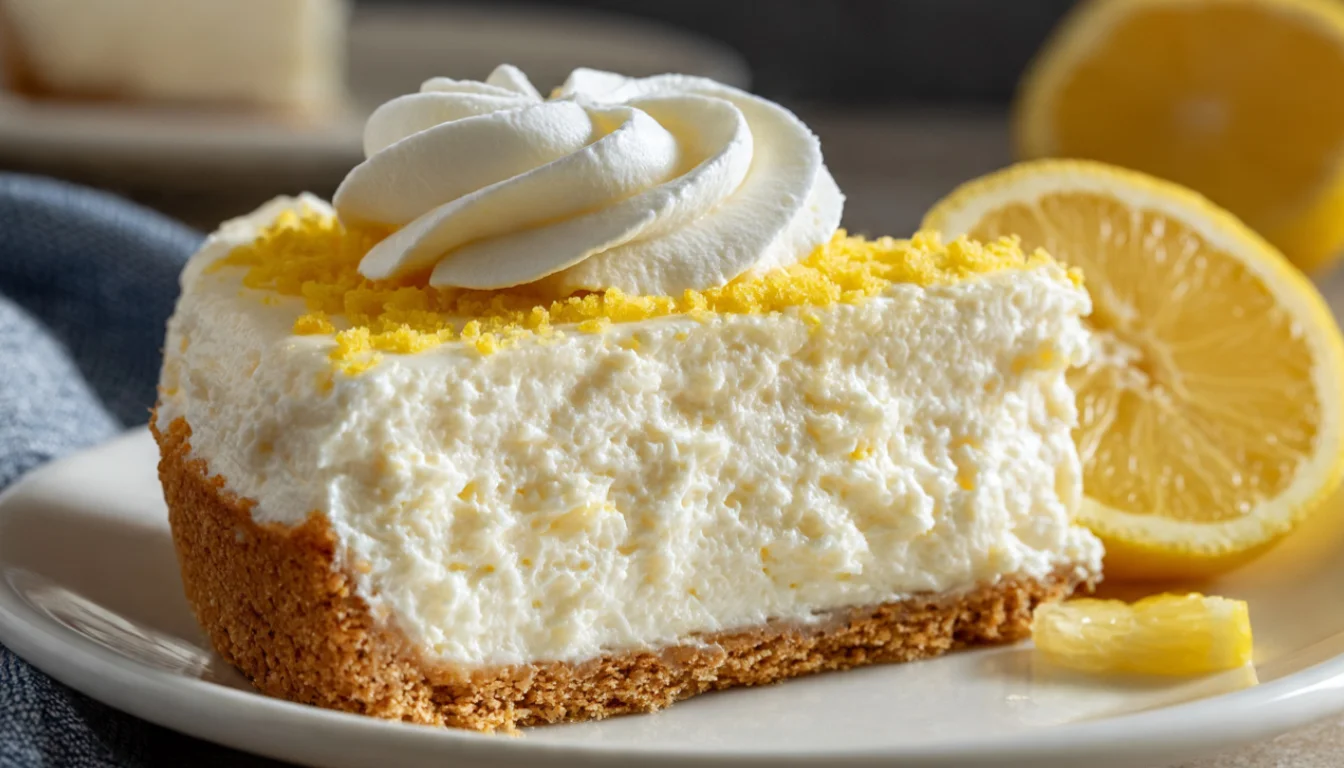
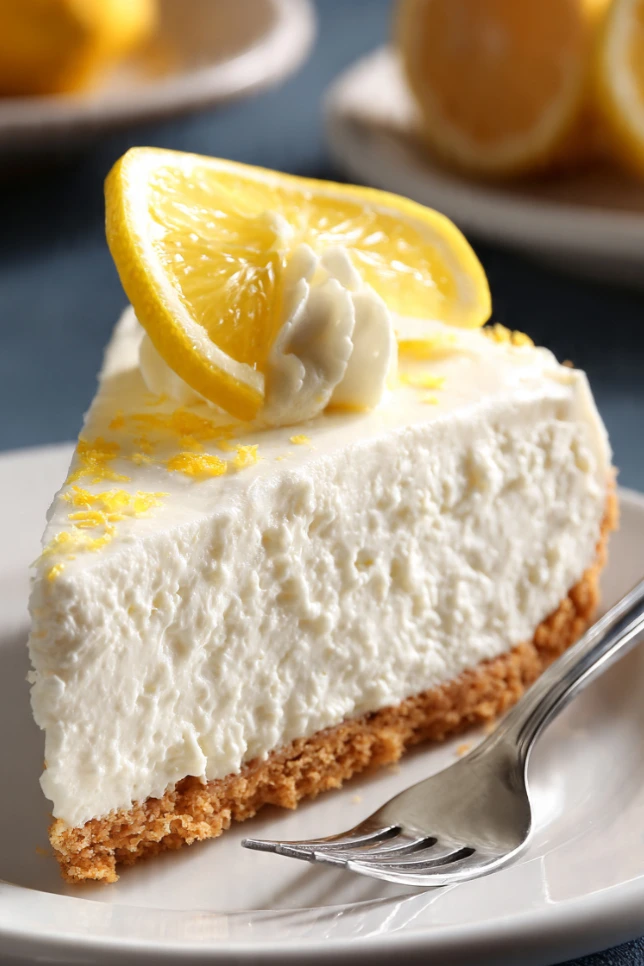
The Authentic Woolworth Cheesecake
There’s a recipe that lives in a very special corner of my heart, and it has nothing to do with fancy French pastry technique or a $200 stand mixer. It’s a no-bake cheesecake from a lunch counter that most people under 40 have never even stepped inside. The Woolworth cheesecake. And honestly? After 10 years of making everything from elaborate layered tortes to weekend brunch spreads, this recipe still stops people cold when I set it on the table.
I first made it because my aunt wouldn’t stop talking about it. She used to eat it at the Woolworth’s counter in the 1970s, perched on a spinning stool, and she described it with the kind of detail people usually reserve for life-changing meals. Light. Almost mousse-like. Not dense or heavy the way most cheesecakes feel. I was skeptical, honestly. But I tracked down the original recipe, tested it about six times, and now I make it every single holiday season without fail.
So let me walk you through everything you need to know to make this the right way.
What Makes the Woolworth Cheesecake Different
Most cheesecakes you’ve made or eaten are baked, dense, and rich. You need a springform pan, a water bath, and about 90 minutes of oven time plus overnight chilling. The Woolworth version flips all of that on its head.
This is a no-bake cheesecake built around one unusual ingredient: lemon Jell-O. The Jell-O gets dissolved and mixed into the cream cheese filling, and then the whole thing is folded together with whipped evaporated milk. That whipped evaporated milk is the secret. It creates a texture that’s almost cloud-like, somewhere between a mousse and a classic cheesecake. It’s lighter than air but still has that rich cream cheese flavor underneath.
It’s also genuinely easy. No special equipment required beyond a hand mixer (though I’ll admit my KitchenAid stand mixer makes the whipping step effortless if you have one). No oven. No water bath. No cracking, no sinking, no stress.

Essential Ingredients
- 1 package (3 oz) lemon Jell-O
- 1 cup boiling water
- 8 oz cream cheese, softened to room temperature
- 1 cup granulated sugar
- 1 teaspoon vanilla extract
- 1 can (12 oz) evaporated milk, chilled overnight in the refrigerator
- 1 box (13.5 oz) graham crackers, crushed
- 1/2 cup unsalted butter, melted
Alternative Ingredients
You have some flexibility here without wrecking the recipe. If you can’t find lemon Jell-O (it happens), lime Jell-O works surprisingly well and gives the cheesecake a slightly brighter, more citrusy note. Some people use strawberry Jell-O for a pink version that kids absolutely love.
For the crust, vanilla wafers or digestive biscuits are a great swap if you want something a little less sweet. And if you need a dairy-free version, full-fat coconut milk chilled overnight can technically replace the evaporated milk, though the texture won’t be quite as fluffy. It’ll still taste good, just a bit denser.
Philadelphia cream cheese is my go-to because the texture is consistent every single time. Generic brands can vary in water content, which affects how the filling sets up.
Step-by-Step Directions
Step 1: Chill the evaporated milk. This has to happen the night before. Pour the evaporated milk into a metal bowl and put it in the freezer for about 20 to 30 minutes before you’re ready to whip it (some people just leave the can in the fridge overnight, which also works). Cold milk whips much better and holds its volume. Skip this step and you’ll end up with a flat, dense filling. Trust me, I learned this the hard way my first time.
Step 2: Make the graham cracker crust. Crush your graham crackers into fine crumbs. A food processor gives you the most even texture, but a zip-lock bag and a rolling pin work perfectly fine if you don’t have one. Mix the crumbs with melted butter until it looks like wet sand. Press this mixture firmly into the bottom of a 9×13 inch baking dish. Set aside in the fridge while you work on the filling.
Step 3: Dissolve the Jell-O. Stir the lemon Jell-O packet into 1 cup of boiling water until completely dissolved. Let this cool to room temperature. Don’t rush it into the fridge to speed things up. If it starts to gel before you add it to the cream cheese mixture, your filling will be lumpy.
Step 4: Beat the cream cheese. In a large bowl, beat the softened cream cheese with your hand mixer until completely smooth. Add the sugar and vanilla and beat again until fluffy, about 2 minutes. Then pour in the cooled Jell-O mixture and beat until everything is combined and smooth. Set aside.
Step 5: Whip the evaporated milk. In a separate cold bowl (I put my metal bowl in the freezer for 10 minutes first), whip the chilled evaporated milk on high speed until it forms stiff peaks. This takes about 3 to 4 minutes with a good hand mixer. It behaves a lot like heavy whipping cream. The colder everything is, the better it whips.
Step 6: Fold and assemble. Gently fold the whipped evaporated milk into the cream cheese mixture. Use a rubber spatula and fold from the bottom up. Don’t stir aggressively or you’ll knock all the air out, and that air is exactly what makes the texture special. Once combined, pour the filling over your graham cracker crust and smooth the top.
Step 7: Chill. Cover and refrigerate for at least 4 hours. Overnight is better. The longer it chills, the cleaner the slices and the better the texture. I usually make this the evening before I need it.
Pro Tips
The single most important thing you can do is make sure your evaporated milk is extremely cold before whipping. If it’s not cold enough, it will not whip properly. Some people actually put the mixing bowl and beaters in the freezer for 10 to 15 minutes before they start.
Softened cream cheese is equally important on the other end. If your cream cheese is still cold from the fridge, it will leave lumps in the filling no matter how long you beat it. Pull it out at least an hour before you start.
If you want picture-perfect slices, run a sharp knife under hot water and wipe it dry between each cut. The filling is soft enough that a warm blade glides right through.
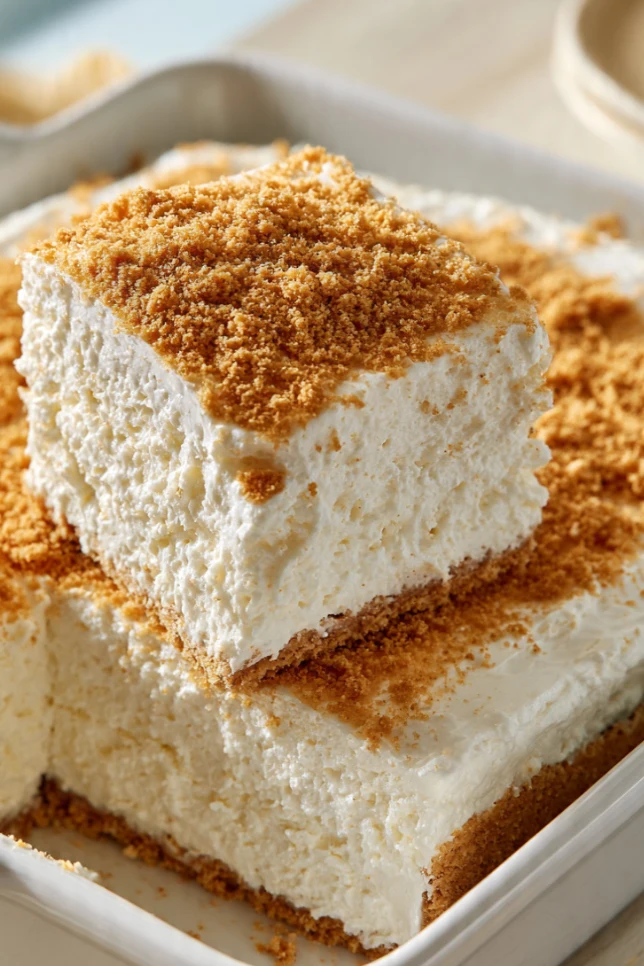
For a more polished presentation, you can sprinkle a thin layer of graham cracker crumbs over the top before chilling. It looks intentional and adds a little texture to each bite.
Why You’ll Love This Recipe
This is the kind of dessert that disappears faster than almost anything else I make. People always ask what’s in it because the texture surprises them. It’s lighter than a traditional no-bake cheesecake but it has that unmistakable cream cheese richness. And because it sets in a 9×13 pan, it’s easy to serve a crowd without worrying about slicing a round cake perfectly.
It’s also budget-friendly. The ingredients are basic pantry and dairy staples. You don’t need expensive equipment. A decent hand electric mixer handles everything just fine, though if you’re looking to upgrade your kitchen tools, a KitchenAid stand mixer makes the whipping step completely hands-free.
There’s a nostalgia factor that’s real too. If you’re making this for someone who remembers Woolworth’s, you’re going to make their day.
What Makes This Recipe Unique
Most no-bake cheesecakes today use heavy cream or Cool Whip as the base. This one uses whipped evaporated milk, which is a slightly older technique that produces a different texture. It’s lighter than Cool Whip versions but more stable than recipes built purely on whipped cream. The lemon Jell-O adds just enough gelatin to help everything hold together cleanly, plus a hint of brightness that cuts through the richness of the cream cheese. It’s a very specific texture that you genuinely can’t get any other way.
Key Features
No baking required. The recipe comes together in about 25 minutes of active time. It feeds a crowd. It can be made a full day ahead. It uses affordable, easy-to-find ingredients. And it stores well in the fridge for up to 3 days without losing texture.
FAQs
Can I make this ahead of time? Yes, and you should. This cheesecake actually gets better overnight. Make it the day before and let it chill for 8 to 12 hours.
Can I freeze the Woolworth cheesecake? You can, but the texture changes slightly after freezing. It becomes a little more dense when thawed. Still delicious, just not as light and mousse-like. If you do freeze it, thaw overnight in the fridge rather than at room temperature.
Why won’t my evaporated milk whip? It’s not cold enough. The can and the bowl both need to be very cold. Put the bowl in the freezer for 15 minutes and make sure the milk has been chilling overnight. Room temperature or even just refrigerator-cold often isn’t sufficient.
Can I use a different flavor of Jell-O? Yes. Lime, strawberry, and even orange all work well. Each one gives the cheesecake a slightly different color and subtle flavor variation.
How long does it keep? Covered tightly in the refrigerator, it keeps well for 3 days. The crust does soften a bit over time, but the flavor is actually at its best on day two.
You’ll Also Love
If this recipe won me you over, you might also want to try my no-bake strawberry icebox cake, which uses a similar technique with whipped filling layered between graham crackers. My classic New York baked cheesecake is on the opposite end of the spectrum but worth the extra effort for special occasions. And if you love the simplicity of no-bake desserts, my chocolate icebox pie comes together in about 20 minutes and is one of the most requested things I make.
Conclusion
The Woolworth cheesecake is proof that the best recipes don’t always come from fine dining restaurants or trendy food blogs. Sometimes they come from a lunch counter where people just wanted something cold, sweet, and a little special on their break. This recipe has been around for decades, and it’s still standing because it genuinely delivers something different.
Make it once and you’ll understand exactly why my aunt talked about it for 30 years. It’s light, it’s creamy, it has that perfect balance of sweet and tangy, and it takes almost no effort to pull off. Bring it to your next gathering and watch it disappear before you even get a slice.
I’d love to hear how yours turns out. Drop a comment below and let me know if you tried any flavor variations.
Happy baking (or in this case, happy not baking), Linda
The Authentic Woolworth Cheesecake
Light, fluffy no-bake cheesecake with lemon Jell-O and whipped evaporated milk, just like the original Woolworth lunch counter classic.
Ingredients
Crust
- 13.5 oz graham crackers, crushed into fine crumbs
- 1/2 cup unsalted butter, melted
Cheesecake Filling
- 1 package (3 oz) lemon Jell-O
- 1 cup boiling water
- 8 oz cream cheese, softened to room temperature
- 1 cup granulated sugar
- 1 tsp vanilla extract
- 1 can (12 oz) evaporated milk, chilled overnight
Instructions
- Chill the evaporated milk Place the can of evaporated milk in the refrigerator overnight. Or put it in the freezer 20 to 30 minutes before you start. It must be very cold to whip up properly. This step cannot be skipped.
- Make the graham cracker crust Crush graham crackers into fine crumbs using a food processor or a zip-lock bag and rolling pin. Combine with melted butter and mix until it looks like wet sand. Press firmly and evenly into the bottom of a 9×13 inch baking dish. Refrigerate while you prepare the filling.
- Dissolve the Jell-O Stir the lemon Jell-O into 1 cup of boiling water until fully dissolved. Set it aside and let it cool completely to room temperature. Do not put it in the fridge to speed things up or it will start to gel too early.
- Beat the cream cheese In a large bowl, beat the softened cream cheese with a hand mixer until completely smooth with no lumps. Add the sugar and vanilla and beat until light and fluffy, about 2 minutes. Pour in the cooled Jell-O and beat again until fully combined.
- Whip the evaporated milk In a separate cold metal bowl, whip the chilled evaporated milk on high speed until stiff peaks form, about 3 to 4 minutes. For best results, place the bowl and beaters in the freezer for 10 minutes before whipping.
- Fold filling together Using a rubber spatula, gently fold the whipped evaporated milk into the cream cheese mixture. Work from the bottom up. Do not stir hard or you will lose the airy texture that makes this cheesecake special.
- Assemble and chill Pour the filling over the chilled crust and smooth the top evenly. Cover with plastic wrap and refrigerate for at least 4 hours. Overnight chilling gives the cleanest slices and the best texture.
Notes
Cold evaporated milk is the most important step. If it does not whip into stiff peaks, it was not cold enough. Philadelphia cream cheese gives the most consistent results. For perfectly clean slices, run your knife under hot water and wipe dry between each cut. Leftovers keep well covered in the refrigerator for up to 3 days. The flavor is actually best on day two.