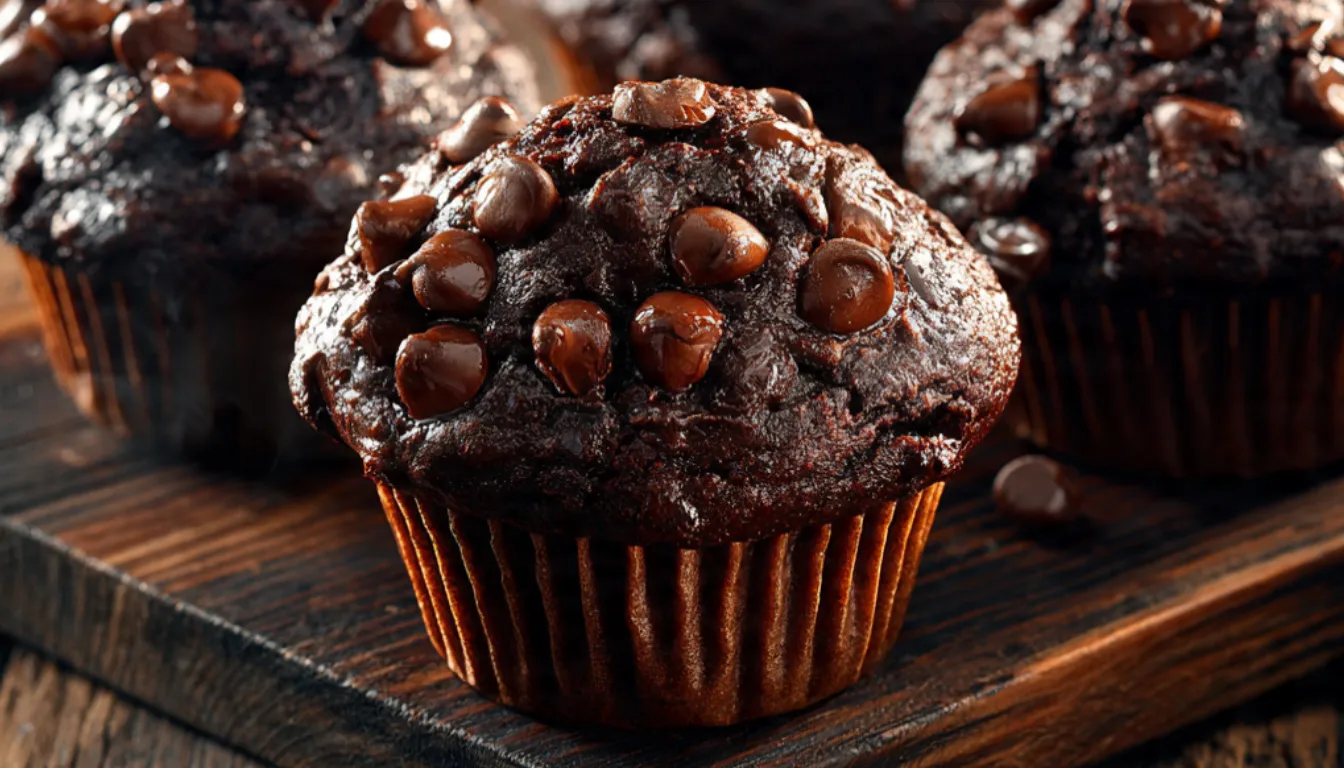
Double Chocolate Chip Muffins: Rich, Bakery-Style Results Every Single Time
I still remember the first batch I made that actually turned out right. It was a rainy Tuesday, my KitchenAid stand mixer was sitting on the counter like it owned the place, and I had two sad overripe bananas and a half-empty bag of chocolate chips staring at me. I threw a batch together mostly by instinct, pulled them from the oven, and bit into one while it was still steaming. That deep, fudgy, almost brownie-like interior stopped me cold. My family polished off all twelve before dinner.
Since then I have made double chocolate chip muffins more times than I can count. I have tested them with Dutch-process cocoa, with black cocoa, with different fats, different sugars, different mixing methods. I have ruined batches. I have had flat muffins, dry muffins, muffins that tasted like dust. And after years of tweaking, I can tell you exactly what separates a truly great chocolate muffin from a forgettable one.
So let’s get into it.
What Makes These Muffins Actually “Double Chocolate”
The name gets thrown around loosely on a lot of recipe sites. Some people call it double chocolate if there is cocoa powder plus a handful of chips tossed in. That is not double chocolate, that is just chocolate with chocolate chips.
Real double chocolate means the batter itself is deeply chocolatey, built on good cocoa powder AND melted chocolate. Then you fold in chips on top of that. The result is a muffin that tastes closer to a fudgy brownie than a dry breakfast pastry. The texture is moist and dense in the best way, with melty pockets of chocolate throughout.
The cocoa powder matters more than people think. I use Dutch-process cocoa here because it is smoother, less acidic, and gives that deep dark color that makes these muffins look as good as they taste. If you only have natural cocoa, it will still work, but the flavor will be slightly sharper and the color lighter. Brands I reach for: Rodelle, Valrhona, or even King Arthur’s Double Dutch Dark Cocoa if you want something extra intense. These are not cheap, but a small tin goes a long way and the difference in flavor is real.
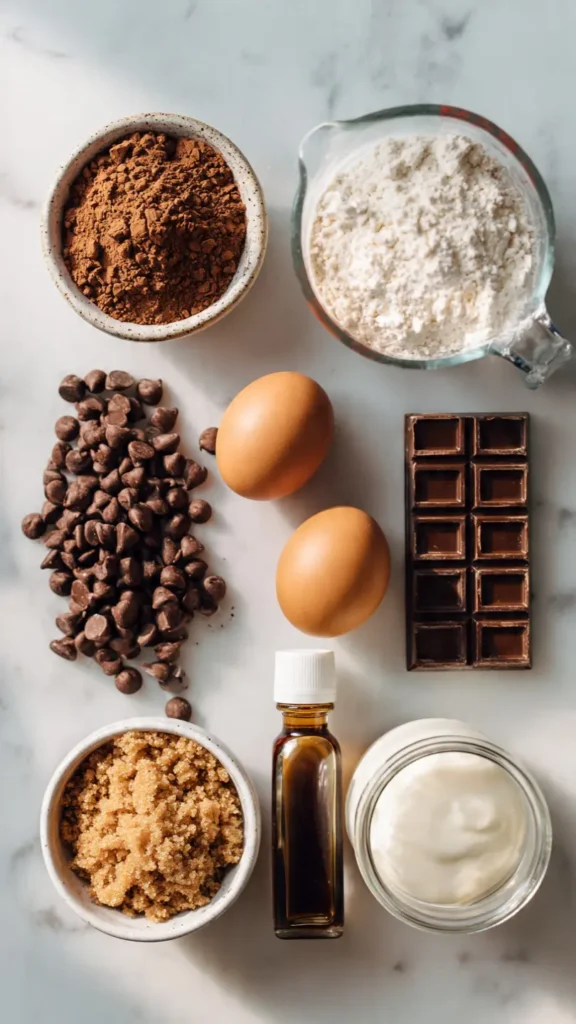
Essential Ingredients
- 1 and 3/4 cups all-purpose flour
- 3/4 cup Dutch-process cocoa powder
- 2 teaspoons baking powder
- 1/2 teaspoon baking soda
- 1/2 teaspoon fine sea salt
- 3/4 cup granulated sugar
- 1/4 cup packed light brown sugar
- 2 large eggs, room temperature
- 3/4 cup whole milk, room temperature
- 1/2 cup neutral oil (avocado or vegetable oil)
- 1/4 cup sour cream or full-fat Greek yogurt
- 2 teaspoons pure vanilla extract
- 4 oz semi-sweet chocolate, melted and slightly cooled
- 1 and 1/2 cups semi-sweet or dark chocolate chips (divided)
Alternative Ingredients
Not everyone has every item on hand, and that is okay. Here are some swaps that work well.
Flour: You can substitute up to half with whole wheat flour for a slightly nuttier flavor. The texture will be a little denser but still good. I do not recommend going fully whole wheat here.
Oil: Melted coconut oil works well and adds a faint tropical note. Melted butter gives a richer flavor but can make the muffins slightly drier as they cool.
Sour cream: Full-fat plain Greek yogurt is a perfect one-to-one swap. Both add moisture and a gentle tang that balances the sweetness.
Sugars: You can use all granulated sugar if you do not have brown sugar. The brown sugar adds a little molasses depth, so I prefer using both.
Chocolate chips: Dark chocolate chips (60-70%) will give you a more intense, less sweet result. Milk chocolate chips make them sweeter and more dessert-forward. I personally love using a mix of regular chips and a few roughly chopped dark chocolate chunks for texture variation.
Dairy-free version: Swap the milk for oat milk or almond milk, use dairy-free sour cream or coconut yogurt, and use dairy-free chocolate chips. Miyoko’s or Enjoy Life brand chips melt beautifully.
Tools That Make This Easier
You do not need a fancy kitchen to make great muffins. But a few tools do make life easier.
A good stand mixer like a KitchenAid is honestly not necessary here. These muffins come together with just a whisk and a rubber spatula. Overmixing is actually one of the biggest mistakes people make, so doing it by hand gives you more control.
What I do recommend: a reliable 12-cup muffin tin with a non-stick coating and a proper weight to it. Thin, cheap pans heat unevenly and you end up with muffins that are overdone on the edges and raw in the middle. I use a USA Pan muffin pan and it has been in my kitchen for years without warping. If you are in the market for new bakeware, it is worth the investment.
A digital kitchen scale is another tool I swear by for baking. Measuring cocoa powder and flour by weight rather than volume makes your results consistent every single time. Cheap options on Amazon work perfectly fine.
A microwave-safe bowl for melting your chocolate, or a double boiler if you prefer, rounds out what you need. That is genuinely it.
Step-by-Step Directions
Step 1: Preheat and prep. Set your oven to 425°F (220°C). Line a 12-cup muffin tin with paper liners or grease it well. The high heat at the start is intentional.
Step 2: Melt the chocolate. Chop your 4 oz of semi-sweet chocolate and melt it in a microwave-safe bowl in 30-second intervals, stirring between each. Set aside to cool for about 5 minutes.
Step 3: Whisk dry ingredients. In a large bowl, whisk together the flour, cocoa powder, baking powder, baking soda, and salt until fully combined. Set aside.
Step 4: Combine wet ingredients. In a separate bowl, whisk together both sugars, eggs, milk, oil, sour cream, and vanilla until smooth. Pour in the melted chocolate and whisk again until incorporated.
Step 5: Fold together. Pour the wet ingredients into the dry ingredients. Using a rubber spatula, fold until just combined. Stop when you no longer see dry streaks. The batter will be thick. Fold in 1 cup of the chocolate chips.
Step 6: Fill generously. Divide the batter between the 12 muffin cups, filling each almost to the top. Sprinkle the remaining 1/2 cup of chips over the tops.
Step 7: The oven trick. Bake at 425°F for 5 minutes, then without opening the oven, reduce the temperature to 350°F (175°C) and bake for another 13 to 15 minutes. A toothpick inserted in the center should come out with a few moist crumbs. Not wet batter, but not bone dry either.
Step 8: Cool in the pan. Let them sit in the muffin tin for 5 minutes before transferring to a wire rack. This helps them finish setting up.
Pro Tips
The high-heat start is not optional. That initial blast at 425°F causes the batter to rise quickly, which is what creates that domed, bakery-style top. Drop to a lower temperature too soon and you get flat, sad muffins.
Do not overmix. I cannot say this enough. Overmixing develops the gluten in the flour and gives you rubbery, tough muffins. Fold gently and stop the moment the dry ingredients disappear.
Room temperature ingredients matter. Cold eggs and cold milk do not incorporate as smoothly into the batter. Pull everything from the fridge 30 minutes before you start.
Weigh your cocoa powder. Cocoa is notorious for packing tightly into measuring cups. If you scoop directly from the container, you can easily end up with 50% more than the recipe calls for, making your muffins dry and bitter. Spoon it in lightly or just use a scale.
For extra moist muffins: Replace 2 tablespoons of the milk with brewed coffee or espresso. It does not make them taste like coffee but it intensifies the chocolate flavor considerably.
FAQs
Can I make the batter ahead of time? You can mix the dry and wet ingredients separately and store them in the fridge overnight. Combine them right before baking. I do not recommend storing the fully mixed batter because the leavening starts working immediately.
How do I store these muffins? Once fully cooled, store them in an airtight container at room temperature for up to 3 days. For longer storage, place them in a zip-lock freezer bag and freeze for up to 3 months. Thaw overnight at room temp or warm briefly in the microwave.
Can I make these into mini muffins? Yes. Fill a mini muffin tin about 3/4 full and bake at 350°F for 10 to 12 minutes, skipping the initial high-heat step.
Why did my muffins sink in the middle? Two likely culprits: underbaking or overmixing. Make sure your oven is properly preheated (an oven thermometer helps here, many ovens run hot or cold), and check doneness with a toothpick.
Can I make these gluten-free? I have tested a 1:1 gluten-free flour blend like Bob’s Red Mill and it works reasonably well. The texture is slightly more crumbly, but the flavor is still great. Add 1/4 teaspoon of xanthan gum if your blend does not already include it.
Why You’ll Love This Recipe
These are not light, airy, delicate muffins. They are rich, substantial, and deeply chocolatey. The kind you reach for when you want something satisfying with your morning coffee. They reheat beautifully, freeze well, and are genuinely impressive to bring to a brunch or bake sale without having spent more than 35 minutes on them.
They are also flexible. Dairy-free, gluten-free, mix-in friendly. You can toss in chopped walnuts, a swirl of peanut butter, dried cherries, or even a pinch of cayenne if you want to do something unexpected.
What Makes This Recipe Unique
Most double chocolate muffin recipes stop at cocoa powder plus chips. This one uses melted chocolate in the batter on top of the cocoa powder, which is what gives the texture that fudgy, almost brownie-like interior. The sour cream adds moisture without making the batter too wet. And the two-temperature baking method creates those tall, domed tops that look like they came from an actual bakery counter.
Key Features
- Uses both cocoa powder AND melted chocolate for maximum depth
- High-heat start creates bakery-style domed tops
- Ready in under 40 minutes
- Easily made dairy-free or gluten-free
- Freezer-friendly for meal prep
- No stand mixer required
You’ll Also Love
- Bakery-Style Blueberry Muffins (same domed-top technique with a fruit twist)
- One-Bowl Chocolate Banana Bread (uses similar pantry ingredients, barely any cleanup)
- Flourless Dark Chocolate Brownies (for when you want even more of that fudgy texture)
- Chocolate Zucchini Muffins (sneaks in vegetables, nobody will notice)
Conclusion
The recipe is genuinely simple. Fifteen minutes of hands-on work, a hot oven, and you have twelve muffins that taste like they came from a proper bakery. The key is quality cocoa powder, not overmixing the batter, and trusting that two-temperature oven method.
I have shared this recipe with so many people at this point and the question I get back most is always the same: “What did you put in these?” The answer is just good chocolate, a little technique, and not overthinking it.
If you make these, let me know how they turned out. I genuinely love hearing when someone’s kitchen smells like a chocolate factory on a random Tuesday.
Happy baking. Linda
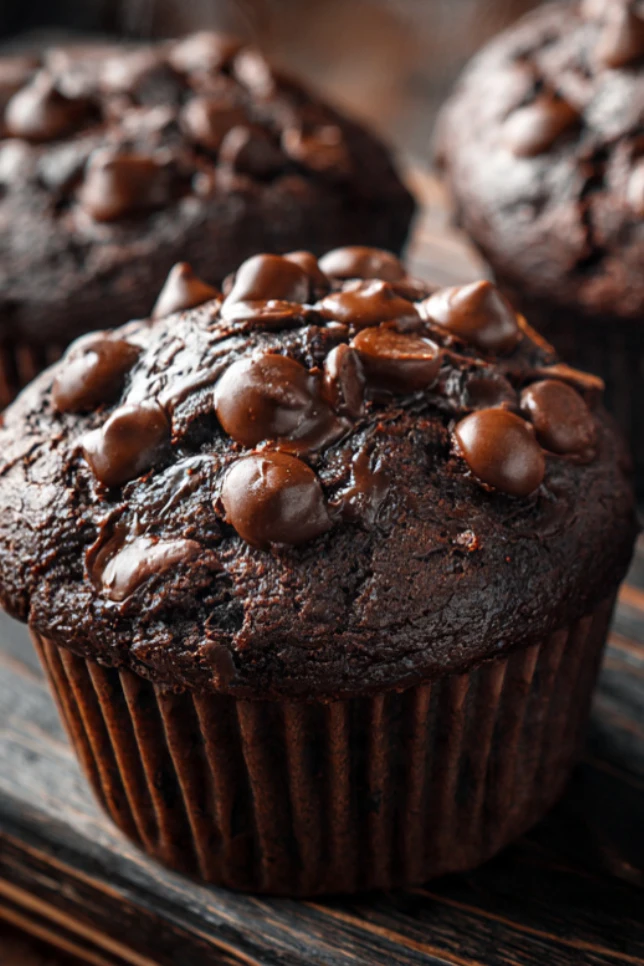
Double Chocolate Chip Muffins
These rich bakery-style muffins combine Dutch-process cocoa, melted chocolate, and chocolate chips for an ultra-moist, fudgy texture with impressive domed tops.
Ingredients
- 1¾ cups all-purpose flour
- ¾ cup Dutch-process cocoa powder
- 2 tsp baking powder
- ½ tsp baking soda
- ½ tsp fine sea salt
- ¾ cup granulated sugar
- ¼ cup light brown sugar
- 2 large eggs, room temperature
- ¾ cup whole milk
- ½ cup neutral oil
- ¼ cup sour cream or Greek yogurt
- 2 tsp vanilla extract
- 4 oz semi-sweet chocolate, melted
- 1½ cups chocolate chips, divided
Instructions
- Preheat and Prepare: Preheat oven to 425°F (220°C) and line a 12-cup muffin pan.
- Melt Chocolate: Melt chocolate in 30-second intervals, stirring between each interval. Cool slightly.
- Mix Dry Ingredients: Whisk flour, cocoa powder, baking powder, baking soda, and salt together.
- Mix Wet Ingredients: Whisk sugars, eggs, milk, oil, sour cream, vanilla, and melted chocolate until smooth.
- Combine Batter: Fold wet mixture into dry ingredients until just combined. Fold in 1 cup chocolate chips.
- Fill Muffin Tin: Divide batter evenly into muffin cups, filling nearly to the top. Sprinkle remaining chips on top.
- Bake: Bake for 5 minutes at 425°F. Without opening the oven, reduce heat to 350°F and bake 13–15 minutes more.
- Cool: Let muffins cool in the pan for 5 minutes before transferring to a wire rack.
Recipe Notes
For extra rich flavor, replace 2 tablespoons of milk with brewed coffee. Avoid overmixing the batter to keep the muffins tender. Store in an airtight container for up to 3 days or freeze for up to 3 months.