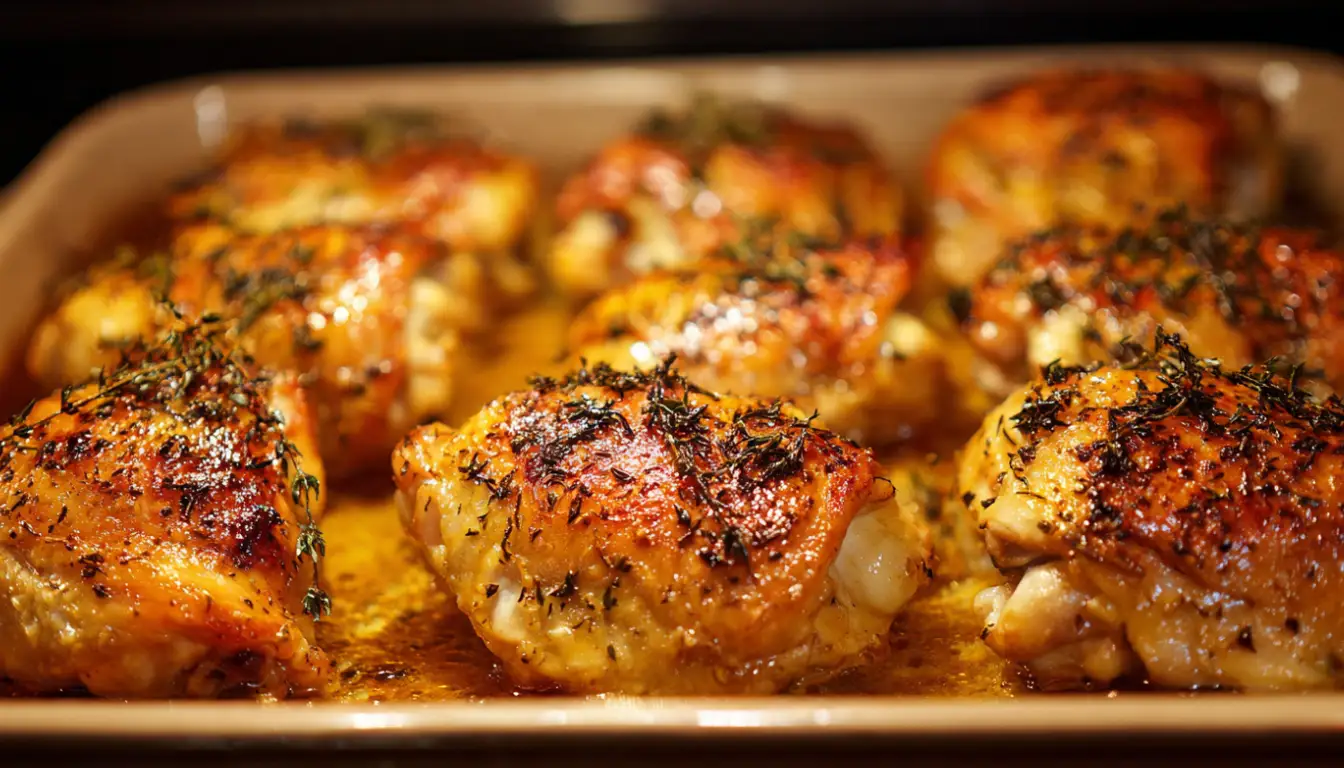
Perfect Oven-Baked Boneless Skinless Chicken Thighs (Juicy Every Time!)
You know what drove me absolutely crazy when I first started cooking? Dry, rubbery chicken thighs. I’d follow recipes to the letter, set my timer, and still end up with chicken that needed half a bottle of sauce just to be edible. After years of testing (and honestly, a lot of failed dinners), I finally cracked the code for getting boneless skinless chicken thighs perfectly juicy in the oven every single time.
Here’s the thing about chicken thighs. They’re naturally more forgiving than chicken breasts because they have more fat, but that doesn’t mean you can just throw them in the oven and hope for the best. I learned this the hard way during a dinner party when I served what can only be described as chicken jerky to my in-laws. Not my proudest moment.
The beauty of mastering oven-baked chicken thighs is that once you get it right, you’ve got a protein that works for everything. Meal prep Sundays? Check. Quick weeknight dinners? Absolutely. Fancy enough for company but easy enough for a Tuesday? You bet. And unlike those pre-seasoned options you see at the grocery store, when you make them yourself, you know exactly what’s going into your food.
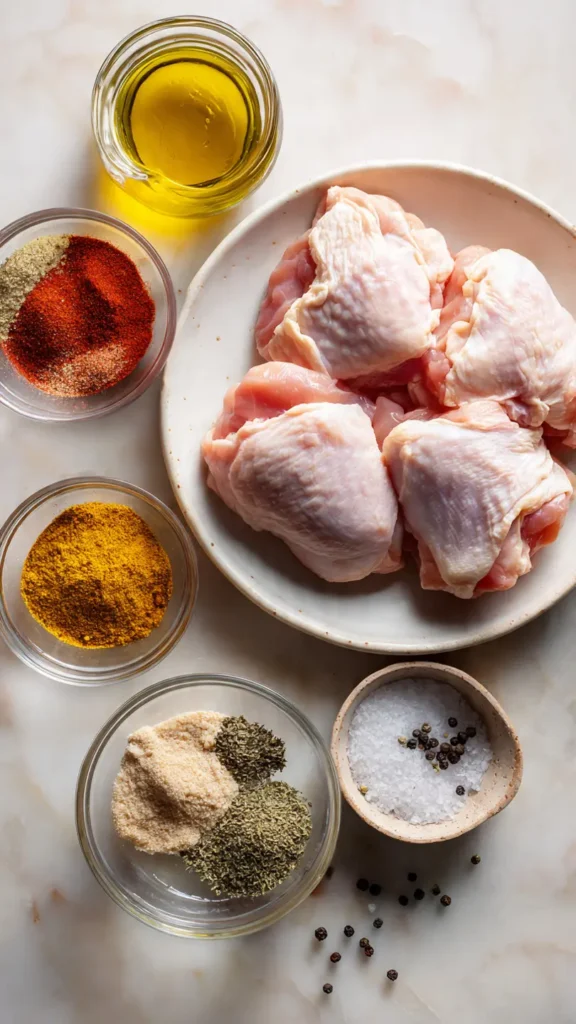
Essential Ingredients
Let me walk you through what you actually need for this recipe. I’m not going to give you a list of 20 ingredients because honestly, you don’t need them. Here’s what works:
- 2 pounds boneless skinless chicken thighs (usually 6-8 thighs)
- 2 tablespoons olive oil or avocado oil
- 1 teaspoon salt (I use kosher, but table salt works)
- 1/2 teaspoon black pepper
- 1 teaspoon garlic powder
- 1 teaspoon onion powder
- 1/2 teaspoon paprika (smoked if you want a deeper flavor)
- 1/2 teaspoon dried oregano or thyme
That’s it. Seriously. You can get fancier if you want, but this base seasoning has never let me down.
Alternative Ingredients
Now, I get asked about substitutions all the time, so let me save you some trouble. If you don’t have garlic powder, use three minced garlic cloves mixed into the oil. Fresh works great, it just takes an extra minute. For the herbs, Italian seasoning is basically the same thing as oregano and thyme combined, so use about a teaspoon of that if it’s what you’ve got.
Can’t do olive oil? Any neutral oil works. I’ve used vegetable oil, canola, even melted butter when I’m feeling indulgent. The oil isn’t about flavor here (though olive oil adds a nice touch). It’s about helping the seasonings stick and promoting browning.
Some people swear by replacing the paprika with cumin for a more southwestern vibe, or using Chinese five-spice for an Asian-inspired version. Both work beautifully. The beauty of this recipe is that it’s a template, not a rigid formula.
Step-by-Step Directions
Alright, let’s get into the actual cooking. I’m going to walk you through this like I’m standing in your kitchen with you, because that’s how I learned and honestly, it’s the best way to avoid the mistakes I made early on.
Step 1: Prep Your Chicken
Take your chicken thighs out of the package and pat them completely dry with paper towels. This is non-negotiable. Wet chicken steams instead of browns, and you’ll miss out on all that delicious caramelization. I usually set them on a plate and let them sit at room temperature for about 20 minutes while I prep everything else. Cold chicken straight from the fridge cooks unevenly.
Step 2: Season Generously
Mix all your dry seasonings in a small bowl. Then drizzle the oil over your chicken thighs and rub it in with your hands. Yes, get messy. It’s the only way to make sure everything’s coated. Sprinkle your seasoning mixture over both sides of each thigh and actually press it into the meat. This is where flavor happens.
I used to just sprinkle from above like I was some cooking show host, and guess what? Half the seasoning would fall off during cooking. Press it in. Thank me later.
Step 3: Preheat That Oven
Get your oven to 425°F. I know some recipes say 375°F or 400°F, but after testing this at every temperature imaginable, 425°F is the sweet spot for boneless skinless thighs. It’s hot enough to get good browning without drying them out.
While the oven’s heating, line a baking sheet with parchment paper or aluminum foil. This isn’t about being lazy (though easy cleanup is nice). It’s about preventing sticking and ensuring even heat distribution. If you’ve got a cast iron skillet, even better. Those things retain heat like nothing else and give you gorgeous browning.
Step 4: Arrange and Bake
Place your seasoned thighs on your prepared pan with space between each one. Don’t crowd them or they’ll steam instead of roast. Into the oven they go for 22-25 minutes.
Here’s where most people mess up. They either undercook (hello, food safety issues) or overcook (hello, hockey pucks). Get yourself a meat thermometer. I resisted buying one for years because I thought I could just “tell” when chicken was done. I was wrong. A good instant-read thermometer costs about twenty bucks and has saved me from serving raw chicken more times than I care to admit.
Pull your thighs when they hit 165°F internal temperature. Some people pull at 160°F and let carryover cooking finish the job, which also works. Above 170°F and you’re heading into dry territory.
Step 5: Rest Before Cutting
This is crucial. Let those thighs rest for 5 minutes before you cut into them. I know they smell amazing and you’re hungry, but cutting immediately means all those delicious juices run out onto your cutting board instead of staying in your chicken. Five minutes. Set a timer if you have to.
Pro Tips
After making this recipe literally hundreds of times (I do a lot of meal prep), here are the tricks that actually matter:
Use a Wire Rack
If you really want next-level results, set a wire cooling rack on your baking sheet and put the chicken on that. Air circulates underneath and you get more even cooking. Game changer for getting crispy edges without flipping.
Don’t Skip the Oil
I’ve tried making these “healthier” by skipping the oil. Bad idea. You need fat for browning and moisture retention. Two tablespoons for two pounds of chicken isn’t going to wreck your diet, I promise.
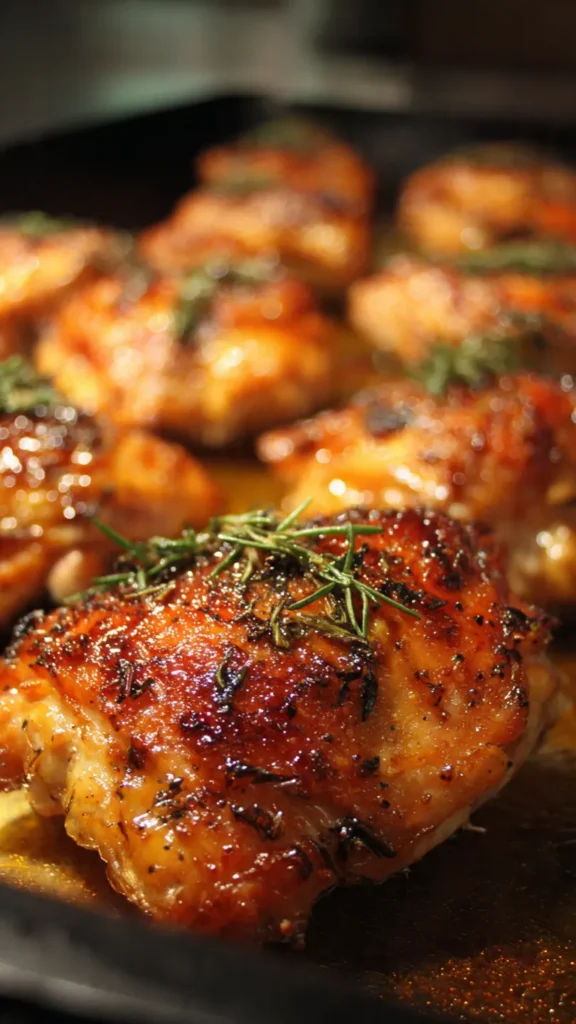
The Broiler Finish
Want restaurant-quality browning? After your chicken hits temperature, switch to broil for 2-3 minutes. Watch it like a hawk because broilers are aggressive. This gives you those beautiful caramelized spots that make food look professional.
Meal Prep Friendly
These thighs stay good in the fridge for 4-5 days in meal prep containers. I make a big batch every Sunday and use them in salads, grain bowls, or just reheat for quick dinners. They actually taste better the next day once the seasonings have really melded.
Why You’ll Love This Recipe
Look, I’m not going to oversell this. It’s chicken thighs in an oven. But what makes it special is how reliably it works. No fancy equipment beyond a baking sheet. No complicated techniques. Just straightforward cooking that produces juicy, flavorful chicken every single time.
It’s also ridiculously versatile. The base recipe is mild enough that you can pair it with literally anything. Mexican rice? Works. Roasted vegetables? Perfect. Over pasta? Absolutely. I’ve served these thighs at backyard barbecues and fancy dinner parties, and they always disappear.
Plus, if you’re trying to eat more protein or do any kind of meal prep, chicken thighs are your best friend. They’re cheaper than breasts, more flavorful, and way harder to mess up. I buy them in bulk at Costco and they’re usually around half the price of chicken breast.
What Makes This Recipe Unique
You know what I hate? Those recipes that claim to be “unique” because they added one weird ingredient. This recipe is unique because it’s actually reliable. I tested it with different oven types (yes, even that terrible apartment oven I had in grad school), different brands of chicken, different altitudes, and it works consistently.
The seasoning blend is balanced enough that it enhances the chicken flavor instead of covering it up. I’ve gotten feedback from readers who can’t eat certain spices, and they’ve successfully customized this while keeping the core method the same.
Also, unlike a lot of chicken recipes that require marinating overnight or brining for hours, this is truly a same-day recipe. Season and cook. That’s it. Perfect for when you forgot to plan dinner and need something good fast.
Key Features
Temperature Control is Everything
That 425°F oven temperature combined with the 22-25 minute cook time is calibrated for boneless skinless thighs specifically. Bone-in thighs need longer. Breasts need different temps. This is optimized for what we’re making here.
Dry Surface = Better Browning
Patting the chicken dry before seasoning isn’t just me being picky. Moisture is the enemy of the Maillard reaction, which is the fancy science term for “making food taste good through browning.” A dry surface browns. A wet surface steams.
Fat Content Works For You
Boneless skinless thighs have more intramuscular fat than breasts, which means they stay moist even if you slightly overcook them. That built-in forgiveness is why I always recommend thighs to new cooks.
Frequently Asked Questions
Can I use frozen chicken thighs?
You can, but you’ll need to thaw them first. I’ve tried cooking them from frozen and the exterior overcooks before the inside is done. Thaw overnight in the fridge, or use the defrost setting on your microwave if you’re in a hurry.
How do I know when they’re done without a thermometer?
Honestly? Get a thermometer. But if you absolutely refuse, cut into the thickest part. The meat should be opaque all the way through with clear (not pink) juices. If you see any pink, keep cooking.
Can I make these in an Instant Pot instead?
Sure, though you’ll lose the browning unless you sauté first. Pressure cook on high for 8 minutes, natural release for 5. But if you’re going that route, you might want a different seasoning blend because the flavors concentrate differently under pressure.
What about air fryer?
Absolutely works. 380°F for 18-20 minutes, flip halfway through. The air fryer actually gives you better crisping than the oven, though it can only fit 4-5 thighs at a time depending on your model size.
These came out dry, what did I do wrong?
Three possibilities: your oven runs hot (get an oven thermometer), you cooked them past 170°F, or you didn’t let them rest. Also, make sure you’re not using chicken that’s been previously frozen and thawed multiple times. That degrades the texture.
You’ll Also Love
If this recipe works for you, here are some other chicken recipes I’ve developed that use similar techniques:
- Crispy Chicken Thighs with Lemon Butter Sauce: Takes the basic method here and adds a pan sauce that’s restaurant-quality
- Sheet Pan Chicken and Vegetables: Same oven temp, but you add vegetables around the chicken for a complete meal
- Baked Chicken Thigh Tacos: Use this cooking method, then shred the meat for the best taco filling you’ve ever had
- Chicken Thigh Meal Prep Bowls: My go-to for Sunday meal prep, uses these thighs as the base
Final Thoughts
After ten years of recipe development, I keep coming back to this one because it just works. It’s not fancy. It’s not Instagram-worthy in that over-the-top way. But it’s the kind of recipe that becomes part of your regular rotation because it’s reliable, affordable, and actually tastes good.
I make these thighs at least twice a month, usually more. Sometimes I get creative with different spice blends, but honestly, this basic version is hard to beat. The key is nailing that oven temperature, using a meat thermometer, and letting them rest. Do those three things and you’ll have juicy chicken thighs every time.
And look, if you mess them up the first time, don’t stress. I’ve been cooking for a decade and I still occasionally get distracted and overcook dinner. The difference is now I know how to fix it (cut them up and add to a sauce or soup). Cooking is about building skills, and this recipe is a great place to start.
Let me know how yours turn out. And if you’ve got questions, drop them in the comments. I read everything and try to respond when I can. Happy cooking!
Perfect Oven-Baked Boneless Skinless Chicken Thighs
Juicy, flavorful chicken thighs baked to perfection. No marinating required!
Ingredients
- 2 pounds boneless skinless chicken thighs (6-8 thighs)
- 2 tablespoons olive oil or avocado oil
- 1 teaspoon kosher salt
- 1/2 teaspoon black pepper
- 1 teaspoon garlic powder
- 1 teaspoon onion powder
- 1/2 teaspoon paprika (smoked optional)
- 1/2 teaspoon dried oregano or thyme
Instructions
- Prep the chicken Remove chicken thighs from packaging and pat completely dry with paper towels. Let sit at room temperature for 20 minutes.
- Season the chicken Mix all dry seasonings in a small bowl. Drizzle olive oil over chicken thighs and rub to coat. Sprinkle seasoning mixture over both sides and press into the meat.
- Preheat oven Preheat oven to 425°F. Line a baking sheet with parchment paper or aluminum foil.
- Arrange and bake Place seasoned thighs on prepared pan with space between each one. Bake for 22-25 minutes until internal temperature reaches 165°F.
- Rest before serving Remove from oven and let chicken rest for 5 minutes before cutting. This allows juices to redistribute.
Pro Tips
Use a wire cooling rack on your baking sheet for even crispier results. Always use a meat thermometer to check for doneness at 165°F. For extra browning, switch to broil for the last 2-3 minutes, watching carefully. These thighs store beautifully in meal prep containers for 4-5 days in the refrigerator.