The Secret KFC Chicken Coating Recipe (Crispy, Flavorful & Easy to Make at Home)
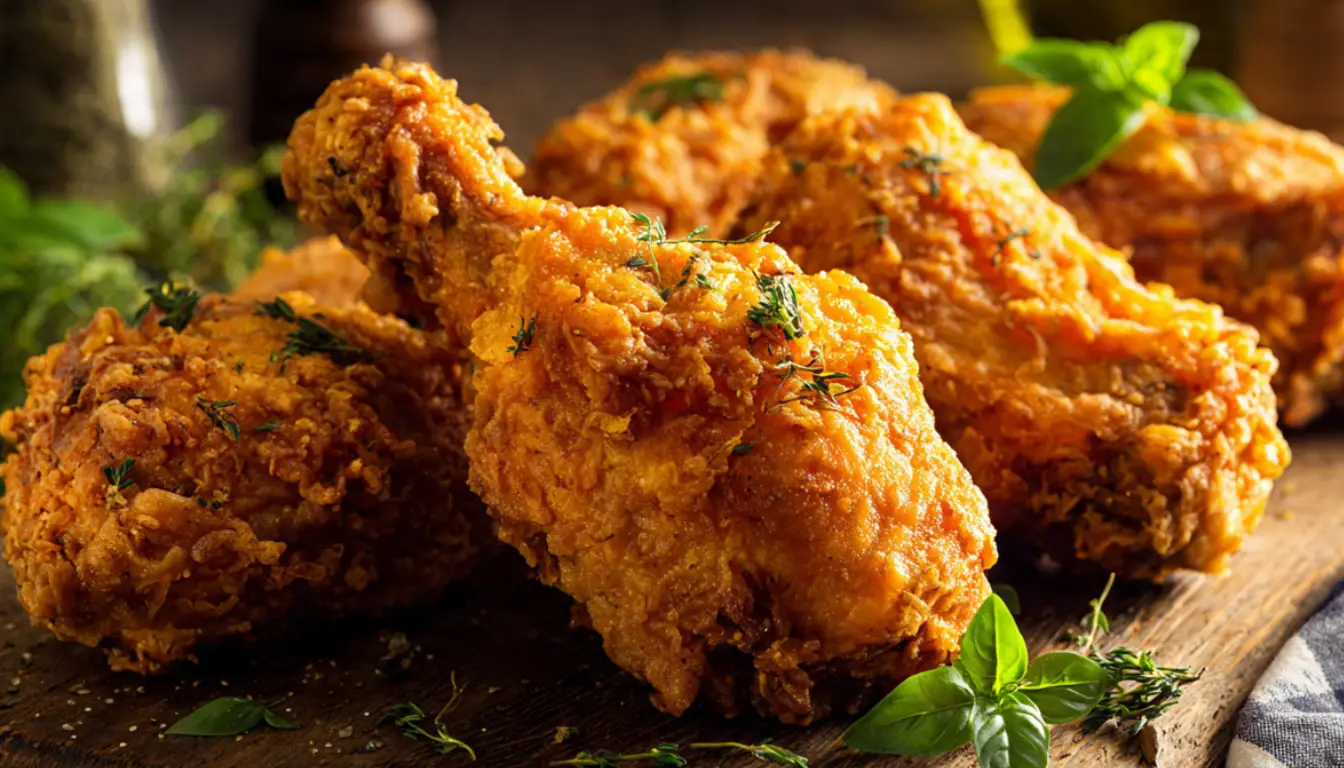
You know that moment when you bite into a piece of perfectly fried chicken and the coating shatters with that satisfying crunch? That’s what I’ve been chasing for years. I’ll be honest, I spent way too many Saturday afternoons trying to crack the code on that famous Kentucky Fried Chicken coating recipe. My kitchen looked like a flour bomb went off more times than I can count.
Here’s the thing about copycat KFC chicken. Most recipes online give you this bland, generic coating that tastes nothing like the real deal. After testing dozens of variations (and eating more fried chicken than any human should), I finally figured out what makes that coating so addictive. It’s not just about the herbs and spices. It’s about the technique, the double-coating method, and a few tricks that Colonel Sanders would probably never admit to.
I remember my first attempt back in 2015. I used regular flour, tossed in some paprika and garlic powder, and called it a day. The result? Sad, pale chicken that tasted like I’d breaded it with cardboard. My family still gives me grief about that dinner. But that failure taught me something important: if you want restaurant-quality fried chicken at home, you need to respect the process.
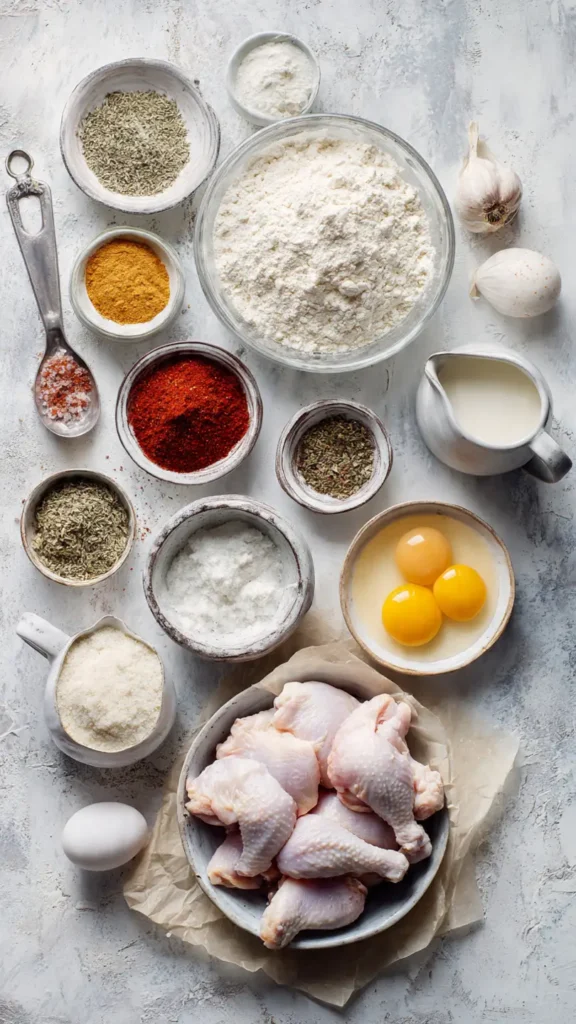
Essential Ingredients
The coating mixture is where the magic happens. Don’t skip any of these:
- 2 cups all-purpose flour
- 2/3 tablespoon salt
- 1/2 tablespoon dried thyme
- 1/2 tablespoon dried basil
- 1/3 tablespoon dried oregano
- 1 tablespoon celery salt
- 1 tablespoon black pepper
- 1 tablespoon dried mustard
- 4 tablespoons paprika
- 2 tablespoons garlic salt
- 1 tablespoon ground ginger
- 3 tablespoons white pepper
- 1 cup buttermilk
- 1 large egg
- 3 pounds chicken pieces (mix of drumsticks, thighs, and breasts)
For frying, you’ll need about 3-4 cups of vegetable oil or peanut oil. I prefer peanut oil because it has a higher smoke point and gives you that clean taste without any weird aftertaste.
Alternative Ingredients
Not everyone stocks all these spices in their pantry, and that’s totally fine. I’ve learned to be flexible over the years. If you don’t have white pepper, just use more black pepper. It’ll change the flavor slightly, but you’ll still get that peppery kick.
Can’t find celery salt? Mix regular salt with a pinch of celery seed or even dried celery leaves. Works in a pinch. For the dried mustard, you could substitute with a tiny bit of Dijon mustard mixed into your buttermilk marinade, though the coating won’t be quite as dry.
If buttermilk isn’t your thing (or you forgot to buy it like I do half the time), make your own by adding a tablespoon of lemon juice or white vinegar to regular milk. Let it sit for 5 minutes. Boom, instant buttermilk.
For a healthier version, I’ve had success using my air fryer instead of deep-frying. The coating doesn’t get quite as shatteringly crisp, but it’s pretty close and way less messy. My Ninja air fryer does a solid job at 380°F for about 25 minutes, flipping halfway through.
Step-by-Step Directions
Trust me on this sequence. I’ve messed it up enough times to know what works.
Step 1: Prep the chicken
Pat your chicken pieces completely dry with paper towels. This is critical. Water is the enemy of crispy coating. I learned this the hard way when my first batch turned into a soggy mess. If your chicken is too wet, that flour coating will turn into paste instead of forming that craggy, crispy crust we’re after.
Step 2: Make the spice blend
In a large bowl, combine all your dry ingredients: flour, all the spices, salts, and peppers. Whisk everything together really well. You don’t want clumps of paprika in one bite and plain flour in another. I usually spend a good 2-3 minutes whisking to make sure it’s evenly distributed.
Step 3: Set up your buttermilk bath
In a separate bowl, whisk together the buttermilk and egg until smooth. This is your binding agent. The egg helps the coating stick, while the buttermilk tenderizes the chicken and adds a subtle tang.
Step 4: Double coat each piece
Here’s where most people mess up. You’re going to coat each piece twice. First, dredge the chicken in your flour mixture, making sure every inch is covered. Shake off the excess. Then dip it in the buttermilk mixture, let the extra drip off, and dredge it in the flour again.
That second coating is what creates those craggy bits and extra-thick crust. After the second flour coating, I like to press the flour gently into the chicken with my hands. Gets better coverage.
Step 5: Let it rest
This is the step everyone skips, and it’s a mistake. Let your coated chicken sit on a wire rack for 15-20 minutes before frying. This rest period lets the coating set up and helps it stick better during frying. I usually use this time to get my oil heating.
Step 6: Heat your oil
If you’re using a deep fryer (I love my T-fal deep fryer for this), set it to 350°F. If you’re using a heavy-bottomed pot or cast iron skillet, fill it about 3 inches deep with oil and heat over medium-high heat until a thermometer reads 350°F.
Don’t skip the thermometer. Seriously. Too cold and your chicken will be greasy. Too hot and the outside burns before the inside cooks. I killed a $15 piece of chicken breast once because I eyeballed the temperature. Never again.
Step 7: Fry in batches
Don’t crowd your fryer or pot. I usually do 3-4 pieces at a time, depending on size. Fry for 12-15 minutes for smaller pieces like drumsticks, and 15-18 minutes for larger pieces like breasts. The internal temperature should hit 165°F when you check with a meat thermometer.
Flip the pieces halfway through if you’re using a skillet instead of a deep fryer. And keep an eye on that oil temperature. It’ll drop when you add cold chicken, so adjust your heat as needed to maintain 325-350°F.
Step 8: Drain and rest
Transfer your fried chicken to a wire rack set over a baking sheet. Don’t use paper towels, they’ll steam the bottom and make it soggy. Let the chicken rest for 5 minutes before serving. This lets the juices redistribute and the coating firms up even more.
Pro Tips
After years of making this recipe, I’ve picked up a few tricks that make a real difference:
Use a wire rack for everything. Whether you’re resting the coated chicken before frying or draining it after, wire racks are your best friend. They allow air circulation and prevent soggy bottoms.
Season in layers. Don’t just rely on the coating for flavor. I like to season my chicken pieces with a bit of salt and pepper before I start the coating process. Gives you better flavor throughout.
Save your leftover spice mix. That flour blend keeps in an airtight container for months. I make double batches and store it in a mason jar. Makes weeknight fried chicken way easier when half the work is already done.
Try the pressure fryer method. If you really want to replicate KFC’s texture, they use pressure fryers. You can approximate this at home with an Instant Pot. Coat your chicken the same way, add oil to the inner pot (about 2 inches deep), and pressure cook on high for 10 minutes. It won’t be exactly the same, but the chicken cooks faster and stays incredibly juicy.
Don’t skip the resting time. Both before and after frying. I know you’re hungry, but patience pays off with crispier chicken.
For meal prep, this coating works great on chicken you plan to freeze. Coat and freeze the raw chicken pieces on a baking sheet, then transfer to freezer bags once solid. Fry from frozen, just add 5-7 minutes to the cooking time.
Frequently Asked Questions
What spices are in KFC chicken coating?
The classic KFC style coating uses a blend of herbs and spices including paprika, garlic salt, thyme, basil, oregano, white pepper, black pepper, mustard powder and ginger mixed with flour.
Why does double coating fried chicken make it crispier?
Double coating creates a thicker crust that forms small craggy pieces during frying which produces the signature crunchy fried chicken texture.
Can I make KFC style fried chicken in an air fryer?
Yes. Cook coated chicken in an air fryer at 380°F for about 25 minutes flipping halfway through.
What oil is best for frying chicken?
Peanut oil is ideal because it has a high smoke point and neutral flavor. Vegetable oil also works well.
Recipe Info
| Prep Time | Cook Time | Total Time | Servings | Yield |
|---|---|---|---|---|
| 30 minutes | 20 minutes | 50 minutes | 6-8 | 3 pounds of chicken |
Why You’ll Love This Recipe
Look, I’m not going to promise this tastes exactly like walking into a KFC restaurant. But it’s damn close, and you’re making it in your own kitchen with ingredients you can actually pronounce. No weird preservatives or mystery chemicals.
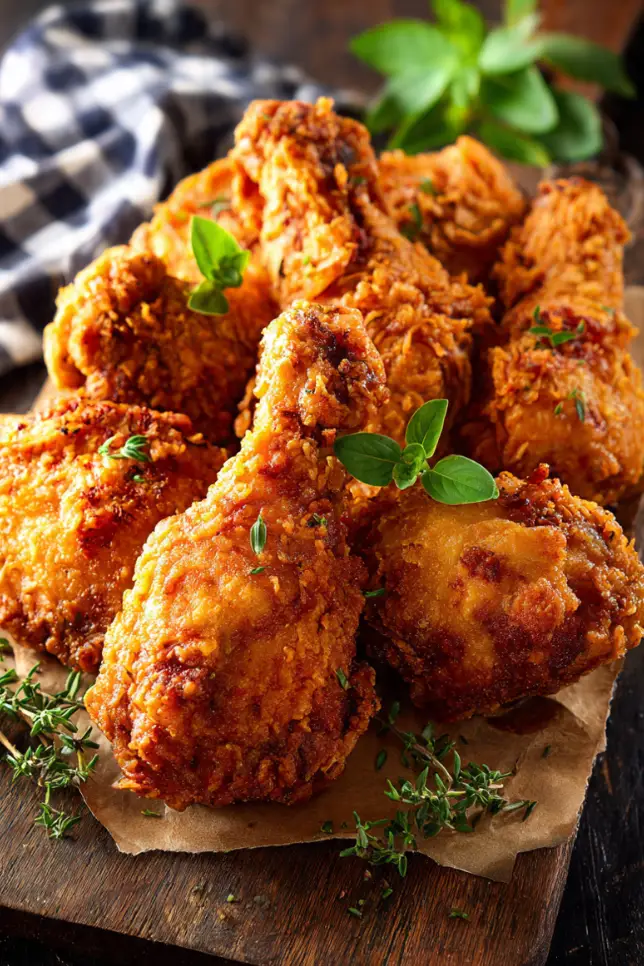
The coating has that perfect balance of salty, savory, and slightly peppery that makes you want to keep eating. It stays crispy even after it cools down a bit, which is rare for homemade fried chicken. I’ve served this at family gatherings and people genuinely can’t believe it’s not from a restaurant.
Plus, once you’ve got the spice blend mixed up, it’s actually faster than driving to KFC, waiting in line, and driving back home. And way cheaper. A bucket of KFC costs like $25 now. This recipe feeds a crowd for under $10.
What Makes This Recipe Unique
The real secret is the spice balance. Most copycat recipes go heavy on one or two spices and call it a day. This blend uses 11 different seasonings in specific proportions that create complexity without any single flavor dominating.
The double-coating technique isn’t unique to me, but it’s essential. That’s what creates the thick, craggy crust that shatters when you bite it. Single-coated chicken is just… thin and boring.
And honestly? The resting period before frying. Most recipes skip this entirely, but it’s the difference between coating that slides off in the fryer and coating that stays put and crisps up beautifully.
Key Features
- Authentic 11-herb-and-spice blend that actually tastes like the real thing
- Double-coating method for extra-thick, crispy crust
- Versatile cooking methods: deep fryer, cast iron skillet, or air fryer
- Make-ahead friendly: mix the spice blend in bulk and store
- Budget-friendly: costs a fraction of takeout
- Meal prep compatible: freeze coated chicken for quick future dinners
Nutrition Facts
Per serving (based on 8 servings, using chicken thighs):
| Nutrient | Amount |
|---|---|
| Calories | 380 |
| Total Fat | 22g |
| Saturated Fat | 5g |
| Cholesterol | 110mg |
| Sodium | 920mg |
| Total Carbohydrates | 18g |
| Dietary Fiber | 1g |
| Sugars | 2g |
| Protein | 28g |
Note: Nutrition values vary based on chicken cuts used and frying method. Using an air fryer significantly reduces fat content.
You’ll Also Love
If this KFC chicken coating hit the spot, try my [Southern Fried Chicken with Buttermilk Brine], [Nashville Hot Chicken Spice Blend], or [Korean Fried Chicken with Double Fry Method]. All three use similar techniques but take the flavor in completely different directions.
For sides, my [Creamy Coleslaw] and [Buttermilk Biscuits from Scratch] are perfect companions. And if you’re really committed to the KFC experience, I’ve got a [Copycat KFC Mashed Potatoes and Gravy] recipe that’ll complete your spread.
Conclusion
After years of experimenting and more fried chicken than any person should eat in a lifetime, this is the coating recipe I come back to again and again. It’s not fancy, it doesn’t require expensive ingredients, and it actually works.
The best part? Once you nail this technique, you can adapt it. Want it spicier? Add cayenne. Want it more garlicky? Double the garlic salt. The base formula is solid enough that you can tweak it to your taste.
Give it a shot next weekend. Set up your coating station, get your oil heating, and make some seriously good fried chicken. Your family will thank you. Just maybe don’t tell them it’s healthier than takeout until after they’ve had seconds.
Have questions about this recipe? Drop them in the comments below! And if you make this, tag me on Instagram so I can see how your chicken turned out. Happy frying!
Secret KFC Chicken Coating Recipe
Crispy fried chicken coating made with an 11 spice blend and a double dredging method for a crunchy restaurant style crust.
Ingredients
- 2 cups all purpose flour
- 2/3 tablespoon salt
- 1/2 tablespoon dried thyme
- 1/2 tablespoon dried basil
- 1/3 tablespoon dried oregano
- 1 tablespoon celery salt
- 1 tablespoon black pepper
- 1 tablespoon dried mustard
- 4 tablespoons paprika
- 2 tablespoons garlic salt
- 1 tablespoon ground ginger
- 3 tablespoons white pepper
- 1 cup buttermilk
- 1 large egg
- 3 pounds chicken pieces
- 3 to 4 cups vegetable oil for frying
Instructions
- Pat chicken completely dry with paper towels.
- Mix flour and all spices in a large bowl.
- Whisk buttermilk and egg in another bowl.
- Dredge chicken in flour, dip in buttermilk, then coat again in flour.
- Let coated chicken rest on a rack for 15 to 20 minutes.
- Heat oil to 350°F in fryer or skillet.
- Fry chicken in batches for 12 to 18 minutes until golden.
- Drain on a wire rack and rest for 5 minutes before serving.