Best Mother’s Crack Cake Recipe
Let me tell you about the cake that earned its scandalous name for all the right reasons. Mother’s Crack Cake isn’t just a dessert, it’s the kind of butter-soaked, sugar-glazed phenomenon that has people coming back for seconds, thirds, and then asking for the recipe while still chewing. I first made this about seven years ago for a church potluck using my KitchenAid stand mixer, and I watched grown adults hover near the dessert table waiting for someone to cut another slice. That’s when I knew this recipe was special.
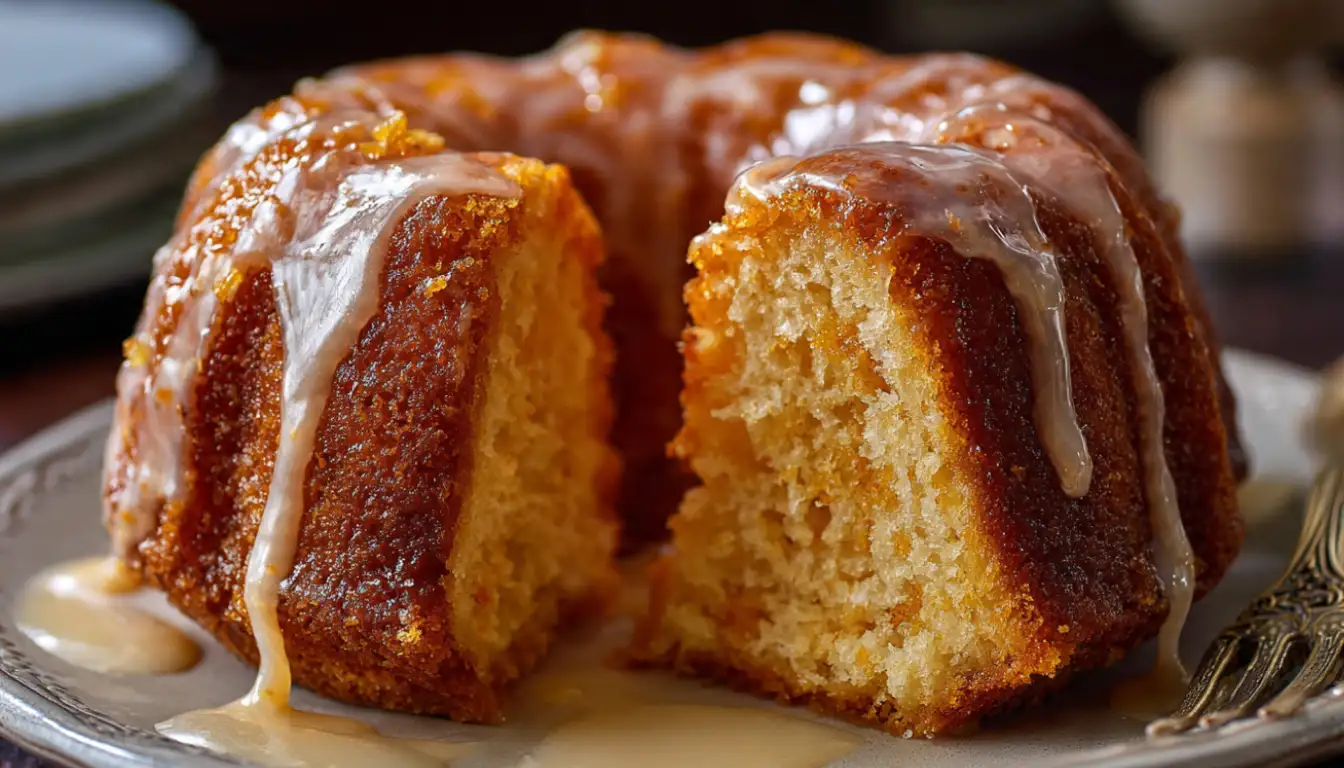
The name might make you raise an eyebrow, but once you taste this ridiculously moist bundt cake with its buttery glaze that seeps into every crevice, you’ll understand exactly why people call it addictive. I’ve made this cake more times than I can count, and it’s never once failed to impress. Before you start, you’ll need a good quality bundt pan and a reliable stand mixer or hand mixer. Whether you’re bringing it to a gathering or just want something spectacular for your Sunday dinner, this is the cake that delivers every single time.
Essential Equipment
Before we dive into the recipe, let’s talk about the tools that make this cake foolproof. While you can make this with basic equipment, having the right gear makes everything easier.
Stand Mixer or Hand Mixer: I use my KitchenAid stand mixer for this recipe, and it’s honestly one of the best investments I’ve made for my kitchen. The powerful motor handles the thick batter effortlessly. If you don’t have a stand mixer, a good quality hand mixer works perfectly fine. I started with a basic hand mixer years ago, and it did the job beautifully.
Bundt Pan: You absolutely need a 10-inch bundt pan for this recipe. I recommend investing in a non-stick bundt pan from brands like Nordic Ware, which prevents sticking and makes cleanup a breeze. If you’re serious about baking, a quality bundt pan is essential. Mine has paid for itself dozens of times over.
Food Processor (Optional): While not required for this recipe, if you want to get creative with variations like adding nuts or making homemade cake crumbs for other desserts, a food processor is incredibly handy.
Other Helpful Tools:
- Wire whisk for the glaze
- Wooden skewers for poking holes
- Pastry brush for spreading glaze
- Cake stand for beautiful presentation
- Airtight storage containers or meal prep containers for leftovers
Essential Ingredients
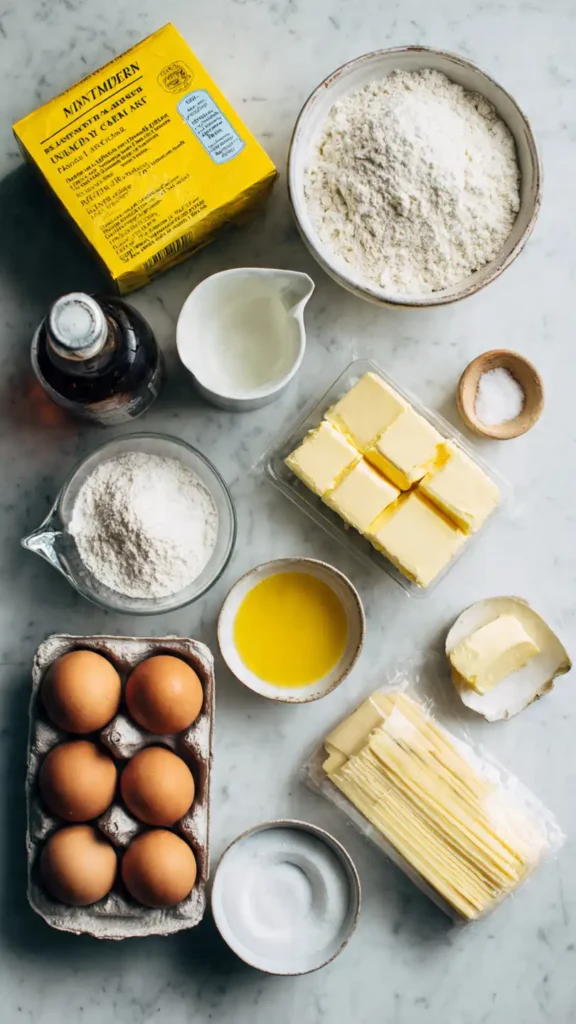
For the Cake:
- 1 box yellow cake mix (I use Duncan Hines, but any brand works)
- 1 box instant vanilla pudding mix (3.4 oz)
- 4 large eggs, room temperature
- 1/2 cup cold water
- 1/2 cup vegetable oil
- 1/2 cup light rum (or substitute with rum extract plus water)
For the Butter-Rum Glaze:
- 1 cup granulated sugar
- 1/2 cup butter (1 stick)
- 1/4 cup water
- 1/4 cup light rum (or rum extract mixture)
Alternative Ingredients
Look, I get it. Not everyone keeps rum in their pantry, and that’s perfectly fine. For an alcohol-free version, use 1 teaspoon rum extract mixed with the water. The flavor won’t be identical, but you’ll still get that warm, aromatic quality that makes this cake special.
Don’t have instant pudding? You can use cook-and-serve pudding, but stick with instant for the best texture. The instant pudding adds incredible moisture and helps create that signature dense, tender crumb.
If you need to make this cake in a different pan because you don’t own a bundt pan, use a 9×13 inch baking pan instead. You’ll need to reduce the baking time to about 35-40 minutes. I invested in a good quality non-stick bundt pan years ago, and honestly, it’s one of my most-used pieces of bakeware. The decorative shape makes even a simple cake look impressive.
Can you make this in an Instant Pot? I’ve experimented with making bundt cakes in my Instant Pot pressure cooker, and while it works for some recipes, this particular cake is best baked traditionally in the oven. The glaze needs that dry heat to properly absorb into the cake structure.
What about using an air fryer? If you have a large air fryer oven with a baking function, you can absolutely use it. Set it to 325°F and follow the same baking instructions. Just make sure your bundt pan fits comfortably inside.
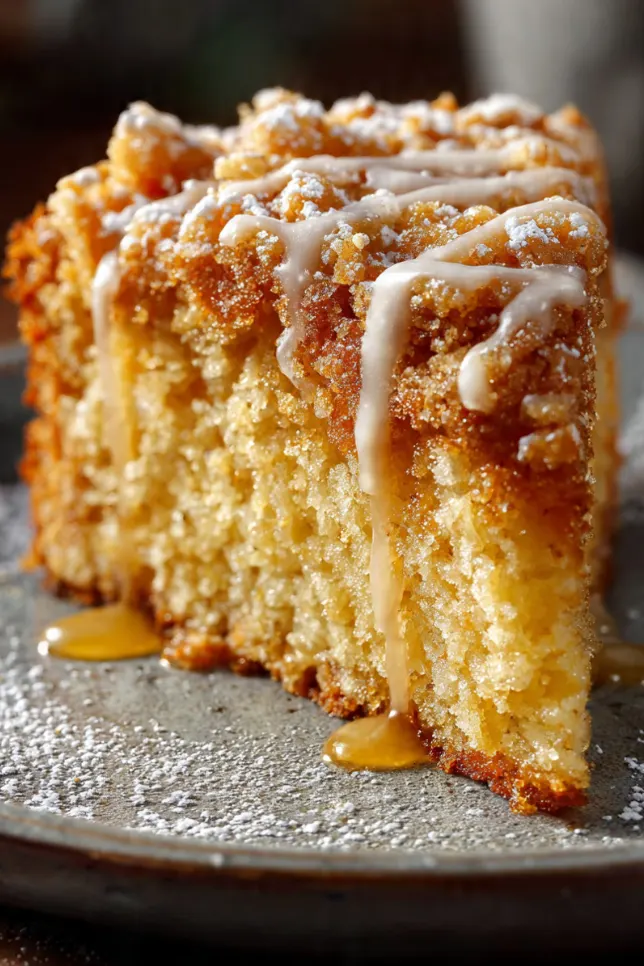
Step-by-Step Directions
1. Prepare Your Pan and Preheat Preheat your oven to 325°F. This is important, don’t go with the standard 350°F. The lower temperature helps the cake bake evenly without developing a tough crust. Generously grease and flour a 10-inch bundt pan. I mean really generous here. Use butter or non-stick cooking spray, then dust with flour, tapping out the excess. This step prevents the heartbreak of a cake that won’t release from the pan.
2. Mix the Cake Batter In a large mixing bowl, combine the cake mix and pudding mix. If you have a KitchenAid stand mixer, this is where it shines, though a hand mixer works perfectly fine too. I’ve also used my Cuisinart stand mixer with great results. The key is having enough power to blend that thick batter smoothly. Add the eggs, water, oil, and rum. Beat on medium speed for about 2 minutes until the batter is smooth and well combined. The batter will be thicker than regular cake batter, almost like a dense pudding consistency. That’s exactly what you want. If you’re using a hand mixer like a Hamilton Beach, you might need an extra 30 seconds of mixing time.
3. Bake the Cake Pour the batter into your prepared bundt pan, spreading it evenly. Tap the pan gently on the counter a few times to release any air bubbles. Bake for 50-60 minutes, or until a toothpick inserted into the center comes out clean. My oven tends to run hot, so I always check at the 50-minute mark. The top should be golden brown and spring back when gently pressed.
4. Make the Glaze While the Cake Bakes About 10 minutes before your cake is done, start the glaze. In a medium saucepan, combine the sugar, butter, water, and rum. Bring to a boil over medium heat, stirring constantly. Once it reaches a boil, let it bubble for about 3 minutes, continuing to stir. The glaze will look thin, but don’t worry. It thickens as it cools and soaks into the cake.
5. Glaze the Cake This is the crucial step that makes this cake so incredibly moist. As soon as the cake comes out of the oven, while it’s still in the pan, poke holes all over the top using a wooden skewer or a long toothpick. I make about 20-30 holes, going deep but not all the way through to the bottom. Pour half of the hot glaze over the hot cake, letting it soak in for a few minutes.
6. Invert and Finish After the first half of glaze has soaked in (about 15 minutes), invert the cake onto a serving plate. If it doesn’t release immediately, let it sit for a minute, then try again. Gently tap the pan if needed. Once the cake is on the plate, poke more holes in what’s now the top, and pour the remaining glaze over everything. Use a pastry brush to spread the glaze evenly and make sure it gets into all those beautiful bundt pan ridges.
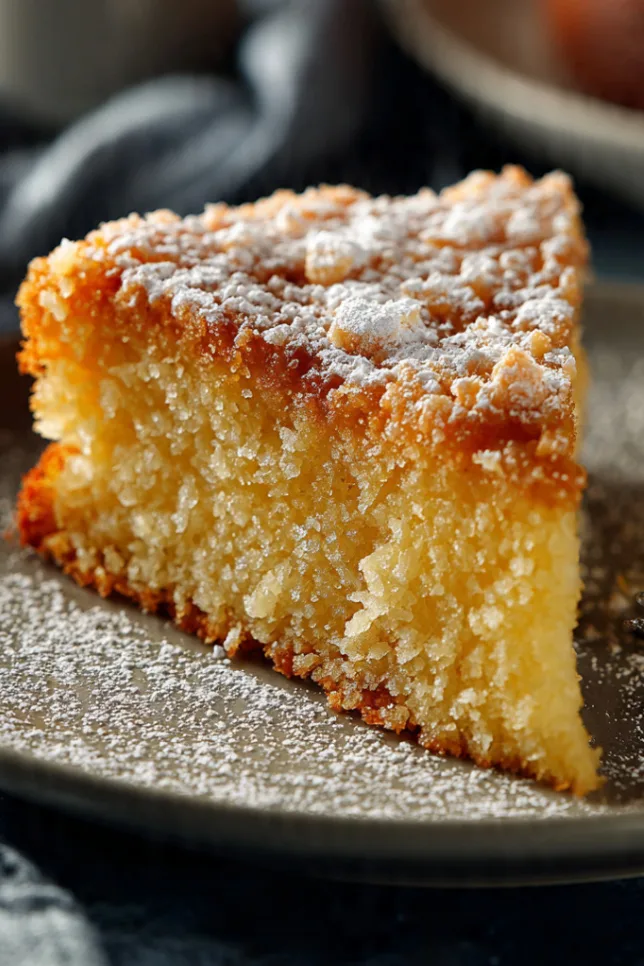
Pro Tips
The secret to this cake’s incredible moisture is the double-glazing technique. I learned this the hard way after making my first crack cake and wondering why it wasn’t quite as moist as my friend’s version. She finally admitted she was glazing it twice, and that changed everything.
Room temperature eggs make a significant difference in how well the batter emulsifies. I know it’s tempting to grab eggs straight from the fridge, but letting them sit on the counter for 30 minutes before baking really does create a better texture.
Meal Prep and Storage Solutions: For meal prep enthusiasts, this cake actually gets better after a day or two. The glaze continues to penetrate the cake, making it even more moist. I often make this on Saturday for a Sunday gathering. Store it covered at room temperature using a good cake dome or airtight container. It stays perfect for up to 5 days. You can also freeze individual slices in freezer-safe meal prep containers for up to 3 months. Just thaw at room temperature when you’re ready to enjoy. This is perfect for those following a meal planning system or using meal kit prep strategies.
Budget-Friendly Baking: If you’re watching your budget, this is one of the most cost-effective impressive desserts you can make. A box of cake mix and pudding mix together usually cost less than $3, and the rest are pantry staples. You’re looking at under $10 for a cake that serves 12-16 people. Compare that to ordering dessert from prepared meal delivery services, and you’re saving a fortune while getting something homemade and special.
Best Bakeware Investment: Want to make this even more special? Serve it slightly warm with a scoop of vanilla ice cream. The contrast between the warm, boozy cake and cold ice cream is absolutely divine. If you’re looking to upgrade your baking game, investing in quality bakeware like a good non-stick bundt pan, heavy-duty cake pans, and a reliable stand mixer will transform your results. I recommend brands like Nordic Ware for bundt pans and KitchenAid or Cuisinart for stand mixers.
FAQs
Can I make this cake without alcohol? Absolutely. Replace the rum with 1 teaspoon rum extract mixed with the appropriate amount of water. You’ll lose a tiny bit of depth in flavor, but the cake will still be phenomenally good.
Why is my cake sticking to the pan? This usually happens when the pan isn’t greased well enough or if you try to remove the cake too soon. Make sure to thoroughly grease and flour every nook and cranny of your bundt pan. I like using Baker’s Joy non-stick baking spray with flour, which makes release effortless. You can also use regular non-stick cooking spray followed by a dusting of flour. Let the cake cool in the pan for at least 15 minutes before inverting, but don’t wait too long or the glaze will act like glue. Investing in a quality non-stick bundt pan from brands like Nordic Ware will prevent most sticking issues.
Can I use a different flavor of cake mix? Sure can. Chocolate cake mix makes a fantastic variation, though you might want to use chocolate pudding mix to match. Lemon cake mix with lemon pudding and a lemon glaze is another winner I’ve tried.
How do I store leftovers? Cover the cake tightly with plastic wrap or store under a cake dome at room temperature for up to 5 days. Don’t refrigerate it unless your kitchen is very warm, as refrigeration can dry out the texture. For longer storage, use airtight storage containers or freezer-safe meal prep containers.
Can I double the recipe? Yes, but make two separate cakes rather than trying to double the recipe in one pan. Bundt pans have specific capacities, and overfilling leads to uneven baking and potential overflow disasters. Trust me, I learned that lesson the messy way.
What’s the best stand mixer for baking cakes? I’ve been using my KitchenAid stand mixer for over 8 years, and it’s incredible for all my baking needs. The KitchenAid Artisan series is perfect for home bakers. If you’re on a budget, Cuisinart and Hamilton Beach make excellent stand mixers too. A good stand mixer makes cake baking so much easier than using a hand mixer.
Recipe Info
| Detail | Information |
|---|---|
| Prep Time | 15 minutes |
| Cook Time | 60 minutes |
| Total Time | 1 hour 30 minutes (including cooling) |
| Servings | 12-16 slices |
| Yield | 1 bundt cake |
Why You’ll Love This Recipe
This cake requires minimal hands-on time but delivers maximum impact. You’re using a cake mix as the base, which means you’re not measuring out six different dry ingredients. Yet the addition of pudding mix, eggs, and that incredible butter-rum glaze transforms it into something that tastes completely homemade and special.
The texture is what really sets this apart. It’s incredibly moist without being gummy or dense. Each bite melts in your mouth with that perfect balance of sweet cake and buttery, slightly boozy glaze. I’ve had people tell me it reminds them of a sophisticated butter cake meets rum cake hybrid.
It’s also practically foolproof. Even if you’re not an experienced baker, this recipe is forgiving. The pudding mix helps keep everything moist even if you slightly overbake it. The glaze covers any minor imperfections in the cake’s surface.
What Makes This Recipe Unique
Most bundt cakes are glazed on the outside only. This one gets glazed while it’s still in the pan, then again after you flip it. That double-soak method is what creates the signature moisture that makes people ask, “How did you get it so moist?”
The combination of cake mix and pudding mix isn’t revolutionary, but the specific ratio here, along with the oil and eggs, creates a texture that’s denser than regular cake but lighter than pound cake. It’s right in that sweet spot where each slice feels substantial but not heavy.
Using both oil and butter (in the glaze) gives you the best of both worlds. Oil keeps the cake tender and moist for days, while the butter in the glaze adds that rich, luxurious flavor you can’t get from oil alone.
Key Features
Make-Ahead Friendly: This cake actually improves with time. Make it a day or two before you need it, and the flavors meld together beautifully while the texture becomes even more luscious.
Budget-Conscious: Using a cake mix as the base keeps costs down without sacrificing quality. You’re getting bakery-level results for a fraction of the price. No need for expensive meal delivery services when you can create restaurant-quality desserts at home.
Crowd-Pleaser: I’ve served this to picky teenagers, sophisticated dinner party guests, and everyone in between. It’s universally loved.
Perfect for Gifting: This cake travels well and looks beautiful. I’ve given this as a hostess gift dozens of times, always wrapped in cellophane with a ribbon.
Versatile Occasions: Birthday parties, potlucks, holiday gatherings, Sunday dinners, or just because it’s Tuesday and you want cake. This works for everything.
Equipment-Friendly: Whether you’re using a high-end KitchenAid stand mixer or a basic hand mixer, this recipe works beautifully. The key is having a quality non-stick bundt pan and proper baking tools. Good bakeware makes all the difference in achieving professional results at home.
Nutrition Facts
| Nutrient | Per Slice (1/12 of cake) |
|---|---|
| Calories | 380 |
| Total Fat | 16g |
| Saturated Fat | 6g |
| Cholesterol | 75mg |
| Sodium | 340mg |
| Total Carbohydrates | 52g |
| Dietary Fiber | 0g |
| Sugars | 36g |
| Protein | 3g |
Note: Nutritional information is approximate and will vary based on specific brands used.
You’ll Also Love
If this cake hits the spot for you, try these other crowd-pleasing desserts:
Each of these shares that same moist, buttery quality that makes Mother’s Crack Cake so addictive.
Conclusion
After making this cake countless times over the years, I can confidently say it’s one of those recipes that belongs in every home baker’s repertoire. It’s easy enough for beginners, impressive enough for experienced bakers, and delicious enough that everyone asks for seconds.
The beauty of this cake is its simplicity. You don’t need fancy ingredients, expensive cooking classes, or complicated techniques. Just follow the steps, don’t skip the double-glazing, and you’ll have a dessert that makes people think you spent hours in the kitchen. Our little secret is that you really didn’t.
Kitchen Equipment Worth the Investment: If you’re serious about baking, consider investing in quality tools. A good KitchenAid stand mixer, a set of Nordic Ware bundt pans, and proper storage containers will serve you for years. These aren’t just purchases, they’re investments in creating homemade goodness that beats any meal kit or prepared dessert delivery service.
Whether you’re baking for a special occasion, following a meal prep plan, or just want to treat yourself to something wonderful, this Mother’s Crack Cake delivers every time. Make it once, and I guarantee it’ll become one of your go-to recipes. The only warning I’ll give you is this: you might want to make two, because one cake never seems to be enough once people get their first taste.
If you’re looking to expand your baking skills beyond this recipe, there are plenty of online cooking courses and recipe development classes that can help you master the art of cake baking. But honestly, this recipe is so foolproof that you’ll feel like a professional baker without any formal training.
Happy baking, and enjoy every butter-soaked, sugar-glazed bite.