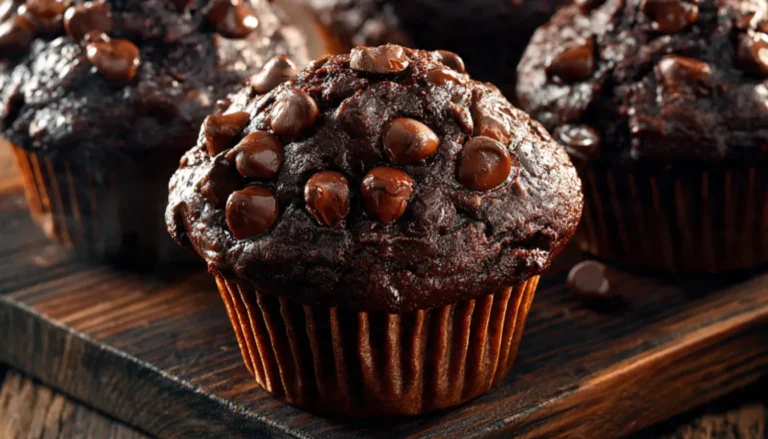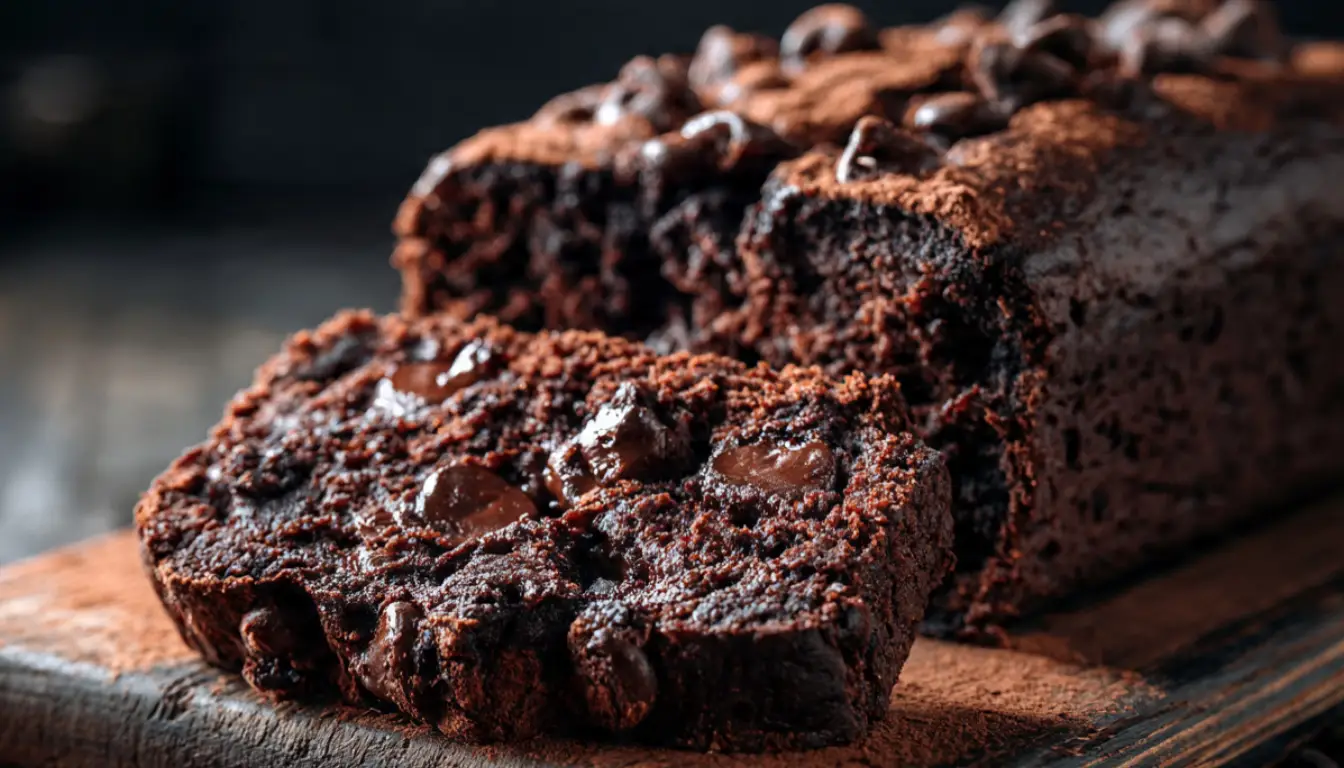
Double Chocolate Chip Loaf Cake: Rich, Fudgy, and Foolproo
I still remember the first time I tried to make a chocolate loaf cake. It was about ten years ago, maybe my second winter as a serious home baker, and I was convinced I could wing it without a proper recipe. Long story short, I ended up with something that looked like a brick and tasted vaguely of regret. My KitchenAid stand mixer survived the experience. The cake did not.
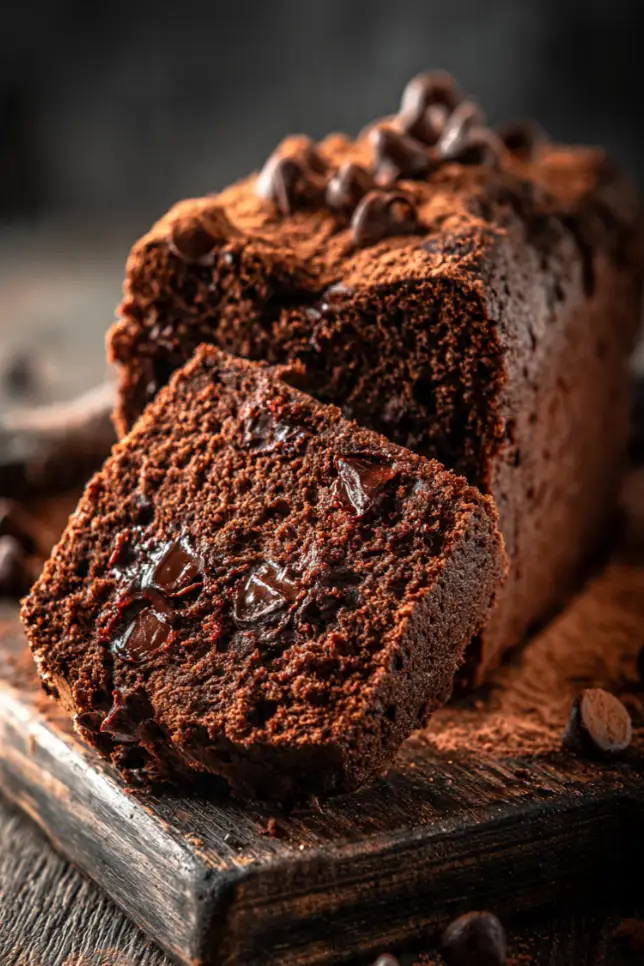
These days, this Double Chocolate Chip Loaf Cake is one of my most-made recipes, and I mean that. It shows up at school pickups, Sunday brunches, late-night snack plates, and pretty much every time someone in my house says the word “chocolate.” It is deeply fudgy, not too sweet, loaded with chocolate chips in every single slice, and it comes together in about 15 minutes of real prep work. If you have a loaf pan and a bowl, you can make this cake.
Why Two Kinds of Chocolate?
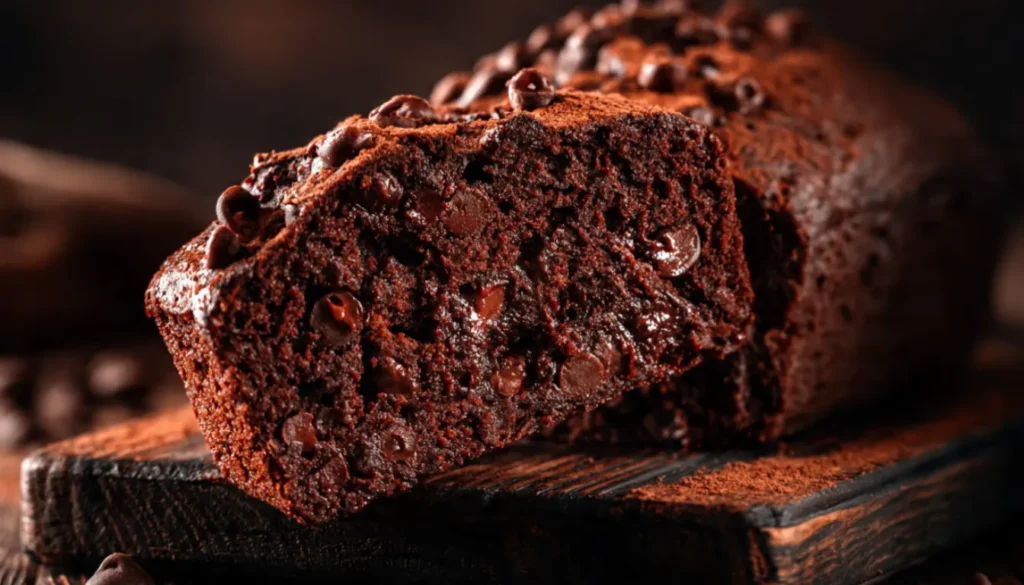
Here is the thing about chocolate baking: the more you lean into it, the better the result. This recipe uses both unsweetened cocoa powder and real chocolate chips, and that combination is what separates a good chocolate cake from a great one. The cocoa powder gives you that deep, intense base flavor. The chocolate chips melt slightly during baking and create little pockets of richness throughout the crumb. Together, they make something that actually tastes like chocolate rather than just brown cake.
I use Dutch-process cocoa when I can find it. It is slightly more expensive than regular natural cocoa, but the flavor is smoother and less bitter, which matters a lot in a recipe like this where cocoa is doing most of the heavy lifting. Brands like Droste or Cacao Barry are my go-to picks. That said, regular unsweetened cocoa from any grocery store will still give you a delicious result, so don’t stress if you can’t find Dutch-process.
For the chocolate chips, I usually go with semi-sweet. Dark chocolate chips work beautifully if you want something more intense, and if you have kids or anyone who leans sweet, milk chocolate chips are a totally valid choice.
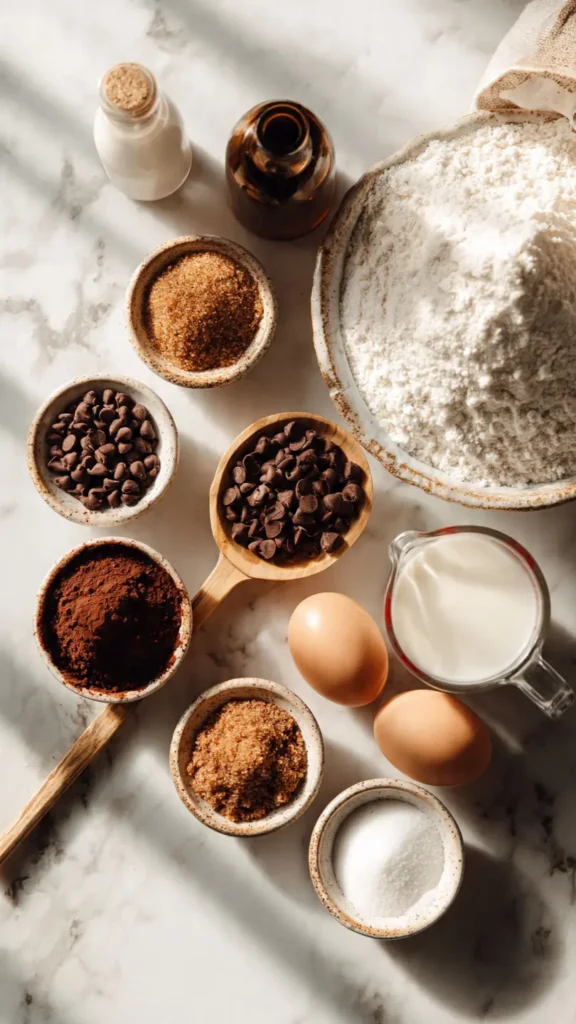
Essential Ingredients
- 1 and 3/4 cups (220g) all-purpose flour
- 1/2 cup (50g) unsweetened cocoa powder (Dutch-process preferred)
- 1 teaspoon baking soda
- 1/2 teaspoon baking powder
- 1/2 teaspoon salt
- 2 large eggs, room temperature
- 3/4 cup (150g) granulated sugar
- 1/2 cup (100g) light brown sugar, packed
- 1/2 cup (120ml) neutral oil (vegetable, canola, or avocado oil)
- 1 cup (240ml) buttermilk, room temperature
- 1 teaspoon pure vanilla extract
- 1 cup (170g) semi-sweet chocolate chips, divided
Alternative Ingredients
No buttermilk? Make your own in 5 minutes. Just pour 1 tablespoon of white vinegar or lemon juice into a measuring cup, then fill it up to the 1-cup line with regular whole milk. Give it a quick stir and let it sit for 5 minutes. It curdles slightly and that is exactly what you want. It works perfectly in this recipe.
If you are oil-free, you can substitute melted unsalted butter for the neutral oil. The texture will be slightly different but still very good. Some people swear the butter version tastes richer, which honestly I do not disagree with.
For a gluten-free version, a 1-to-1 gluten-free baking flour blend (like Bob’s Red Mill or King Arthur Measure for Measure) works well here. I have tested it twice and both times the loaf came out moist and held together nicely. Just make sure all your other ingredients are certified gluten-free if that matters for your household.
Step-by-Step Directions
Step 1: Get Everything Ready
Preheat your oven to 350°F (175°C). Grease a 9×5 inch loaf pan with butter or non-stick spray, then line it with parchment paper so there is a little overhang on both long sides. This makes it so much easier to lift the cake out cleanly. If you skip the parchment, expect a battle. I learned this the hard way.
Step 2: Mix Your Dry Ingredients
In a large bowl, whisk together the flour, cocoa powder, baking soda, baking powder, and salt. Spend about 30 seconds really whisking this. You want the cocoa fully incorporated with the flour so there are no little clumps hiding anywhere.
Step 3: Mix Your Wet Ingredients
In a separate bowl or large measuring jug, whisk together the eggs, both sugars, oil, buttermilk, and vanilla extract. Mix until the sugar looks mostly dissolved and everything is evenly combined. This usually takes about a minute of good stirring.
Step 4: Combine Wet and Dry
Pour the wet ingredients into the dry ingredients and fold gently with a rubber spatula until just combined. A few small streaks of flour are okay at this stage. Do not overmix. This is one of the biggest mistakes I see with quick bread and loaf cake recipes: too much mixing develops gluten and makes the texture tough and dense instead of tender. So fold gently, stop when it comes together, and move on.
Step 5: Add the Chocolate Chips
Fold in about 3/4 of the chocolate chips. Reserve the rest to scatter on top of the batter right before it goes in the oven. Those chips on top get slightly melted and glossy during baking and honestly they make the loaf look gorgeous.
Step 6: Bake
Pour the batter into your prepared loaf pan. Scatter the remaining chocolate chips on top. Bake at 350°F for 55 to 65 minutes. Start checking at the 55-minute mark by inserting a toothpick into the center of the loaf. It should come out with a few moist crumbs but no wet batter. If it comes out clean, it might be slightly overbaked, but still very edible. If there is wet batter, give it another 5 minutes and check again.
Step 7: Cool Before Slicing
Let the loaf cool in the pan for 15 minutes, then use the parchment overhang to lift it onto a wire cooling rack. Cool for at least another 30 minutes before slicing. I know this is painful. But slicing too early makes the inside gummy and the slices fall apart. Patience pays off here.
Pro Tips
The eggs and buttermilk really should be at room temperature. Cold dairy and eggs do not incorporate as smoothly into the batter, and you can end up with a slightly uneven texture. If you forgot to take them out ahead of time, just set the eggs in a bowl of warm water for 5 minutes and microwave the buttermilk in 10-second bursts until it is no longer cold.
If your loaf is browning too fast on top before the inside is done, tent it loosely with aluminum foil around the 40-minute mark. This happens sometimes in ovens that run hot.
For an even fudgier result, swap 2 tablespoons of the oil for sour cream. I discovered this by accident once when I was running low on oil, and now I do it on purpose. It adds a subtle tang and makes the crumb incredibly moist.
Invest in a good digital kitchen thermometer if you bake regularly. It removes all the guesswork. A fully baked loaf cake reads about 200 to 205°F in the center.
What Makes This Recipe Unique
Most chocolate loaf recipes out there use only cocoa powder, which is fine but one-dimensional. Some use melted chocolate, which is delicious but adds extra steps and dishes. This recipe gets the best of both approaches by using cocoa powder as the base and chocolate chips for those melted pockets of richness. The result is a loaf cake that is more complex and satisfying than most, without any extra effort.
The use of both granulated and brown sugar also matters. The brown sugar adds a subtle caramel undertone that works incredibly well with dark chocolate flavors.
Why You’ll Love This Recipe
It is one bowl friendly (or close to it), which means less cleanup. It keeps well for several days at room temperature, so it is genuinely good for meal prep or batch baking. It freezes beautifully. And it is the kind of recipe that makes people ask you for the recipe, which is always a nice feeling.
Key Features
This cake is naturally dairy-free adaptable (use plant-based milk with a splash of vinegar in place of buttermilk and a neutral oil). It is also easy to scale up: double the recipe and bake in two loaf pans or one large bundt pan at the same temperature, adding 10 to 15 minutes of bake time.
Storage Tips
Store the cooled loaf wrapped in plastic wrap or in an airtight container at room temperature for up to 4 days. For longer storage, wrap individual slices in plastic wrap and place them in a freezer-safe bag or container. They freeze for up to 3 months and thaw at room temperature in about an hour. This is genuinely one of the best things about this recipe: you can bake a loaf on Sunday, freeze half of it in slices, and pull pieces out all week whenever you need something.
If you are serious about baking and you do not yet own a good set of airtight food storage containers, it is worth the investment. Silicone lids and glass containers keep baked goods fresher longer than zip-lock bags, especially for anything with chocolate.
FAQs
Can I use a different pan size? Yes. An 8×4 inch loaf pan works but the loaf will be taller and may need an extra 5 to 10 minutes in the oven. A muffin tin at the same temperature will give you about 14 to 16 chocolate chip muffins that bake in roughly 20 to 22 minutes.
Can I add nuts? Absolutely. Roughly chopped walnuts or pecans added along with the chocolate chips are a classic addition. About 1/2 cup is plenty.
My loaf sank in the middle. What went wrong? A few possible causes: the batter was overmixed, the oven temperature was too high, or it was underbaked. Make sure you are checking with a toothpick or thermometer rather than going purely on time, since all ovens are slightly different.
Can I make this without a stand mixer? Yes, completely. A hand whisk and a rubber spatula are all you need. My KitchenAid makes batters like this faster and easier, especially if you are doubling the recipe, but this batter is thin enough to mix entirely by hand without breaking a sweat.
You’ll Also Love
If this loaf cake is your kind of recipe, you might want to check out a few others that follow the same easy, reliable approach:
- Classic Banana Bread with Chocolate Chips
- One-Bowl Lemon Poppy Seed Loaf
- Peanut Butter Marble Loaf Cake
- Brown Butter Zucchini Bread
Conclusion
This Double Chocolate Chip Loaf Cake is honestly the recipe I turn to when I want something that feels a little special but requires almost no effort to pull off. It is reliable in a way that makes baking feel less intimidating, and that matters to me after ten years of watching people give up on recipes that overcomplicated things.
If you make it, I would love to hear how it went. Drop a comment, share a photo, or just let me know if you made any swaps. Happy baking.
Linda BeesRecipes.com