Chocolate Custard Cupcakes Recipe
I’ll be honest with you. For years I thought custard-filled cupcakes were strictly a bakery thing. The kind you pay four dollars for in a cute little box and carry home like it’s precious cargo. Then one afternoon, about seven years into this whole food blogging life, I was standing in my kitchen trying to recreate something I’d had at a birthday party and I realized it was actually not that complicated. It was just two simple things: a solid chocolate cupcake base and a smooth vanilla custard filling. That’s it. Everything else is just frosting.
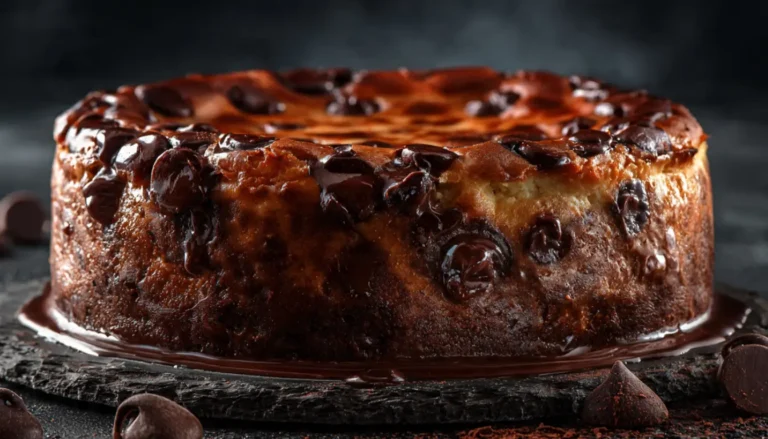
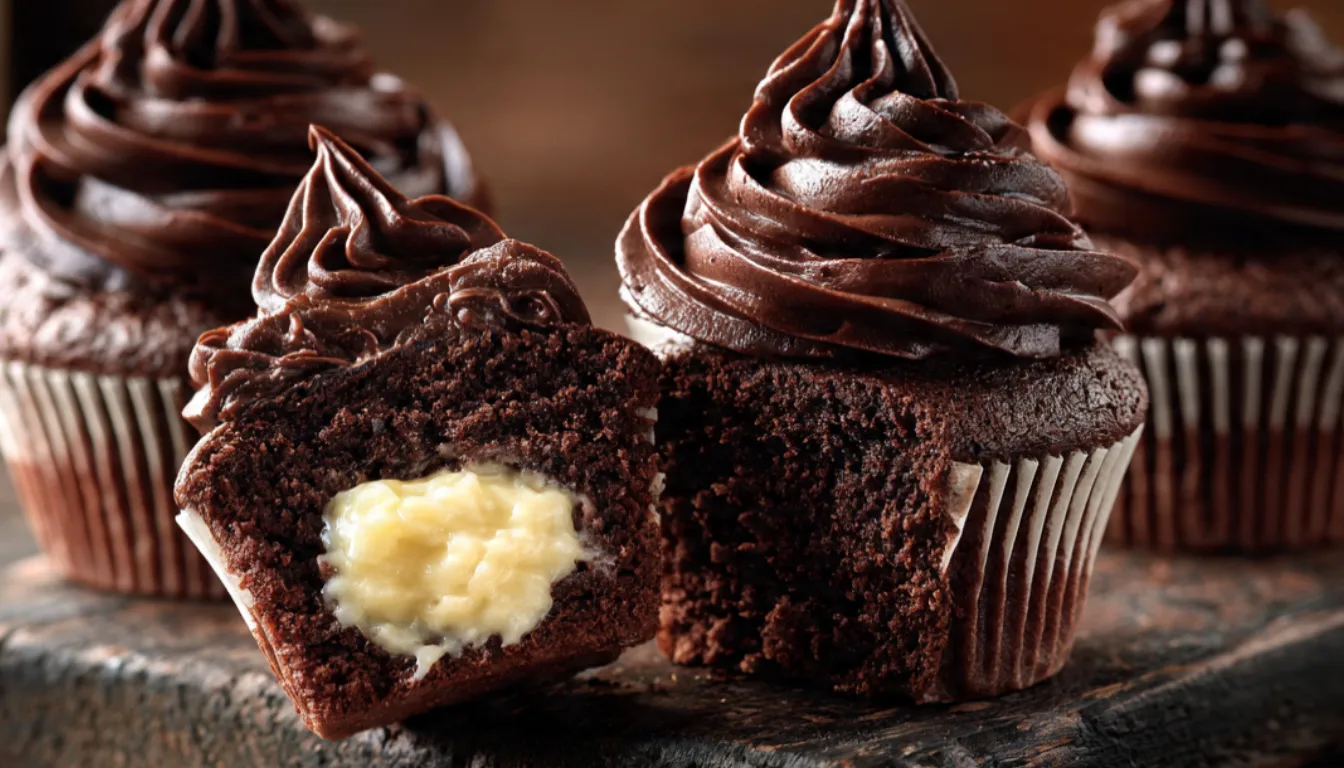
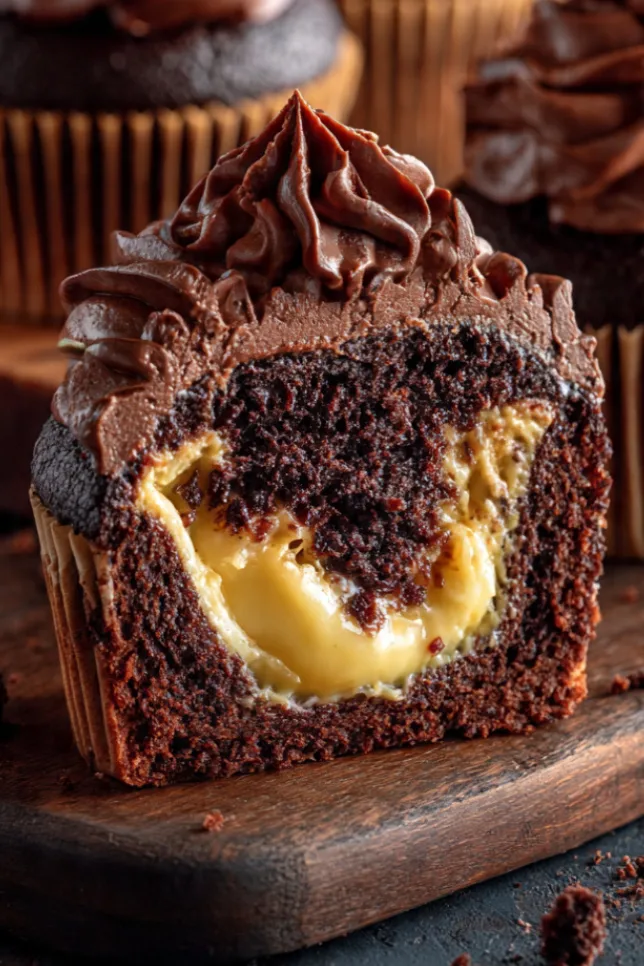
These chocolate custard cupcakes have become the most requested thing at every gathering I bring them to. The base is deeply chocolatey and moist, thanks to a trick I’ll explain in a second. The custard filling is silky and just rich enough to surprise you when you bite in. And the whipped chocolate frosting on top? Light and not too sweet. Together it works so well it almost feels unfair.
Why Hot Coffee Is the Secret Ingredient
Here’s the thing most chocolate cupcake recipes skip over: you need something hot and liquid to bloom the cocoa properly. A lot of recipes use just hot water, which is fine. But I switched to hot brewed coffee about four years ago and I’ve never looked back. You don’t taste the coffee at all. What you get is a deeper, more complex chocolate flavor that plain cocoa powder on its own just can’t deliver. If you’re using a good Dutch-process cocoa, like Valrhona or King Arthur brand, the difference is even more noticeable.
The batter will look thin when you mix it and you’ll question everything. Don’t. Just trust it. Thin batter equals a tender crumb and that’s exactly what we want here.
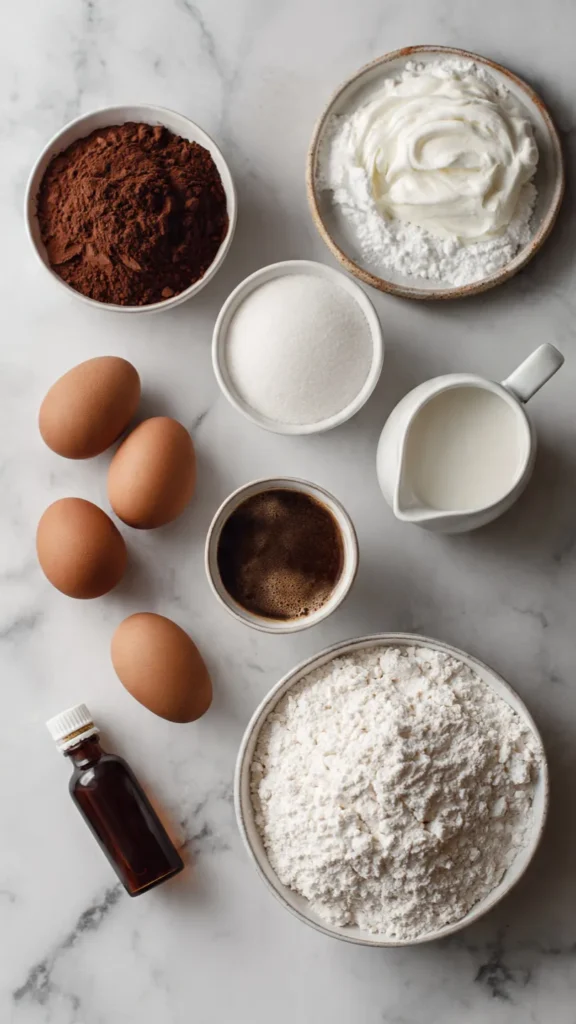
Essential Ingredients
For the chocolate cupcakes:
- 1 cup all-purpose flour
- 1/2 cup unsweetened cocoa powder (Dutch-process preferred)
- 1 tsp baking soda
- 1/2 tsp baking powder
- 1/4 tsp salt
- 2 large eggs, room temperature
- 3/4 cup granulated sugar
- 1/2 cup sour cream
- 1/2 cup whole milk
- 1/3 cup vegetable oil
- 1 tsp pure vanilla extract
- 1/2 cup hot brewed coffee
For the vanilla custard filling:
- 1 1/2 cups whole milk
- 3 egg yolks
- 1/4 cup granulated sugar
- 3 tbsp cornstarch
- 1 tsp vanilla extract
- 1 tbsp unsalted butter
For the whipped chocolate frosting:
- 1 cup heavy cream, cold
- 1/2 cup powdered sugar
- 1/3 cup unsweetened cocoa powder
- 1/2 tsp vanilla extract
Alternative Ingredients
Don’t have sour cream? Greek yogurt works just as well and keeps the crumb moist. I’ve done it dozens of times. If you can’t do dairy, full-fat coconut milk replaces the whole milk in the batter perfectly fine, and coconut cream works for the frosting. For a gluten-free version, a 1:1 gluten-free baking flour blend (Bob’s Red Mill makes a reliable one) substitutes directly without changing anything else in the recipe.
Some people ask about replacing cornstarch in the custard. You can use arrowroot powder in the same amount, just know it makes a slightly softer custard that doesn’t hold quite as firmly if you’re making these more than a day ahead.
Step-by-Step Directions
Step 1: Make the Custard First
The custard needs at least an hour to chill, so always start here. Heat your 1 1/2 cups of whole milk in a small saucepan over medium heat until you see steam rising from the edges, about 3 minutes. Don’t let it boil. While that heats, whisk your egg yolks, sugar, and cornstarch together in a bowl until pale and smooth, about a full minute of solid whisking. Now slowly pour the hot milk into the yolk mixture in a thin stream while you whisk constantly. This is tempering and it keeps the eggs from scrambling. Once combined, pour it all back into the saucepan and cook over medium heat, stirring the entire time, until it thickens up and starts to pull away from the sides, roughly 3 to 4 minutes. Take it off the heat, stir in your vanilla and butter, then press a piece of plastic wrap directly onto the surface so a skin doesn’t form. Refrigerate for at least one hour.
Step 2: Bake the Cupcakes
Preheat your oven to 350F. Line a standard 12-cup muffin pan with cupcake liners. In one bowl, whisk together your flour, cocoa, baking soda, baking powder, and salt. In a larger bowl, whisk eggs and sugar for a minute, then add sour cream, milk, oil, and vanilla. Mix until smooth. Add the dry ingredients and stir just until combined, then pour in the hot coffee and give it a gentle stir. The batter will be thin and that’s completely normal. Fill each liner about 2/3 full and bake 18 to 22 minutes. A toothpick should come out with maybe a crumb or two but no wet batter. Cool in the pan for 5 minutes, then move to a wire rack to cool completely before you even think about filling them.
I use my KitchenAid stand mixer for the batter and frosting, but a hand mixer or even a good whisk works fine. The stand mixer just makes the frosting come together faster and more consistently, especially when you’re doing a bigger batch.
Step 3: Fill the Cupcakes
Use a cupcake corer or a small sharp paring knife to cut a cone shape out of the center of each cooled cupcake. About an inch wide and an inch deep is right. Pull out the little cake plug, trim the pointed bottom off so you have a flat cap to set back on top later. Spoon or pipe the chilled custard into each hole, then replace the cap. It doesn’t need to be perfectly even because the frosting covers everything.
Step 4: Make and Apply the Frosting
Your heavy cream must be cold. This matters more than people realize. Warm cream simply will not whip to stiff peaks no matter how long you beat it. Pour it into a chilled bowl, then add the powdered sugar, cocoa powder, and vanilla. Whip on medium-high until you get stiff peaks, about 3 to 4 minutes. Use it right away or refrigerate for up to two hours. Pipe or spread generously onto each filled cupcake. A 1M Wilton star tip gives you that bakery swirl with almost zero effort, but spreading with an offset spatula works beautifully too.
Pro Tips
Room temperature eggs make a noticeably smoother batter. Cold eggs can cause the oil to seize slightly and you end up with an uneven texture. Also, if your custard comes out too thick after chilling, just stir in a teaspoon of cold milk until it loosens to a pipeable consistency. And whatever you do, don’t skip pressing the plastic wrap directly onto the custard surface while it chills. Nothing ruins the filling faster than that gummy skin that forms when you leave it uncovered.
One mistake I made for way too long: filling the cupcakes while they were still slightly warm. The custard melts into the cake and you lose that distinct layer of filling. Fully cool them first, every time.
Tools That Make This Easier
You don’t need a lot of specialized equipment here, but a few things genuinely help. A good stand mixer like the KitchenAid Artisan makes the whipped frosting come together in half the time compared to a hand mixer. A cupcake corer is worth the few dollars it costs and makes the filling process much cleaner and more consistent. For piping the frosting, any basic piping bag with a large star tip like the Wilton 1M produces that tall swirled look that makes these taste and look like they came from a proper bakery.
For storage, keep them in an airtight container in the fridge. Glass snap-lid containers work especially well because they don’t press down on the frosting. These cupcakes hold beautifully for up to three days refrigerated. The custard filling actually gets a bit more set and flavorful on day two.
Why You’ll Love This Recipe
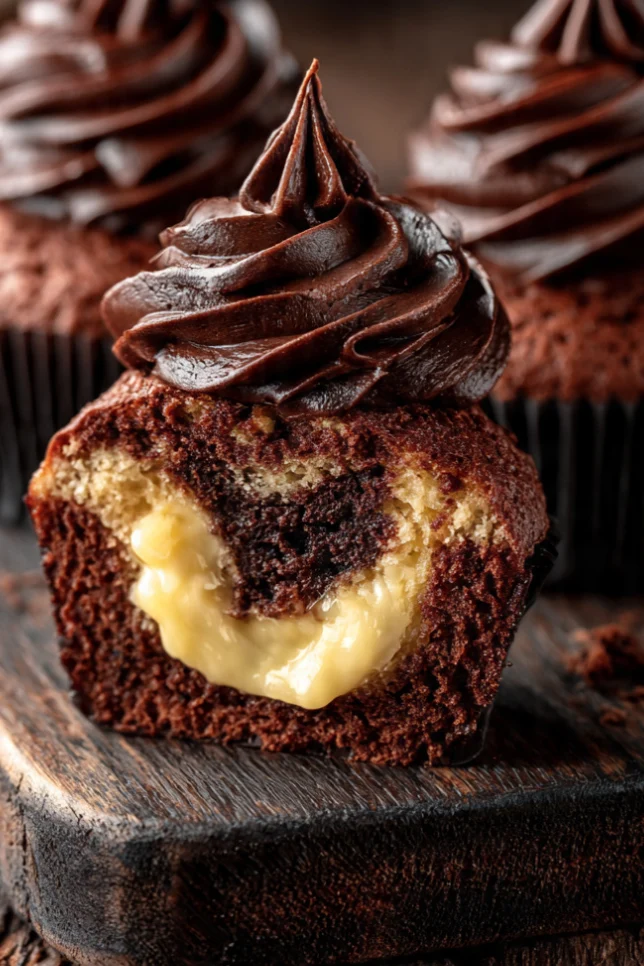
The combination of deeply chocolate cake, cool vanilla custard, and airy frosting gives you three completely different textures and flavors in one bite. It doesn’t feel heavy the way a ganache-filled cupcake often does. The custard is lighter than you’d expect and the whipped frosting keeps the whole thing feeling balanced rather than cloying. It’s also completely make-ahead friendly, which is honestly what wins me over every single time.
What Makes This Recipe Unique
Most chocolate cupcake recipes skip the custard filling entirely or use a shortcut like packaged instant pudding mix. Making real custard from scratch takes maybe 10 extra minutes and the payoff in flavor and texture is significant. The other thing is the whipped cocoa cream frosting instead of a standard buttercream. It’s lighter, less sweet, and it doesn’t dry out the way buttercream can after a day in the fridge.
Key Features
- Custard made from scratch, no shortcuts
- Hot coffee in the batter for deeper chocolate flavor
- Whipped chocolate frosting instead of buttercream
- Make-ahead friendly, up to 3 days refrigerated
- 12 cupcakes per batch
FAQs
Can I make these cupcakes ahead of time? Yes. Bake the cupcakes and make the custard a day ahead. Store the custard with plastic pressed onto the surface. Fill and frost the morning you’re serving them or up to 8 hours before. Once frosted, keep them refrigerated.
Can I freeze chocolate custard cupcakes? You can freeze the unfilled cupcakes for up to two months. Thaw overnight in the fridge then fill and frost before serving. Freezing custard-filled cupcakes is not recommended because the custard changes texture after thawing.
My custard came out lumpy. What happened? Lumps usually mean the heat was too high or you stopped stirring at the wrong moment. If it happens, immediately pour the custard through a fine-mesh strainer and press it through with a spatula. It’ll smooth right out. This has happened to me more than once, so there’s no shame in it.
Can I use store-bought custard? You can use a good quality store-bought custard or a thick vanilla pudding made from a cook-and-serve mix (not instant). The flavor won’t be quite as clean but it works in a pinch.
What piping tip works best? A large open star tip like the Wilton 1M or 2D gives you that high bakery swirl. If you don’t have a piping bag, an offset spatula or even a regular butter knife spreads the frosting nicely. They’ll taste exactly the same either way.
You’ll Also Love
- Classic Vanilla Custard Tart
- Moist Chocolate Layer Cake with Ganache
- Brown Butter Chocolate Chip Cookies
- No-Bake Chocolate Cream Pie
- Salted Caramel Chocolate Cupcakes
Conclusion
If you’ve been on the fence about making filled cupcakes because they seem fussy, I really hope this recipe changes your mind. The custard is the step that looks intimidating on paper but is honestly quite forgiving once you’ve done it once. Your first batch might not look magazine-perfect (mine certainly didn’t) but they will taste like you know exactly what you’re doing. And after all, that’s the part that matters.
Leave a comment and let me know how they turned out. I always want to hear what swaps people tried and what worked. And if you bring these to a party and someone asks where you got them, you’re allowed to let them wonder for a little while before you tell them you made them yourself.
Chocolate Custard Cupcakes
Moist chocolate cupcakes filled with creamy vanilla custard and topped with fluffy whipped chocolate frosting.
Ingredients
Chocolate Cupcakes- 1 cup all-purpose flour
- 1/2 cup unsweetened cocoa powder
- 1 tsp baking soda
- 1/2 tsp baking powder
- 1/4 tsp salt
- 2 large eggs
- 3/4 cup granulated sugar
- 1/2 cup sour cream
- 1/2 cup whole milk
- 1/3 cup vegetable oil
- 1 tsp vanilla extract
- 1/2 cup hot brewed coffee
- 1 1/2 cups whole milk
- 3 egg yolks
- 1/4 cup granulated sugar
- 3 tbsp cornstarch
- 1 tsp vanilla extract
- 1 tbsp unsalted butter
- 1 cup cold heavy cream
- 1/2 cup powdered sugar
- 1/3 cup cocoa powder
- 1/2 tsp vanilla extract
Instructions
- Make the Custard: Heat milk until steaming. Whisk yolks, sugar, and cornstarch. Temper with hot milk, cook until thick, stir in butter and vanilla, then chill for 1 hour.
- Prepare Batter: Whisk dry ingredients separately. Combine wet ingredients, then stir in dry ingredients and hot coffee.
- Bake: Fill cupcake liners two-thirds full. Bake at 350°F for 18 to 22 minutes. Cool completely.
- Fill Cupcakes: Remove the center of each cupcake and fill with chilled custard.
- Prepare Frosting: Whip cream, powdered sugar, cocoa powder, and vanilla until stiff peaks form.
- Decorate: Pipe frosting over cupcakes and serve chilled or at room temperature.
Notes
Use room-temperature eggs for a smoother batter. Always cool cupcakes completely before filling. Store finished cupcakes refrigerated for up to 3 days. If custard becomes too thick, stir in a teaspoon of milk before piping.