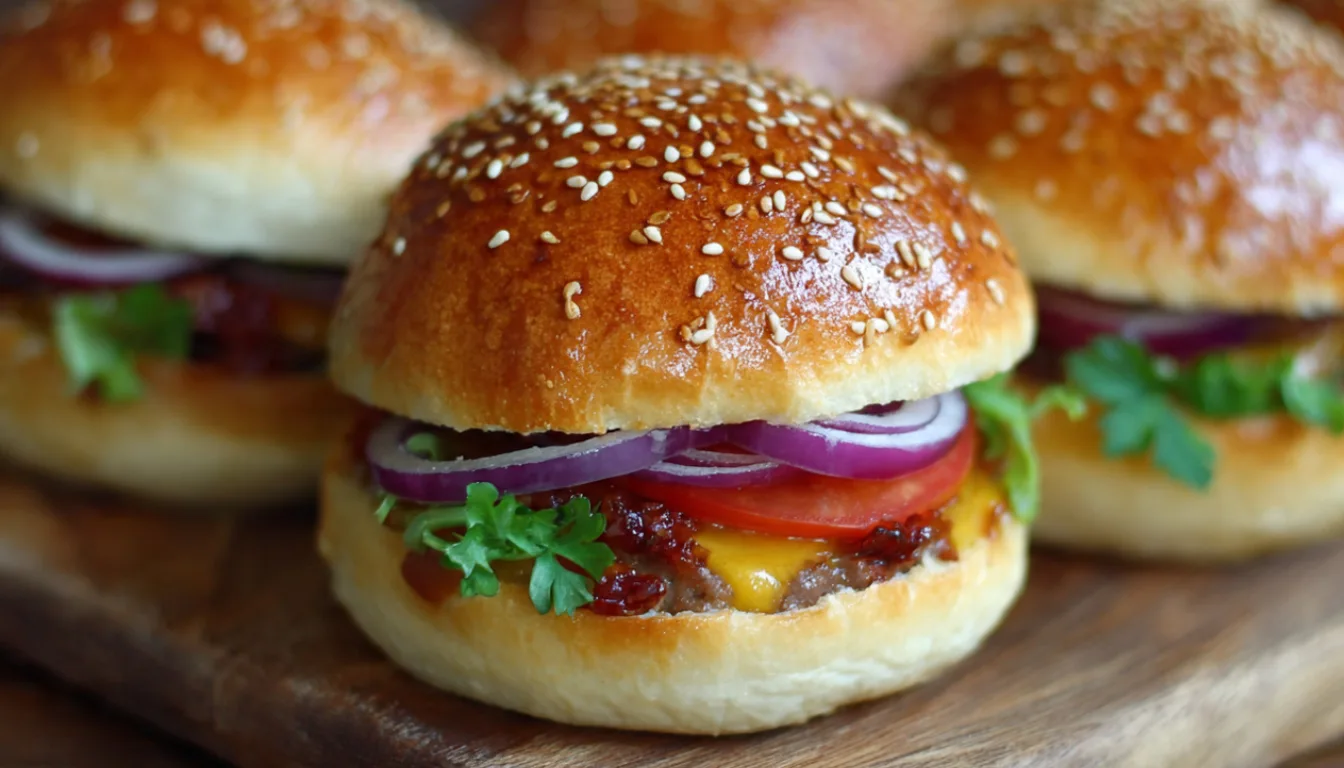
The Best Homemade Burger Buns (Better Than Store-Bought!)
You know that moment when you bite into a really good burger and the bun is actually… memorable? Yeah, that almost never happens with store-bought buns. I spent years thinking burger buns were just the boring vehicle for the good stuff, until I made my first batch at home and realized I’d been seriously underestimating them.
Here’s the thing. A proper burger bun should be soft enough to squish down when you bite into it, but sturdy enough that it doesn’t fall apart halfway through. It should taste like something, not just air and preservatives. And honestly, once you’ve made them yourself a few times, going back to those plasticky supermarket buns feels like a downgrade.
I’m going to walk you through exactly how I make burger buns now, after probably making them wrong about fifteen different ways when I was learning. Trust me, I’ve made every mistake in the book with these things.
Why Homemade Burger Buns Are Worth the Effort
Look, I get it. Making burger buns sounds like one of those unnecessary extra steps that food bloggers love to recommend but nobody actually does. But hear me out. The difference between homemade and store-bought is huge, and they’re actually pretty forgiving to make once you understand the basics.
Store-bought burger buns are designed to sit on a shelf for weeks. They’re full of dough conditioners and preservatives to keep them soft, which is why they have that weird, almost sweet taste and that spongy texture that doesn’t feel quite right. When you make them at home, you’re working with real ingredients. Just bread flour, yeast, milk, butter, and a bit of sugar. That’s it.
The first time I made these, I was prepping for a backyard barbecue and thought I’d try something different. I used my KitchenAid stand mixer to save some arm work (because hand-kneading enough dough for 12 buns gets old fast), and honestly, having that stand mixer made the whole process so much easier. If you’re serious about making bread regularly, it’s worth the investment.
The Secret to Soft, Bakery-Style Buns
After making these dozens of times, I’ve figured out what actually matters. The key is in the dough enrichment. We’re adding both milk and butter to this dough, which is what makes them so soft and tender. The milk proteins keep the crumb structure delicate, and the butter adds richness and helps them stay fresh longer.
I also learned (the hard way) that you can’t rush the rising process. I tried speeding things up once by cranking up the oven temperature to create a “warm environment,” and ended up killing my yeast. Now I just let them rise at room temperature and be patient. The dough needs time to develop flavor and structure.
Another mistake I used to make was not getting the dough wet enough. Bread dough for buns should be slightly sticky. If it’s too dry, your buns will be dense and tough. If it feels a little tacky when you’re kneading, that’s perfect. You want to add just enough flour to handle it, but not so much that it becomes stiff.
Essential Ingredients
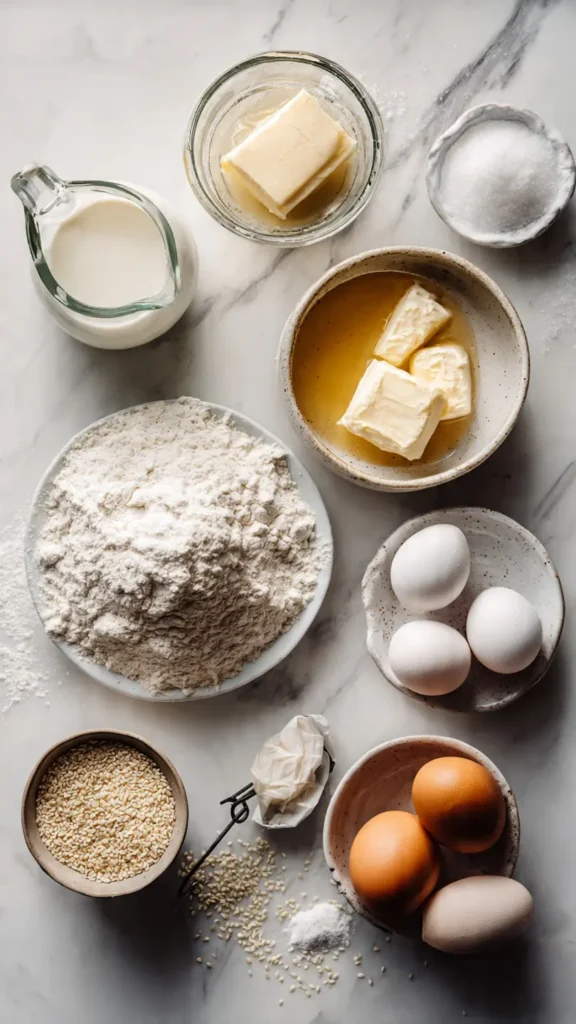
Let me break down what you actually need. Nothing fancy, and most of this stuff you probably already have:
For the Dough:
- 4 cups bread flour (you can use all-purpose, but bread flour gives better structure)
- 2 1/4 teaspoons instant yeast (one packet)
- 1/4 cup granulated sugar
- 1 1/2 teaspoons salt
- 1 cup whole milk, warmed to about 110°F
- 1/4 cup unsalted butter, melted
- 1 large egg
For the Egg Wash:
- 1 egg beaten with 1 tablespoon water
- Sesame seeds (optional, but they make them look legit)
I always use bread flour for these because it has more protein, which means more gluten development and better structure. But honestly, if you only have all-purpose flour in your pantry, go ahead and use it. The buns will be slightly less chewy, but they’ll still be way better than anything from the store.
Step-by-Step Directions
Getting the Dough Started
Warm your milk to about 110°F. This is important because too hot and you’ll kill the yeast, too cold and it won’t activate properly. I just microwave mine for about 45 seconds and test it with my finger. It should feel like warm bathwater.
In your stand mixer bowl (or a large mixing bowl if you’re doing this by hand), combine the flour, yeast, sugar, and salt. Mix them together so the yeast is evenly distributed. I used to just dump everything in randomly, but mixing the dry ingredients first actually matters. It keeps the salt from sitting directly on the yeast, which can slow down the rising.
Add the warm milk, melted butter, and egg to the dry ingredients. Using the dough hook attachment on your stand mixer, mix on low speed until everything comes together. Then increase to medium speed and knead for about 8-10 minutes. The dough should pull away from the sides of the bowl and feel smooth and elastic.
If you’re kneading by hand, turn the dough out onto a lightly floured surface and knead for about 10-12 minutes. You’ll know it’s ready when you can stretch a small piece thin enough to see light through it without it tearing (this is called the windowpane test, and it’s the best way to know your gluten is properly developed).
First Rise
Shape the dough into a ball and place it in a greased bowl. Cover it with a damp kitchen towel or plastic wrap and let it rise in a warm spot until it doubles in size. This usually takes about 1 to 1.5 hours, depending on how warm your kitchen is.
I like to put mine in the oven with just the light on. The gentle warmth from the oven light creates the perfect environment. Just don’t forget it’s in there and preheat the oven later. I’ve done that exactly once, and let me tell you, the smell of burning dough is not pleasant.
Shaping the Buns
Once the dough has doubled, punch it down (this is genuinely satisfying) and turn it out onto a clean surface. Divide it into 12 equal pieces. I use a kitchen scale to weigh them because I’m nerdy about getting them all the same size, but you can also just eyeball it.
To shape each bun, flatten the piece slightly, then pull the edges toward the center, pinching them together. Flip it over so the seam is on the bottom, then cup your hand around it and roll it in a circular motion on the counter. This creates surface tension that helps the buns rise up instead of spreading out.
Place the shaped buns on a baking sheet lined with parchment paper, spacing them about 2 inches apart. I can usually fit all 12 on a large baking sheet, but if yours is smaller, use two sheets.
Second Rise
Cover the buns loosely with plastic wrap or a damp towel and let them rise again for about 30-45 minutes. They should look puffy and almost doubled in size. While they’re rising, preheat your oven to 375°F.
This second rise is crucial. I used to skip it or cut it short when I was impatient, and the buns would come out dense. Give them the full time they need.
Baking
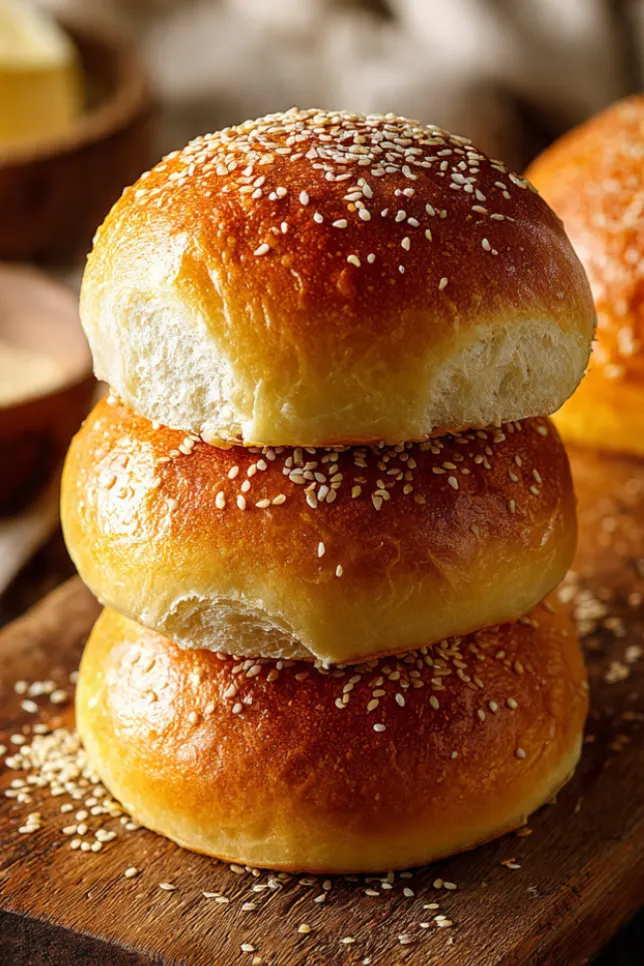
Right before baking, brush the tops with the egg wash. This gives them that beautiful golden-brown, shiny top. If you want sesame seeds, sprinkle them on right after the egg wash while it’s still wet.
Bake for 15-18 minutes, until the tops are golden brown. I usually rotate the pan halfway through to ensure even browning, especially if your oven has hot spots like mine does.
When they’re done, the buns should sound hollow when you tap the bottom. Transfer them to a wire cooling rack and let them cool completely before slicing. I know it’s tempting to cut into them right away (the smell is incredible), but if you slice them while they’re hot, they’ll compress and get gummy.
Pro Tips from My Experience
After making these more times than I can count, here are the things that actually make a difference:
The milk temperature really matters. Too hot and you’ll kill the yeast. Too cold and your dough will take forever to rise. I keep an instant-read thermometer in my kitchen drawer specifically for this.
Don’t add too much flour. This is probably the biggest mistake I see people make with any bread recipe. The dough should be slightly sticky. If you add too much flour trying to make it “easier to handle,” you’ll end up with dry, tough buns.
Use a food processor if you need to speed up the butter incorporation. Sometimes I’m in a rush and don’t have time to wait for butter to melt and cool slightly. Pulsing cold butter into the flour mixture works too, though the stand mixer method is easier.
Toast them before serving. Even when they’re fresh, a quick toast on a cast iron skillet with a little butter takes them to the next level. The cut sides get crispy and slightly caramelized, which is perfect for holding up to a juicy burger.
For meal prep, these freeze beautifully. Once completely cooled, I put them in freezer bags with as much air pressed out as possible. They’ll keep for up to 3 months. Just thaw them at room temperature for a couple hours, or warm them in a 300°F oven for about 10 minutes.
FAQs
Can I make burger buns without a stand mixer?
Yes, knead by hand for 10 to 12 minutes until the dough becomes smooth and elastic.
Why are my burger buns dense?
This usually happens from adding too much flour or not letting the dough rise long enough.
Can I freeze homemade burger buns?
Yes, store them in airtight bags and freeze for up to 3 months.
Can I use all-purpose flour instead of bread flour?
Yes, but bread flour gives better texture and chew.
How do I get shiny golden tops?
Use an egg wash before baking to achieve that classic bakery finish.
Why This Recipe Works
The combination of milk and butter creates what’s called an enriched dough. This is the same type of dough used for brioche and other soft, tender breads. The milk proteins keep the crumb structure delicate, while the butter adds flavor and helps the buns stay fresh longer than lean doughs (like French bread, which goes stale quickly).
The sugar does more than just add a hint of sweetness. It also feeds the yeast and helps with browning. And the egg in both the dough and the wash contributes to the rich color and tender texture.
Recipe Info
| Prep Time | 20 minutes |
| First Rise | 1-1.5 hours |
| Second Rise | 30-45 minutes |
| Bake Time | 15-18 minutes |
| Total Time | About 2.5 hours |
| Servings | 12 burger buns |
| Yield | 12 buns |
You’ll Also Love
If you’re into making your own bread at home, you might want to try making hot dog buns next (same dough, different shape), or even pretzel buns for something different. Once you get comfortable with this basic enriched dough, you can adapt it to all sorts of things.
Final Thoughts
Look, I’m not going to pretend that making burger buns from scratch is faster than buying them. It’s not. But when you’re putting together really good burgers and you want everything to be on point, homemade buns make a genuine difference.
The first time you serve these at a cookout and someone actually comments on how good the buns are, you’ll get it. That almost never happens with store-bought. These have real flavor, a soft texture that doesn’t fall apart, and they smell incredible when they’re baking.
Plus, there’s something kind of satisfying about making the whole burger from scratch. If you’ve already gone to the trouble of grinding your own beef or making a special sauce, why stop there?
Try these once. I think you’ll be surprised at how straightforward they are, and how much better they make your burgers taste. And if you mess up the first batch (I definitely did), just try again. Bread baking is forgiving that way. You learn more from the failures than the successes anyway.
The Best Homemade Burger Buns
Soft, fluffy, and rich burger buns that elevate any homemade burger.
Ingredients
- 4 cups bread flour
- 2 1/4 tsp instant yeast
- 1/4 cup sugar
- 1 1/2 tsp salt
- 1 cup warm milk
- 1/4 cup melted butter
- 1 egg
- Egg wash + sesame seeds
Instructions
- Mix dry ingredients.
- Add wet ingredients and form dough.
- Knead until smooth and elastic.
- Let dough rise until doubled.
- Shape into buns.
- Let rise again.
- Bake until golden.
- Cool before slicing.
Notes
Do not add too much flour. Slightly sticky dough gives softer buns. Freeze extras for up to 3 months.