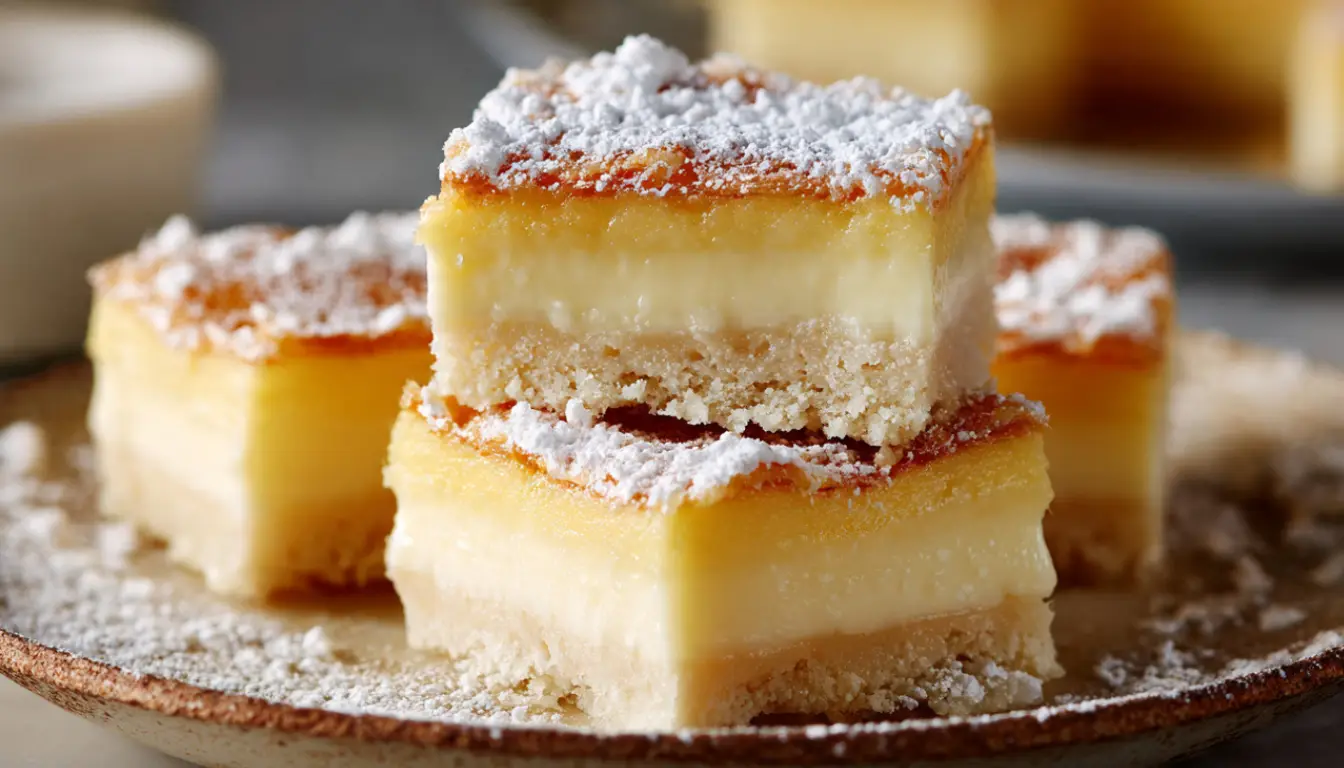
Creamy Vanilla Custard Squares
There’s something about a perfectly set custard that just makes me happy. I remember the first time I tried making custard squares in my tiny apartment kitchen about eight years ago. Let’s just say it didn’t go well. The custard was lumpy, the pastry was soggy, and I ended up ordering pizza that night. But you know what? Those disasters taught me everything I know about making these beauties perfectly every single time.
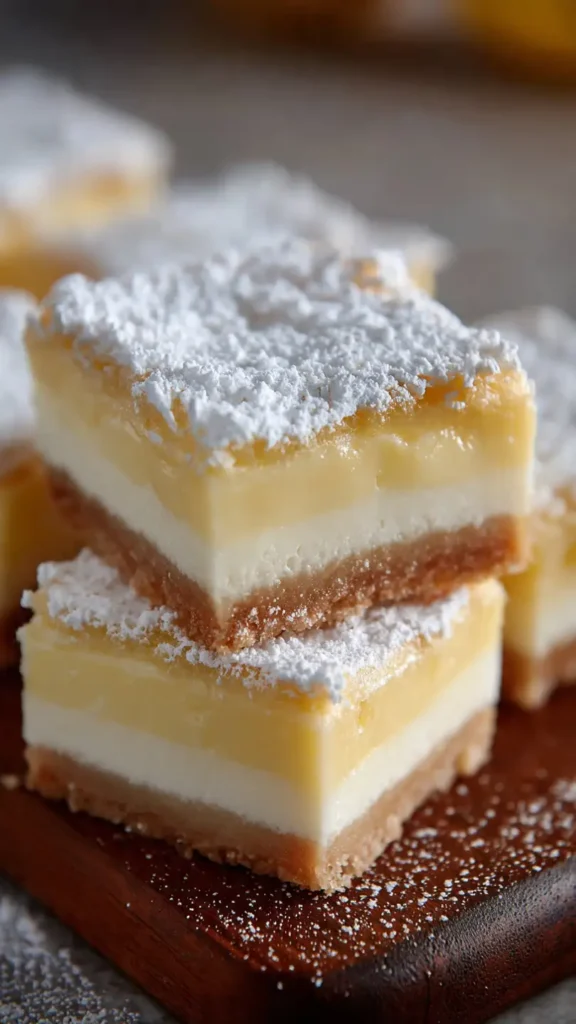
These Creamy Vanilla Custard Squares are what I call my “redemption recipe.” They’ve got that silky smooth custard filling that doesn’t taste eggy, a buttery pastry base that stays crisp, and a simple glaze on top that adds just the right amount of sweetness. I’ve made these for everything from church potlucks to fancy dinner parties, and they always disappear first.
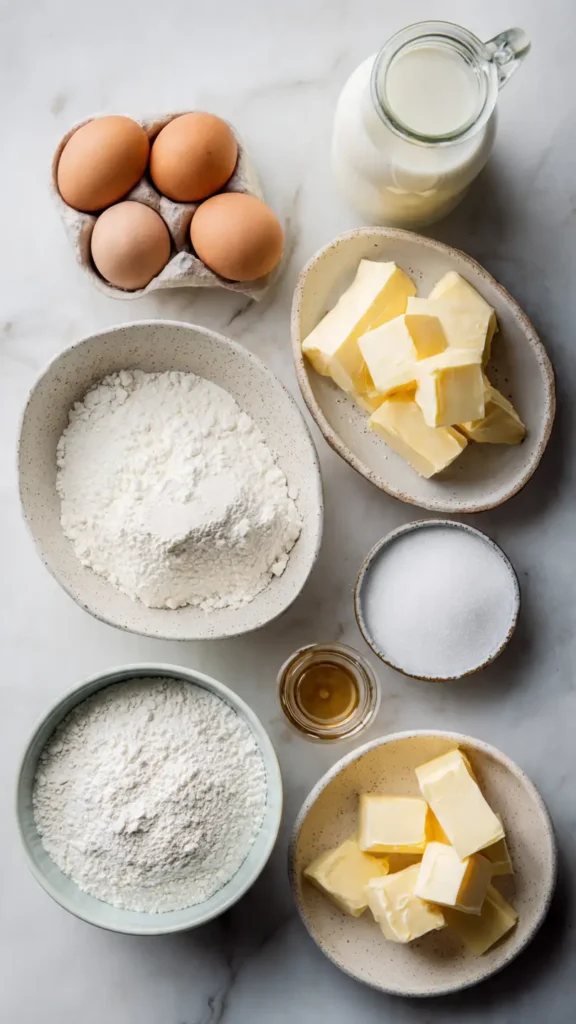
Essential Ingredients
For the Pastry Base:
- 2 cups all-purpose flour
- 1/2 cup powdered sugar
- 1 cup cold butter, cubed
- 1/4 teaspoon salt
- 2 tablespoons ice water
For the Custard Filling:
- 4 cups whole milk
- 1 cup granulated sugar
- 1/2 cup cornstarch
- 1/4 cup all-purpose flour
- 4 large egg yolks
- 2 teaspoons pure vanilla extract
- 3 tablespoons butter
- 1/4 teaspoon salt
For the Glaze:
- 2 cups powdered sugar
- 3 tablespoons whole milk
- 1 teaspoon vanilla extract
Alternative Ingredients
Look, I get it. Sometimes you don’t have exactly what a recipe calls for, and honestly, that’s fine. Here’s what I’ve learned works as substitutes.
If you’re out of cornstarch, you can use an equal amount of additional all-purpose flour, though the texture will be slightly less silky. I’ve done this in a pinch and it still tastes great. For the vanilla extract, you could use vanilla bean paste (which actually gives an even better flavor, but it costs more). If you want to make this dairy-free, I’ve had readers tell me they’ve used coconut milk instead of regular milk with good results, though I haven’t personally tested it.
The butter in the custard can be replaced with coconut oil if you need a dairy-free version, but keep in mind the flavor will change slightly. And honestly? Don’t skimp on the vanilla. That’s where the magic happens with custard.
Step-by-Step Directions
Making the Pastry Base:
Start by preheating your oven to 350°F. I learned the hard way that you need to preheat for at least 15 minutes to get an even temperature throughout. Trust me on this.
In a large mixing bowl (or your stand mixer if you have one), combine the flour, powdered sugar, and salt. Add those cold butter cubes and work them in until the mixture looks like coarse crumbs. I use my KitchenAid stand mixer with the paddle attachment for this because it’s faster and my hands don’t get tired, but you can absolutely do this with a pastry cutter or even two forks.
Drizzle in the ice water and mix just until the dough comes together. Don’t overmix here. Press this dough evenly into a 9×13 inch baking pan. I use a glass one because I can see if the bottom is browning evenly, but a metal pan works fine too.
Prick the dough all over with a fork (this stops it from puffing up), then bake for 20-25 minutes until it’s lightly golden. While that’s baking, you’ll make the custard.
Preparing the Custard:
This is where things get real. Custard isn’t hard, but it requires your attention. Don’t try to multitask during this part.
In a heavy-bottomed saucepan (I swear by my cast iron skillet for even heat distribution), whisk together the sugar, cornstarch, flour, and salt. Gradually whisk in the milk until everything is completely smooth. No lumps allowed.
Place this over medium heat and cook, whisking constantly, until the mixture thickens and starts to bubble. This usually takes about 8-10 minutes. Your arm might get tired. Keep whisking anyway. Once it bubbles, cook for another 2 minutes while still whisking.
In a separate bowl, lightly beat the egg yolks. Here’s the critical part I messed up my first dozen times: you need to temper the eggs. Take about a cup of your hot custard mixture and slowly drizzle it into the egg yolks while whisking like crazy. This gradually raises the temperature of the eggs without scrambling them.
Pour this egg mixture back into the saucepan with the rest of the custard. Cook over medium-low heat for another 2-3 minutes, whisking constantly, until it’s thick enough to coat the back of a spoon.
Remove from heat and stir in the butter and vanilla extract until the butter melts completely. The butter adds richness and gives the custard this gorgeous sheen.
Assembly:
Pour the hot custard over your baked pastry base. Use a spatula to spread it evenly into all the corners. Now comes the hard part: waiting. Let this cool at room temperature for about 30 minutes, then refrigerate for at least 3 hours. I usually make these the night before I need them.
Making the Glaze:
When your custard is completely set and cold, whisk together the powdered sugar, milk, and vanilla until smooth. The consistency should be thick but pourable. If it’s too thick, add milk one teaspoon at a time. If it’s too thin, add more powdered sugar.
Spread this glaze over the custard layer. It’ll set up in about 15-20 minutes at room temperature.
Pro Tips
After making these probably 200 times over the years, here’s what I’ve learned:
The key to non-lumpy custard is constant whisking and medium heat. High heat will make it lumpy no matter how much you whisk. I keep my heat at medium or even medium-low and just accept that it takes a bit longer.
For clean cuts, I run my knife under hot water and wipe it dry between each cut. It makes such a difference in presentation.
If you want to get fancy, you can add a tablespoon of instant pudding mix to the custard for extra stability. This helps if you’re transporting these or if your kitchen is really warm.
Use a food processor to make the pastry base faster. Just pulse until it resembles coarse crumbs, then add the water.
FAQs
Can I make these ahead of time?
Absolutely. In fact, it’s recommended. These are best made the day before you need them. They’ll keep in the refrigerator for up to 3 days.
Why is my custard lumpy?
Usually this happens because the heat was too high or you stopped whisking. Lower the heat and make sure you’re whisking constantly during the cooking process. If you do end up with a few lumps, you can strain the custard through a fine-mesh sieve before pouring it over the pastry.
Can I freeze these?
It’s not recommended. The custard doesn’t freeze well and will become watery when thawed. These are best enjoyed fresh or refrigerated.
The pastry base is soggy. What went wrong?
Make sure you’re baking the base until it’s golden brown, not just lightly colored. Also, let it cool for about 5 minutes before adding the hot custard. And use a pan that’s the right size. Too much custard in a small pan equals soggy bottom.
Can I use vanilla pudding mix instead of making custard from scratch?
You could, but you’d be missing out. The homemade custard is what makes these special. That said, if you’re in a time crunch, use two packages of vanilla pudding (the cook-and-serve kind, not instant) prepared according to package directions.
Recipe Info
| Detail | Information |
|---|---|
| Prep Time | 25 minutes |
| Cook Time | 35 minutes |
| Chill Time | 3 hours |
| Total Time | 4 hours |
| Servings | 24 squares |
| Yield | One 9×13 inch pan |
Why You’ll Love This Recipe
First off, it looks way more complicated than it actually is. People will think you spent hours on these, but the active cooking time is maybe 45 minutes tops. The rest is just waiting for things to bake and chill.
Second, these custard squares are incredibly versatile. I’ve served them at fancy brunches and casual backyard barbecues. They work for any occasion. Plus, they’re not overly sweet like a lot of desserts. The custard filling is creamy and vanilla-forward without being cloying.
They’re also budget-friendly. The ingredients are simple and inexpensive. No fancy equipment needed beyond basic mixing bowls and a whisk, though I do love using my stand mixer for the pastry to save time.
What Makes This Recipe Unique
Unlike a lot of custard recipes out there, this one uses both cornstarch and flour for the thickening. I learned this trick from an old French pastry cookbook. The combination gives you a custard that’s silky smooth but also holds its shape when you cut it. Pure cornstarch can make custard a bit gummy, and pure flour can make it taste starchy. Together? Perfect.
The pastry base is also unique because it’s more of a shortbread texture than a traditional pie crust. It stays crisp even under all that custard because we pre-bake it until it’s really golden. Most recipes don’t bake the base long enough.
And that glaze on top? It’s optional, but it adds a beautiful finish and a little extra sweetness. Some people skip it, but I think it makes the whole thing look professional.
Key Features
Silky Smooth Custard: The combination of cornstarch and flour creates the perfect texture that’s neither too thick nor too runny.
Crispy Pastry Base: Pre-baking ensures the bottom stays crisp and buttery, not soggy.
Simple Glaze: The vanilla glaze adds visual appeal and a touch of extra sweetness.
Make-Ahead Friendly: These actually taste better the next day after the flavors have melded together.
Customizable: You can easily add lemon zest, chocolate chips, or fresh berries to make different variations.
Crowd-Pleaser: I’ve never met anyone who doesn’t like these. They’re universally loved.
Nutrition Facts
Per serving (1 square):
| Nutrient | Amount |
|---|---|
| Calories | 245 |
| Total Fat | 11g |
| Saturated Fat | 7g |
| Cholesterol | 65mg |
| Sodium | 95mg |
| Total Carbohydrates | 34g |
| Dietary Fiber | 0g |
| Sugars | 22g |
| Protein | 3g |
| Calcium | 85mg |
| Iron | 0.5mg |
Note: Nutrition information is approximate and based on standard ingredient measurements.
You’ll Also Love
If these custard squares hit the spot for you, you might want to try my Classic Vanilla Cream Pie which uses a similar custard filling but in a traditional pie format. The Lemon Custard Bars are another favorite that swaps the vanilla for bright lemon flavor.
For chocolate lovers, my Chocolate Custard Squares use the same technique but with cocoa powder added to the custard and a chocolate glaze on top. And if you’re into meal prep containers for storing desserts like these, I have a whole guide on the best airtight containers that keep baked goods fresh.
My French Vanilla Slice is basically the European cousin of these squares, with layers of puff pastry instead of shortbread. It’s a bit fancier but uses the same custard technique.
Conclusion
Here’s the thing about custard squares: they’re one of those recipes that looks impressive but is actually pretty forgiving once you get the hang of it. Yes, you might mess up your first batch (I certainly did), but that’s how you learn. The second batch will be better, and by the third time, you’ll be making these with your eyes closed.
I make these probably once a month, and every single time, people ask for the recipe. Now you have it. The secret is patience with the custard, making sure that pastry base is really golden, and not skipping the chilling time. Those three things will guarantee success.
Whether you’re making these for a special occasion or just because you want something sweet on a random Tuesday (no judgment, I’ve been there), I hope they bring you as much joy as they’ve brought me over the years. There’s something deeply satisfying about slicing into a pan of perfectly set custard squares and seeing those clean layers.
Now go make some custard. Your kitchen is about to smell amazing.