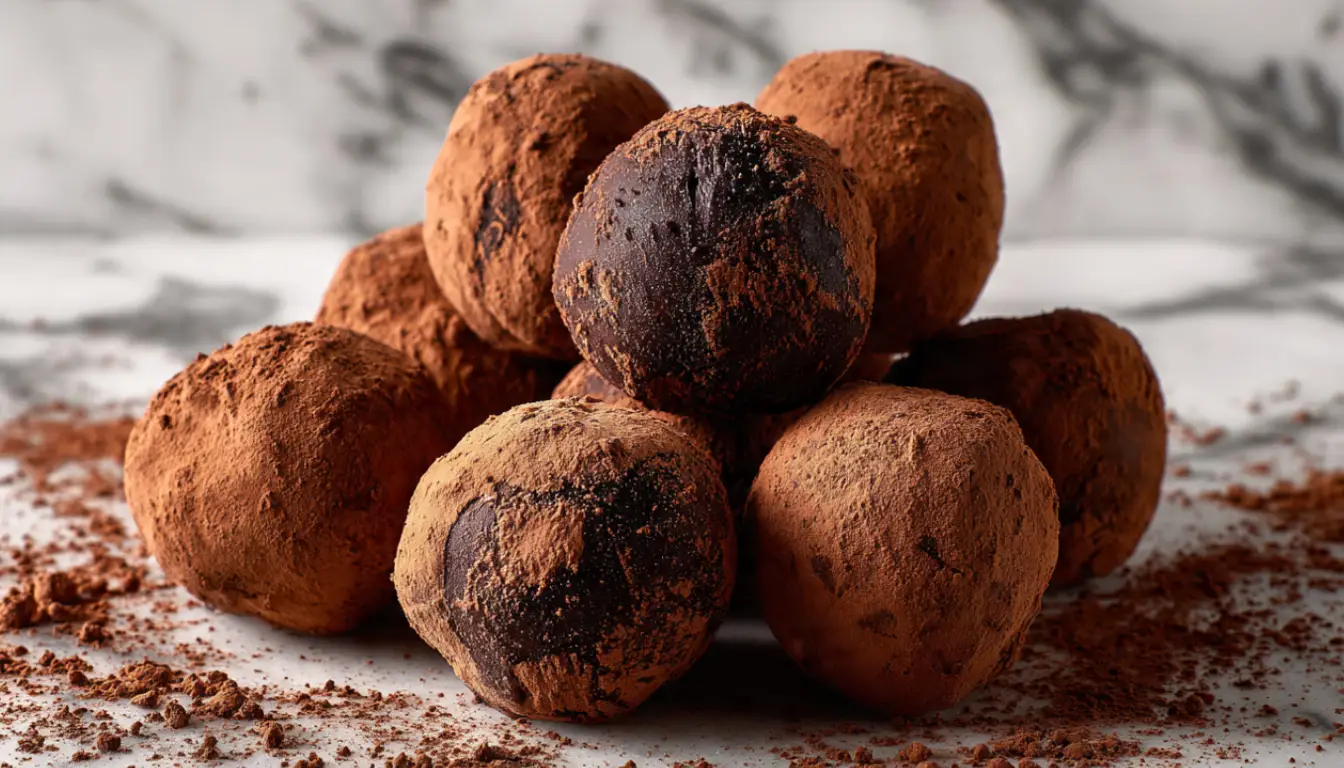
Easy Cool Whip Candy Recipe – 3-Ingredient Chocolate Truffles
You know those moments when you need dessert in about 20 minutes? That was me three Christmases ago with unexpected guests arriving and absolutely nothing sweet to offer them. I had Cool Whip in the freezer, some chocolate chips, and a prayer. What happened next became my secret weapon for last-minute entertaining.
Cool Whip candy isn’t just another no-bake treat. It’s the kind of recipe that makes you look like a kitchen genius when you’ve basically done nothing but stir three ingredients together and freeze them. I’ve made these hundreds of times now, and every single time, people ask for the recipe. The best part? They never believe me when I tell them how ridiculously simple it is.
Essential Ingredients
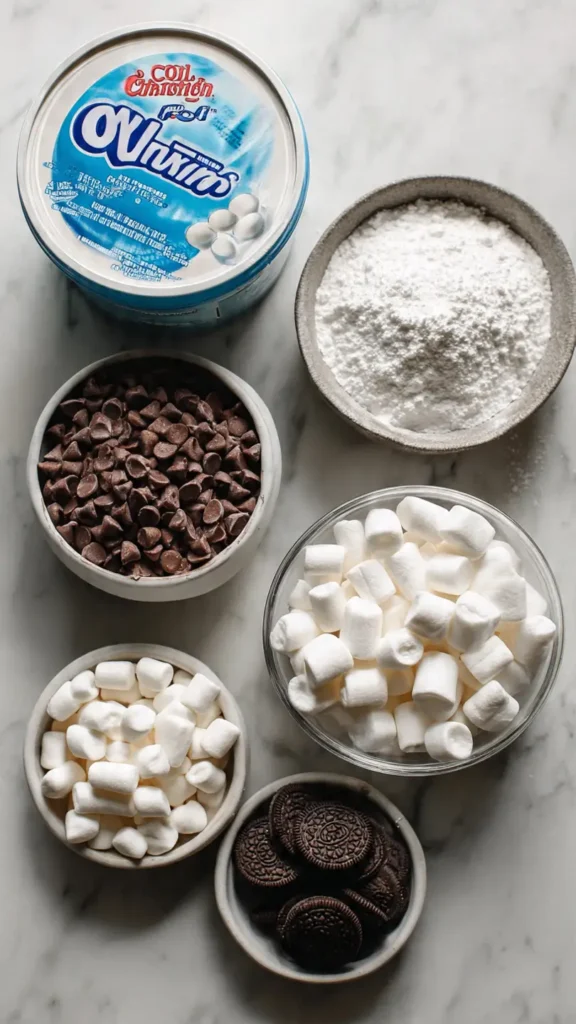
- 8 oz Cool Whip (thawed)
- 2 cups chocolate chips (semi-sweet or milk chocolate)
- 1 cup powdered sugar
- Optional mix-ins: crushed Oreos, mini marshmallows, chopped nuts, peppermint pieces, or shredded coconut
That’s it. Seriously. Three core ingredients that you probably already have in your pantry. I always keep extra Cool Whip in my freezer specifically for this recipe because it’s saved me more times than I can count.
Alternative Ingredients
Look, I get it. Sometimes you need to work with what you’ve got, or you’re dealing with dietary restrictions. I’ve experimented with basically every variation of this recipe, and here’s what actually works:
Instead of regular Cool Whip, you can use the sugar-free version. Honestly, I can’t tell the difference once everything’s frozen. My sister uses homemade whipped cream (she’s fancy like that), but you need to stabilize it with a bit of gelatin or it gets icy. Not worth the extra effort in my opinion, but it does work.
For the chocolate chips, I’ve used everything from dark chocolate to white chocolate to those fancy Ghirardelli chips. The higher quality chocolate makes a difference in taste, but honestly, the store brand works just fine. I once used a broken-up chocolate bar when I ran out of chips, and nobody noticed.
The powdered sugar can be replaced with granulated sugar if you’re in a pinch, but the texture won’t be as smooth. I learned this the hard way during a snowstorm when I couldn’t get to the store. It still tasted good, just a tiny bit grittier.
Step-by-Step Directions
Step 1: Prep Your Space
Line a baking sheet with parchment paper or wax paper. Trust me on this one. I tried using just a regular pan my first time, and let’s just say I spent 20 minutes scraping frozen candy off the metal. Learn from my mistakes. If you’re planning to make these regularly, investing in a good set of meal prep containers with dividers is worth it. I keep mine in stackable containers in the freezer.
Step 2: Melt the Chocolate
Microwave your chocolate chips in 30-second intervals, stirring between each one. I use my KitchenAid mixing bowl for this because it distributes heat evenly, but any microwave-safe bowl works. The key is patience. Don’t rush it, or you’ll end up with seized chocolate, which is basically kitchen heartbreak.
Here’s a pro tip I learned from a pastry chef friend: add a tablespoon of coconut oil to your chocolate while melting. It makes the chocolate smoother and easier to work with. You can skip this if you want, but it really does make a difference.
Step 3: Combine Everything
Once your chocolate is melted and slightly cooled (important! Too hot and it’ll melt your Cool Whip), fold it into the Cool Whip along with the powdered sugar. Use a spatula and gentle folding motions. This isn’t the time to use your stand mixer or hand mixer. You want to keep as much air in the Cool Whip as possible.
The mixture should look like chocolate mousse. If it’s too runny, you melted the chocolate too much or your Cool Whip was too soft. If this happens, pop the whole bowl in the freezer for 10 minutes and try again.
Step 4: Add Your Mix-Ins
This is where you can get creative. I usually make a plain batch and an Oreo batch because my kids fight over flavors. Fold in about a cup of your chosen mix-in. Don’t overmix, or everything turns into a muddy brown mess. Ask me how I know.
Step 5: Shape and Freeze
Using a cookie scoop (the kind you’d use for making uniform cookies), drop rounded portions onto your prepared baking sheet. I have a medium-sized cookie scoop that makes perfect two-bite candies. You could also use a spoon, but your candies won’t be as uniform. For gifting or parties, I sometimes use my silicone candy molds, which makes them look really professional.
Freeze for at least 2 hours. I usually make these the night before I need them and let them freeze overnight.
Step 6: Storage
Once frozen solid, transfer the candies to an airtight container or freezer bags. Layer them with parchment paper between layers so they don’t stick together. They’ll keep in the freezer for up to 3 months, though they never last that long in my house.
Pro Tips
After making these probably 200 times (not exaggerating), I’ve figured out some tricks that make the process even easier:
First, let your Cool Whip thaw in the fridge overnight, not on the counter. Counter-thawed Cool Whip gets too soft and watery. I learned this during a particularly disastrous batch that turned into chocolate soup.
Second, work quickly once everything’s combined. The mixture starts to firm up as it sits, which makes it harder to scoop. I set up an assembly line: bowl of mixture, cookie scoop, baking sheet, all within arm’s reach.
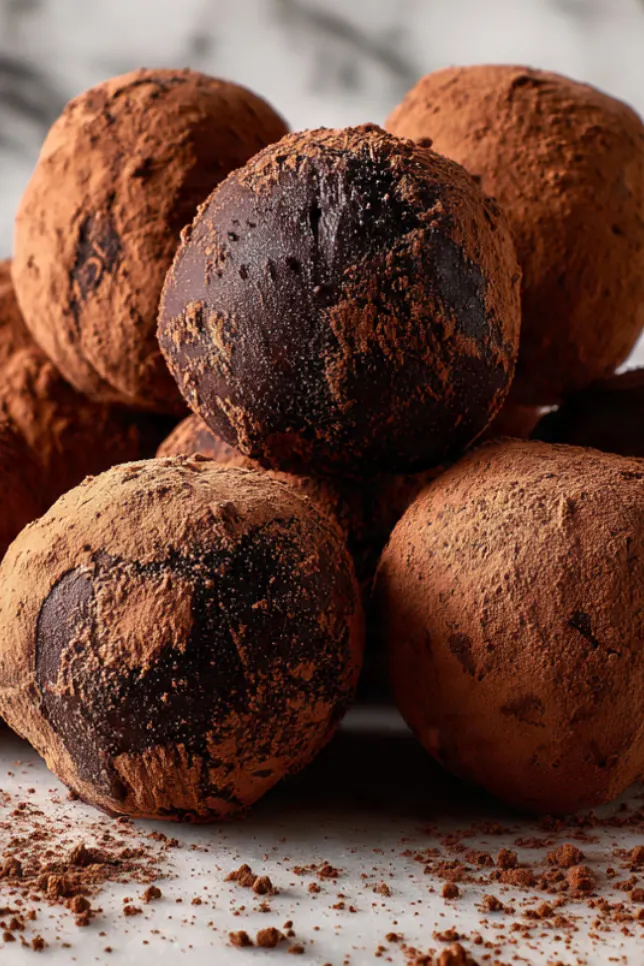
Third, if you’re making these for a party, roll the frozen balls in cocoa powder, crushed nuts, or sprinkles for an extra fancy touch. Takes about 30 seconds per candy, but looks like you spent hours.
Fourth, don’t skip the parchment paper. I cannot stress this enough. I’ve tried silicone mats, plastic wrap, and aluminum foil. Parchment paper is the only thing that lets you peel these off cleanly every single time.
The ingredient quality matters more than you’d think. I experimented with different brands of Cool Whip during a particularly nerdy weekend, and the name-brand version really does have a better texture. The generic store brands work, but they can be a bit icier.
For chocolate, I swear by Ghirardelli or Guittard chips when I’m making these for special occasions. For everyday batches, Nestle Toll House works perfectly fine. The chocolate doesn’t need to be expensive, but it should be something you’d actually want to eat on its own.
FAQs
Can I use homemade whipped cream instead of Cool Whip?
Yes, but you need to add a stabilizer. Mix 1 teaspoon unflavored gelatin with 1 tablespoon cold water, let it bloom, then microwave for 5 seconds. Fold this into your whipped cream before adding the chocolate. Otherwise, it gets icy and crystallized.
How long do these last in the freezer?
Up to 3 months in an airtight container.
Can I make these dairy-free?
Absolutely. Use coconut Cool Whip and dairy-free chocolate chips.
Do they need to stay frozen?
They’re best frozen, but they’ll hold their shape at room temperature for about 15-20 minutes. Perfect for serving at parties. Just don’t leave them out for hours or they’ll turn into puddles.
Can I add alcohol to these?
Yes. A tablespoon of peppermint schnapps or coffee liqueur works beautifully. Don’t add more than that or they won’t freeze properly.
Why You’ll Love This Recipe
Listen, I’m not usually one for hyperbole, but this recipe is genuinely foolproof. If you can stir three things together and use a freezer, you can make these. I’ve taught this recipe to my 8-year-old nephew, my 70-year-old mother-in-law, and my friend who claims she can’t boil water. All of them succeeded.
The texture is what gets people. These taste like expensive truffles from a fancy chocolate shop, but they cost maybe $8 to make a whole batch. I’ve calculated it out because I’m nerdy like that, and each candy costs about 33 cents. Compare that to $2-3 per truffle at the store.
They’re also incredibly versatile for meal planning. I make a batch every Sunday and keep them in my freezer for when I need something sweet after dinner. Two candies satisfy my chocolate craving without derailing my eating plan. At about 80 calories per candy, they’re way better than diving into a pint of ice cream.
For parties, these are a lifesaver. They look elegant, taste amazing, and you can make them days in advance. I’ve served these at bridal showers, baby showers, holiday parties, and even a fancy dinner party once when I was trying to impress my in-laws. Worked like a charm.
What Makes This Recipe Unique
Most no-bake candy recipes require tempering chocolate or working with candy melts, which is honestly annoying. This recipe skips all that nonsense. The Cool Whip acts as your texture agent, your binder, and your stabilizer all in one.
The other thing that sets this apart is how forgiving it is. I’ve made mistakes with this recipe. Big ones. Too much chocolate, not enough sugar, mixing in frozen Cool Whip instead of thawed. Every single time, it still turned out edible. Sometimes even better than planned.
I haven’t found another candy recipe that’s this flexible with flavors either. I’ve made peppermint versions for Christmas, orange-chocolate for Halloween, strawberry-chocolate for Valentine’s Day, and even a peanut butter version that my husband declares is better than Reese’s. The base recipe stays the same; you just change the mix-ins.
Key Features
Quick Preparation: From start to freezer in under 20 minutes of active work. The rest is just waiting for physics to do its thing.
Minimal Equipment: You need a bowl, a spatula, and a cookie scoop. That’s it. No stand mixer required, though if you have one, the bowl makes a great melting vessel.
Budget-Friendly: Total ingredient cost is under $10 for 24 candies. Compare that to buying fancy chocolates.
Customizable: Add Oreos, nuts, candy canes, dried fruit, coconut, or nothing at all. I’ve probably tried 30 different variations at this point.
Make-Ahead Friendly: Perfect for meal prep. Make them Sunday, eat them all week. Or make them weeks in advance for holidays.
Freezer-Stable: They keep for months without losing quality. I’ve never had one go bad before we ate them all.
Portion-Controlled: Using a cookie scoop means every candy is the same size, which makes calorie counting easier if that’s your thing.
Gift-Worthy: Package these in a nice container, and people think you’re a baking wizard. I’m not above taking credit I don’t deserve.
You’ll Also Love
If Cool Whip candy is hitting the spot for you, try these other easy frozen treats from my collection:
Frozen Peanut Butter Cups: Same concept, but with peanut butter instead of Cool Whip. Takes about 30 minutes total.
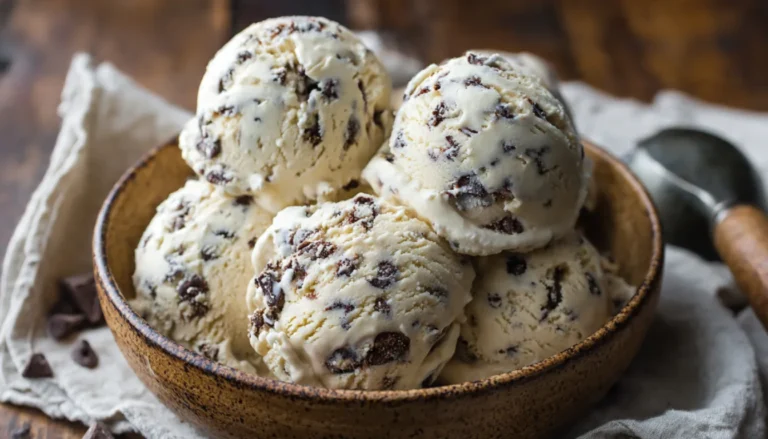
No-Churn Cookie Dough Ice Cream: Uses Cool Whip as the base. Seriously, Cool Whip is underrated as a dessert ingredient.
Chocolate-Covered Frozen Banana Bites: Another freezer-friendly treat that takes minimal effort. Great for hot summer days.
Oreo Truffles: If you loved the Oreo version of this candy, you’ll love these. Similar texture, different technique.
Conclusion
I never thought a recipe this simple would become one of my most-requested, but here we are. Cool Whip candy has gotten me through last-minute potlucks, unexpected guests, and more than a few stress-eating sessions during busy workweeks. It’s the recipe I give to new bakers because it’s impossible to mess up, and it’s the recipe I make for myself because it genuinely tastes good.
The beauty of this recipe isn’t just that it’s easy. It’s that it gives you the flexibility to make it your own. Want to add crushed candy canes for Christmas? Do it. Want to use dark chocolate and sea salt for something more sophisticated? Go for it. Want to keep it simple with just chocolate and Cool Whip? That works perfectly too.
Since I started keeping a batch of these in my freezer at all times, my dessert stress has dropped to basically zero. Need something sweet? Grab a candy. Need to bring something to a party? These are already made. Need to impress someone? Package these nicely and watch them assume you spent hours working on them.
Give this recipe a try. Worst case scenario, you’ve spent 20 minutes and less than $10 on ingredients. Best case scenario, you’ve just discovered your new favorite easy dessert. And if you’re like me, you’ll be making these on repeat for the next decade.
Now if you’ll excuse me, I have a fresh batch calling my name from the freezer. One of the perks of being the recipe tester is getting to eat all the “quality control” samples. It’s a tough job, but somebody’s got to do it.