Fluffy Coconut Cake: The Only Recipe You’ll Ever Need
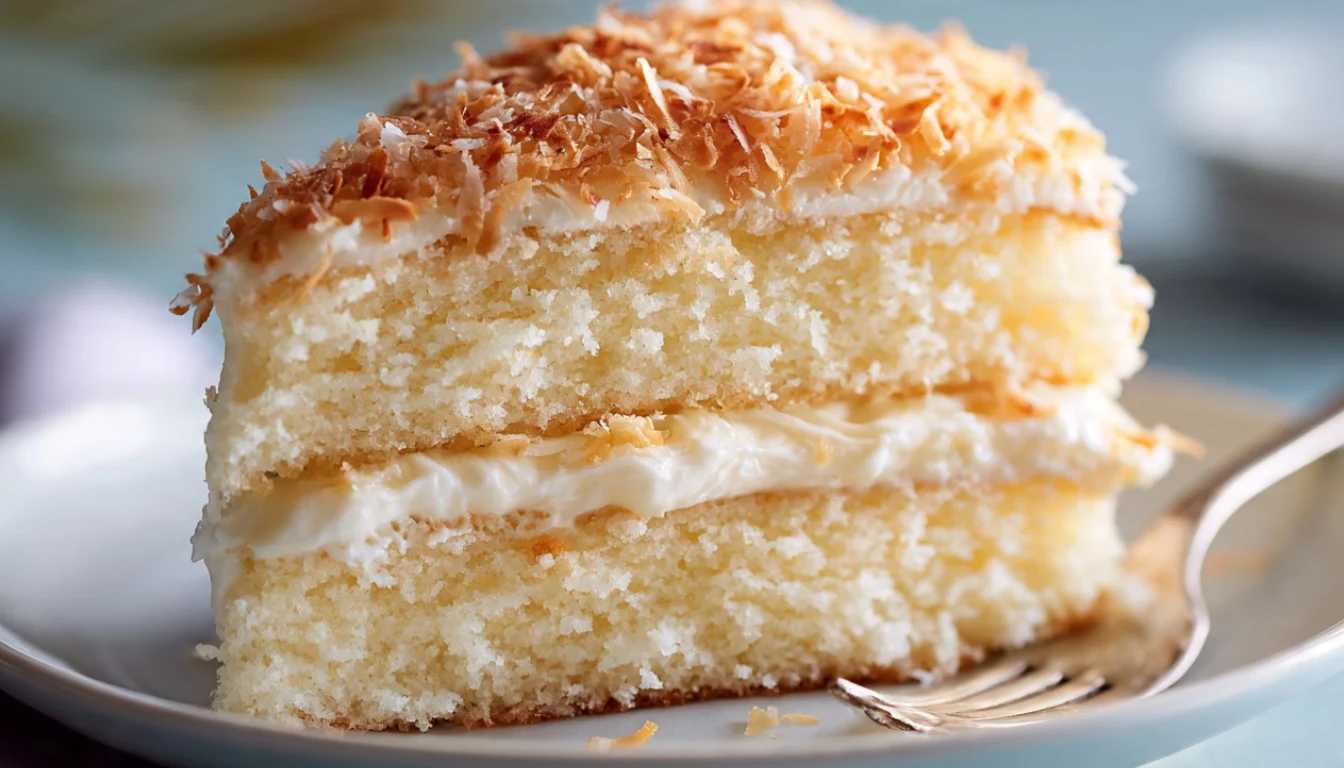
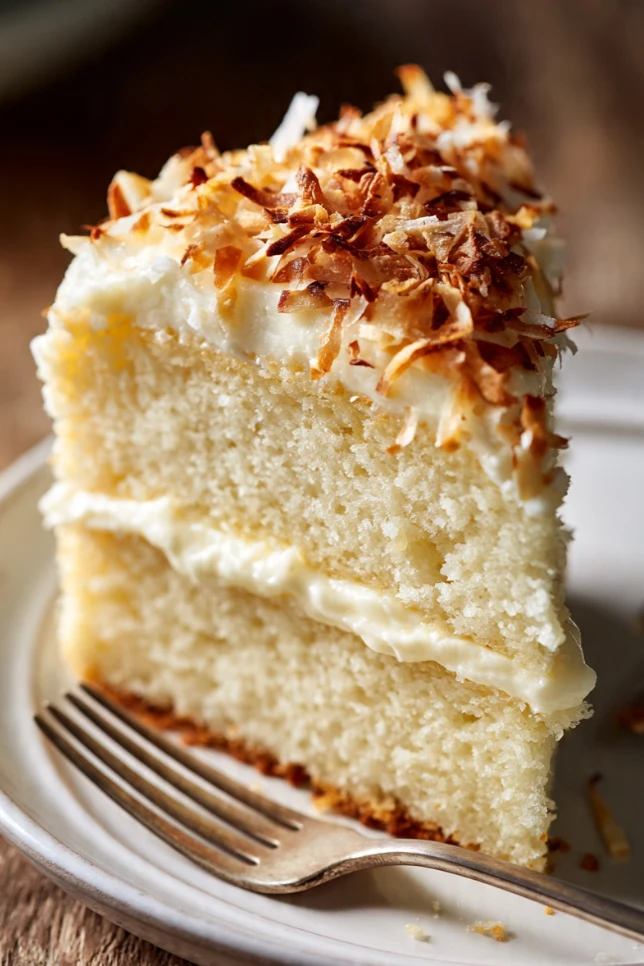
There’s a cake I’ve been making for almost ten years now, and every single time I bring it to a gathering, someone pulls me aside and asks for the recipe. It’s not a chocolate lava cake or a trendy viral dessert. It’s this coconut cake. Tall, white, impossibly fluffy, and covered in toasted coconut flakes that crunch just slightly when you press your fork through the layers.
I’ll be honest, I ruined this cake more than once when I was starting out. The first time I tried it, I used the wrong type of coconut milk and ended up with a dense, greasy loaf that my husband politely ate in silence. The second attempt wasn’t much better. But by the third try, I figured out exactly what this cake needs to reach that cloud-like texture everyone goes crazy for, and I’ve been making it the same way ever since.
This is the recipe I wish someone had handed me back then.
Why You’ll Love This Recipe
This coconut cake is soft, moist, and genuinely easy to make. You don’t need any special pastry skills. What you do need is a good stand mixer (I use my KitchenAid and it makes the whole process so much smoother), the right coconut products, and a little patience while it bakes. The result is a layer cake that looks like it came from a bakery, tastes better than most, and costs a fraction of what you’d pay for a custom cake.
It also works beautifully for celebrations, meal prep baking days, and honestly just a regular Tuesday when you want something special. Stores well too, which I’ll get to in the tips section.
What Makes This Recipe Unique
Most coconut cake recipes rely on coconut extract to get that flavor, which can taste artificial and sharp. This one uses real coconut milk, coconut cream, and shredded coconut at three different points in the process. The flavor is layered and natural, not perfume-y. The texture comes from a specific technique of alternating your wet and dry ingredients, which keeps the crumb tender without making it dense.
Also, the frosting is a cream cheese coconut frosting. Not plain buttercream. That little bit of tanginess from the cream cheese cuts through the sweetness and makes every bite feel balanced. I learned this from a baker friend who had been making wedding cakes for fifteen years, and I’ve never gone back to regular buttercream on coconut cake since.
Key Features
- Prep time: 25 minutes
- Bake time: 30 to 35 minutes
- Total time: about 1 hour plus cooling time
- Servings: 12 slices
- Yield: Two 9-inch layers
Essential Ingredients
For the cake layers:
- 2 and 3/4 cups all-purpose flour
- 1 tablespoon baking powder
- 1/2 teaspoon baking soda
- 1/2 teaspoon salt
- 1 cup unsalted butter, room temperature
- 1 and 3/4 cups granulated sugar
- 4 large egg whites (room temperature, this matters)
- 1 teaspoon pure vanilla extract
- 1 teaspoon coconut extract
- 1 cup full-fat coconut milk (the canned kind, shaken well)
- 1/2 cup sour cream
For the cream cheese coconut frosting:
- 8 oz cream cheese, softened
- 1/2 cup unsalted butter, softened
- 4 cups powdered sugar, sifted
- 3 tablespoons coconut cream
- 1 teaspoon vanilla extract
- 2 cups sweetened shredded coconut (toasted for the outside)
Alternative Ingredients
No full-fat coconut milk in the pantry? You can use coconut cream thinned with a little regular whole milk, about 3 parts cream to 1 part milk. It’s not identical but it works well. If you need a dairy-free version, swap the butter for a high-quality vegan butter (Miyoko’s brand works great here), replace the sour cream with coconut yogurt, and use vegan cream cheese for the frosting.
Some people ask me about using coconut flour instead of all-purpose. Don’t do it for this recipe. Coconut flour absorbs liquid completely differently and you’d need to rebuild the whole formula. Stick with regular flour here and let the coconut milk and extracts carry the flavor.
For a gluten-free version, a 1:1 gluten-free baking flour blend works surprisingly well. Bob’s Red Mill makes a good one.
Step-by-Step Directions
Step 1: Toast your coconut first. Spread the shredded coconut on a baking sheet and pop it into a 325°F oven for 8 to 10 minutes, stirring halfway through. You want it golden and fragrant. Pull it out before it goes too dark. Set it aside to cool completely.
Step 2: Prep your pans and preheat. Grease two 9-inch round cake pans, line the bottoms with parchment paper, and grease the paper too. Preheat your oven to 350°F.
Step 3: Whisk your dry ingredients. In a medium bowl, whisk together the flour, baking powder, baking soda, and salt. Set aside.
Step 4: Cream butter and sugar. This is where the stand mixer earns its place. Beat the butter on medium-high speed for a full 3 minutes until it’s pale and fluffy. Add the sugar and beat for another 3 minutes. Don’t rush this. The air you’re building in right now is what makes the cake fluffy. If you’re mixing by hand with an electric hand mixer, go for 5 full minutes total.
Step 5: Add egg whites and extracts. Add the egg whites one at a time, beating for 30 seconds after each one. Add both extracts and mix to combine. The batter might look a little curdled at this point. That’s fine, it comes back together.
Step 6: Alternate wet and dry. With the mixer on low, add the flour mixture in three additions, alternating with the coconut milk mixed with sour cream (two additions). Start and end with flour. Mix only until just combined after each addition. Overmixing here is the most common mistake I see, and it leads to a tough crumb.
Step 7: Divide and bake. Divide the batter evenly between the two pans. A kitchen scale makes this easy and accurate. Bake for 30 to 35 minutes, until a toothpick inserted in the center comes out with just a few moist crumbs. Don’t overbake.
Step 8: Cool completely. Let the cakes cool in the pans for 15 minutes, then turn them out onto a wire rack. They need to be completely cool before frosting. I usually bake the layers the night before and frost the next day.
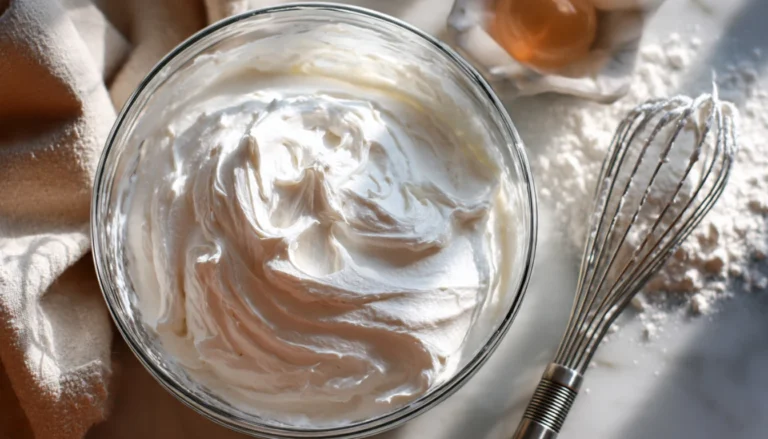
Step 9: Make the frosting. Beat the cream cheese and butter together until smooth and fluffy, about 3 minutes. Add the sifted powdered sugar one cup at a time. Add the coconut cream and vanilla, then beat until light and spreadable. If it’s too soft, refrigerate for 20 minutes before using.
Step 10: Assemble. Place one cake layer on your serving plate. Spread a generous layer of frosting on top. Add the second layer. Frost the top and sides of the entire cake. Press the toasted coconut onto the sides and top while the frosting is still fresh. Refrigerate for at least 30 minutes before slicing.
Pro Tips
Getting egg whites to room temperature makes a real difference. Cold egg whites don’t incorporate as much air. I set mine out about an hour before I start baking.
For super clean slices, run your knife under hot water, wipe it dry, and slice. Do this between each cut. It sounds fussy but it takes five seconds and the slices look so much cleaner.
If you want a more intense coconut flavor, brush each cake layer with a thin layer of coconut simple syrup (just equal parts coconut water and sugar, simmered until dissolved) before frosting. It adds moisture and depth.
For storage, keep this cake in an airtight container in the refrigerator. The cream cheese frosting needs to stay cold. It keeps well for up to 5 days. You can also freeze the unfrosted layers wrapped tightly in plastic wrap, then a layer of aluminum foil, for up to 2 months. Thaw overnight in the fridge before frosting.
FAQs
Can I make this cake ahead of time? Yes. Bake the layers up to two days ahead and store them well-wrapped at room temperature. The frosting can be made a day ahead and refrigerated. Assemble the day you plan to serve it.
Why did my cake come out dense? Most likely cause is overmixing the batter after adding the flour. Once you add flour to a cake batter, mix only until the streaks disappear. Also check that your baking powder is fresh. Old leavening is one of the most common causes of flat, heavy cakes.
Can I make cupcakes with this batter? Absolutely. Fill cupcake liners about 2/3 full and bake at 350°F for 18 to 22 minutes. Makes about 24 cupcakes.
What kind of coconut milk should I use? Full-fat canned coconut milk, not the refrigerated carton kind used as a dairy milk substitute. The fat content is what gives the cake its richness. Shake the can well before opening so the cream and liquid are combined.
Can I use a food processor to make the frosting? You could pulse the cream cheese to smooth it out, but for the full frosting, a hand mixer or stand mixer gives you better control over the texture.
You’ll Also Love
If this coconut cake has you in a baking mood, you might want to try these next:
- Coconut Cream Pie with a homemade butter crust
- Toasted Coconut Banana Bread that uses up ripe bananas beautifully
- Coconut Macaroons that need only 5 ingredients and no mixer
- Lemon Coconut Bars with a shortbread base
Conclusion
This fluffy coconut cake is one of those recipes that earns its permanent spot in your rotation. It’s the kind of cake people remember. Whether you’re making it for a birthday, a potluck, or just because you have a weekend afternoon and a craving, it delivers every single time.
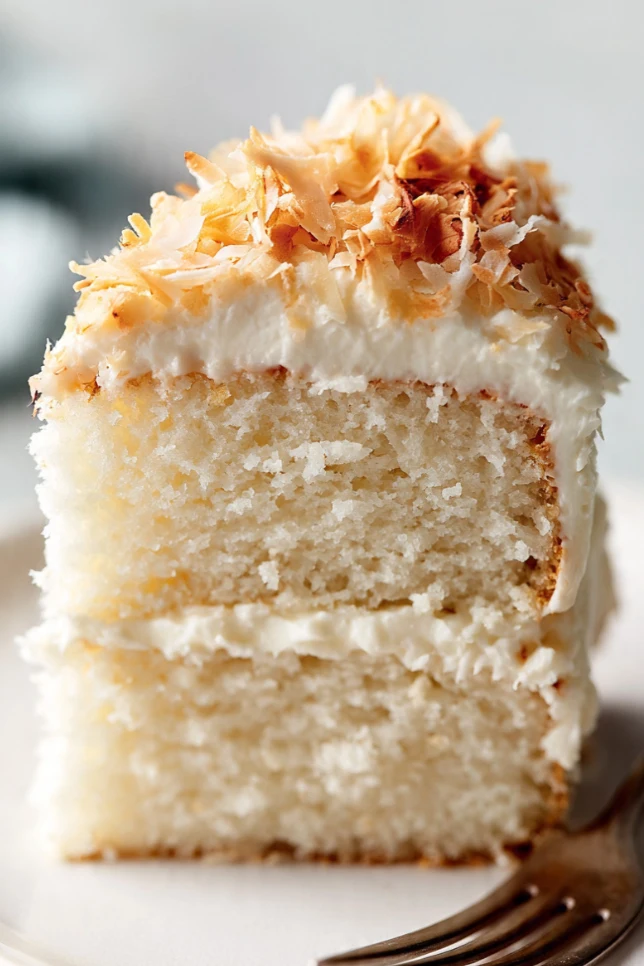
The biggest piece of advice I can give you is to not skip the toasting step for the coconut flakes. That five minutes in the oven transforms them from sweet and soft to nutty, golden, and complex. It’s the detail that takes this cake from good to genuinely great.
Make it once and you’ll understand why I’ve been bringing this to every gathering for a decade.
Linda at beesrecipes.com