Classic Lemon Pound Cake Recipe
My first lemon pound cake was a complete disaster. Dense as a brick, barely any lemon flavor, and I was so proud showing it off to my neighbors. Six months into food blogging, armed with my new KitchenAid stand mixer, I thought I had it all figured out. Turns out, pound cake needs real technique, not just enthusiasm.
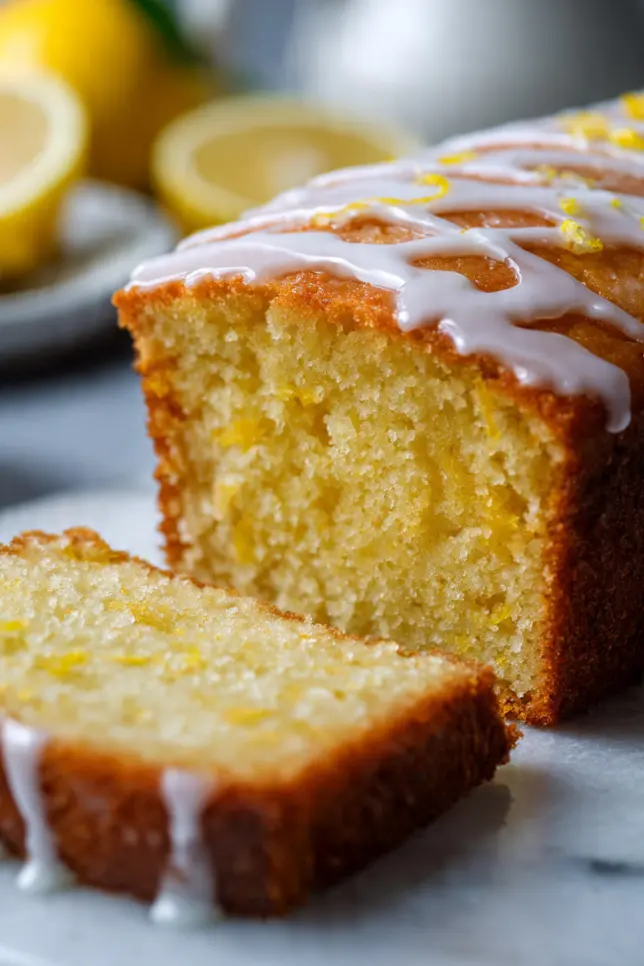
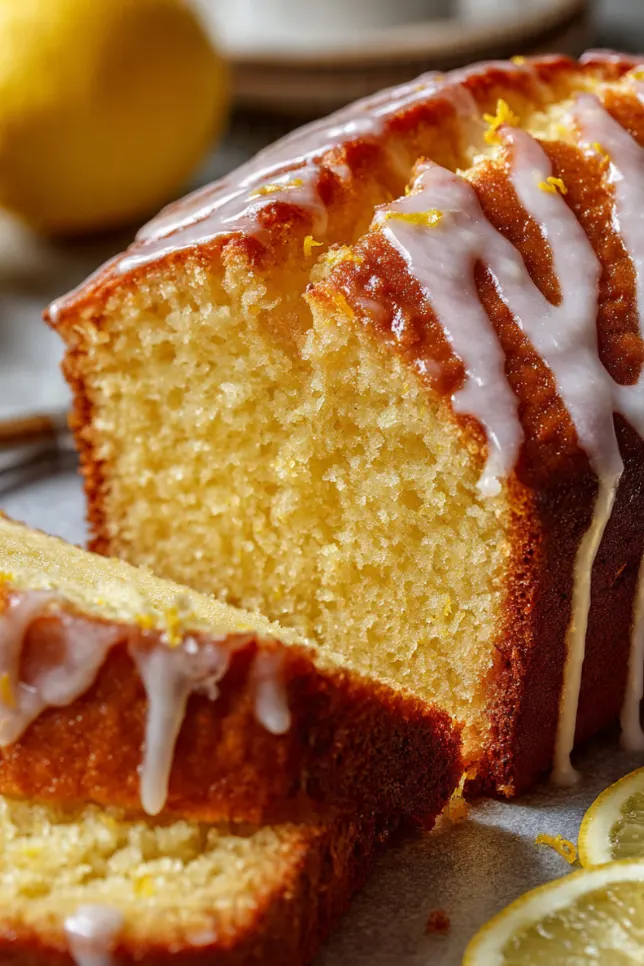
Ten years later, this recipe is one of my most-requested. The golden crust gives way to a tender, buttery crumb, and that bright citrus flavor is like sunshine in cake form. You can serve it plain with coffee, dress it up with berries and cream, or use it as a base for trifles. It’s the kind of recipe that makes you look like a baking genius, even though it’s straightforward once you know the tricks.
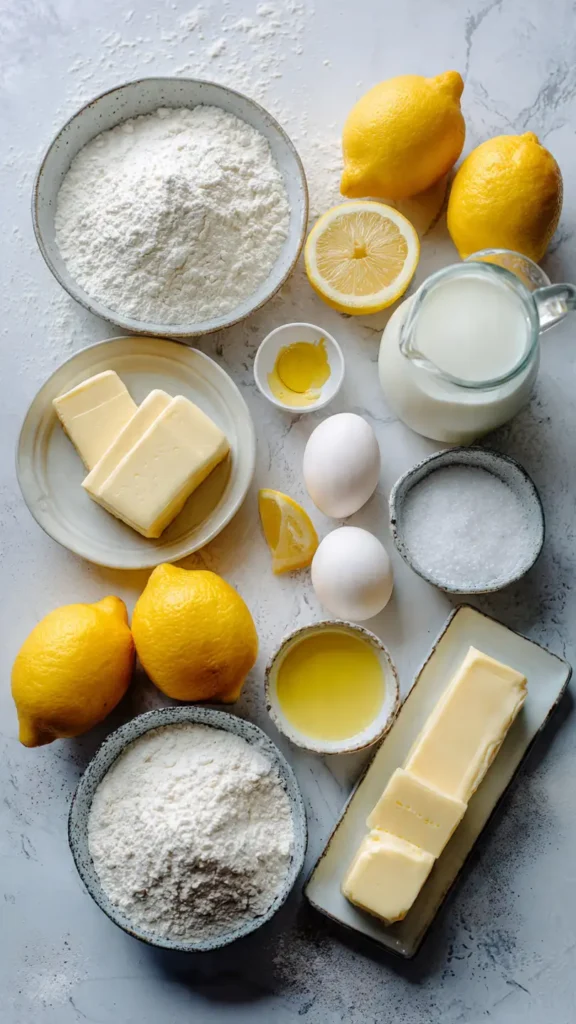
Essential Ingredients
- 1 cup (2 sticks) unsalted butter, softened to room temperature
- 2 cups granulated sugar
- 4 large eggs, room temperature
- 3 cups all-purpose flour
- 1/2 teaspoon baking powder
- 1/2 teaspoon salt
- 1 cup whole milk, room temperature
- 2 tablespoons fresh lemon zest (about 2-3 lemons)
- 1/4 cup fresh lemon juice
- 2 teaspoons vanilla extract
- 1/4 teaspoon lemon extract (optional, but recommended)
For the Lemon Glaze:
- 1 1/2 cups powdered sugar
- 3 tablespoons fresh lemon juice
- 1 tablespoon lemon zest
Alternative Ingredients
Butter: Margarine works in a pinch, though you’ll lose some richness. I’ve tried refined coconut oil and it works okay, but the texture isn’t quite as tender.
Sugar: Stick with granulated sugar. Superfine works too. Brown sugar changes the flavor too much.
Milk: Whole milk is best, but 2% works. Buttermilk gives you a tangier flavor. For dairy-free, oat milk works better than almond milk.
Flour: All-purpose is the way to go. Cake flour makes it too crumbly. For gluten-free, use a good 1:1 baking blend.
Lemon: Fresh is absolutely best. Those plastic bottles of lemon juice work in a pinch, but the flavor isn’t the same.
Step-by-Step Directions
Step 1: Prep Your Pan and Oven
Preheat your oven to 325°F. This is lower than you might expect, but pound cakes need that gentle, even heat to bake through without over-browning. Grease a 10-inch bundt pan or tube pan thoroughly with butter or non-stick spray, then dust it with flour. Tap out the excess. This step is crucial because there’s nothing worse than a cake that sticks.
Step 2: Cream the Butter and Sugar
In your stand mixer fitted with the paddle attachment (or use a hand mixer if that’s what you’ve got), cream the butter and sugar together on medium-high speed for about 5 minutes. Yes, five whole minutes. This isn’t just mixing, it’s aerating. The mixture should become pale yellow and fluffy, almost doubled in volume. This is where that texture magic starts happening.
Step 3: Add the Eggs
Turn your mixer to medium-low and add the eggs one at a time, beating well after each addition. I usually wait about 30 seconds between eggs. The mixture might look a little curdled after the first egg or two, that’s totally normal. It’ll come together.
Step 4: Combine Dry Ingredients
In a separate bowl, whisk together your flour, baking powder, and salt. I know it seems like an extra dish to wash, but don’t skip this step. It ensures everything is evenly distributed.
Step 5: Mix Wet Ingredients
In another small bowl (I promise, we’re almost done with the dishes), combine the milk, lemon juice, lemon zest, vanilla extract, and lemon extract if you’re using it.
Step 6: Alternate Adding Dry and Wet
This is the technique that took me forever to learn properly. With your mixer on low speed, add about a third of the flour mixture, mix just until you can barely see it, then add half the milk mixture. Mix briefly. Add another third of the flour, the rest of the milk, and finally the last of the flour.
The key word here is “briefly.” Overmixing is what gives you that brick I mentioned earlier. As soon as you don’t see dry flour anymore, stop. The batter should be thick and smooth, somewhere between cake batter and cookie dough in consistency.
Step 7: Bake
Pour the batter into your prepared pan and smooth the top with a spatula. Give the pan a gentle tap on the counter to release any air bubbles. Bake for 60-75 minutes, until a toothpick inserted into the center comes out clean or with just a few moist crumbs.
Here’s the tricky part: every oven is different. Mine runs a little cool, so I usually need the full 75 minutes. Start checking at 60 minutes, and if the top is browning too quickly, tent it loosely with aluminum foil.
Step 8: Cool and Glaze
Let the cake cool in the pan for about 15 minutes. This is important because if you try to turn it out while it’s too hot, it might break. But if you wait too long, it’ll stick. After 15 minutes, turn it out onto a wire rack and let it cool completely.
For the glaze, just whisk together the powdered sugar and lemon juice until smooth. It should be thick but pourable. Drizzle it over the cooled cake and sprinkle with lemon zest.
Pro Tips
After making this cake probably a hundred times, here’s what I’ve learned:
Room temperature ingredients are non-negotiable. Cold eggs and milk will cause your butter to seize up into little chunks instead of staying smooth and creamy. If you forgot to take your eggs out in advance, put them in a bowl of warm water for 5 minutes.
Use a scale if you have one. I know the recipe calls for cups, but flour especially can vary so much depending on how you scoop it. 360 grams of flour is more accurate than 3 cups.
Don’t open the oven door for the first 50 minutes. I know it’s tempting, but that sudden temperature drop can make your cake sink in the middle. Just peek through the window if you have one.
The toothpick test isn’t always perfect. With pound cake, a few moist crumbs clinging to the toothpick is actually what you want. Completely clean means it might be slightly overbaked.
Meal prep this for the week. I often bake two of these on Sunday using my food processor to make quick work of the mixing. Slice them up and store in meal prep containers. A slice for breakfast with coffee is perfect, and they last for 5 days at room temperature or freeze beautifully for up to 3 months.
FAQs
Why is my pound cake dense?
It usually happens from overmixing or not creaming the butter properly.
Can I use a loaf pan instead?
Yes, just adjust the baking time slightly.
How do I store it?
Store at room temperature in an airtight container for several days.
Can I freeze it?
Yes, wrap well and freeze up to 3 months.
Why You’ll Love This Recipe
This isn’t your grandmother’s dry pound cake (though I’m sure hers was lovely). This lemon version is incredibly moist, thanks to the combination of butter and milk. The lemon adds this bright, fresh flavor that keeps it from being too heavy or sweet.
It’s also ridiculously versatile. Serve it for brunch, bring it to a potluck, package individual slices as gifts, or keep it on your counter for whenever you need a little sweet treat with your afternoon tea. Because it’s so sturdy, it actually travels really well, unlike delicate layer cakes that need to be handled like precious cargo.
And can we talk about how impressive it looks? That beautiful bundt shape, the golden color, that glossy lemon glaze dripping down the sides. People always think you spent hours on it, when really, most of that time is just the cake baking while you do other things.
What Makes This Recipe Unique
The lemon is the star here, obviously, but what really sets this apart is the technique. That long creaming time for the butter and sugar creates air pockets that give you a tender crumb instead of a dense brick. The combination of both lemon juice and zest gives you a more complex citrus flavor than just using one or the other.
I also use a touch of lemon extract along with vanilla. Some people skip it, but I think it really amplifies that lemon flavor without making the cake taste artificial. The glaze is simple but adds that extra hit of lemon and makes the cake look bakery-worthy.
The slightly lower oven temperature means the cake bakes evenly all the way through without the outside getting too dark. I learned this trick from an old pastry chef I worked with years ago, and it’s made all the difference.
Key Features
- Perfect Texture: Dense but not heavy, moist but not wet, tender but not crumbly. It’s that ideal pound cake consistency.
- Bright Lemon Flavor: Fresh lemon juice and zest give it that sunny citrus taste that makes this cake so refreshing.
- Easy to Make: Despite seeming fancy, it’s actually a pretty straightforward recipe once you understand the techniques.
- Keeps Well: This cake actually gets better after a day or two as the flavors meld. It stays moist for up to a week.
- Versatile Serving Options: Eat it plain, add fresh fruit, serve it with ice cream, use it in trifles. The possibilities are endless.
- Makes Great Gifts: Slice it up, wrap individual pieces in plastic wrap, and tie them with ribbon. People love homemade baked goods.
You’ll Also Love
If you enjoyed this lemon pound cake, you might want to try these other recipes:
- Blueberry Lemon Loaf – All the lemon flavor with juicy blueberries folded in
- Orange Almond Bundt Cake – A citrus variation with a nutty twist
- Classic Vanilla Pound Cake – The traditional version without any fruit flavor
- Lemon Curd Trifle – Use leftover pound cake to make an impressive layered dessert
- Strawberry Shortcake – Slice this pound cake and use it as the base for fresh berries and cream
Conclusion
I hope you give this lemon pound cake a try. It’s one of those recipes that might seem intimidating at first, but once you make it once or twice, it becomes second nature. The smell of it baking alone is worth the effort. There’s just something about the combination of butter, sugar, and lemon that fills your kitchen with the most amazing aroma.
Remember, the key things are: room temperature ingredients, cream that butter and sugar properly, don’t overmix once you add the flour, and be patient while it bakes. Get those things right, and you’ll have a cake that’ll make everyone think you’re some kind of baking wizard.
And hey, even if your first attempt doesn’t turn out perfect (mine sure didn’t), you’ll still end up with something delicious to eat with your coffee. That’s the beauty of pound cake. Even when it’s not perfect, it’s still pretty darn good.
Happy baking, and enjoy every lemony bite!
Linda
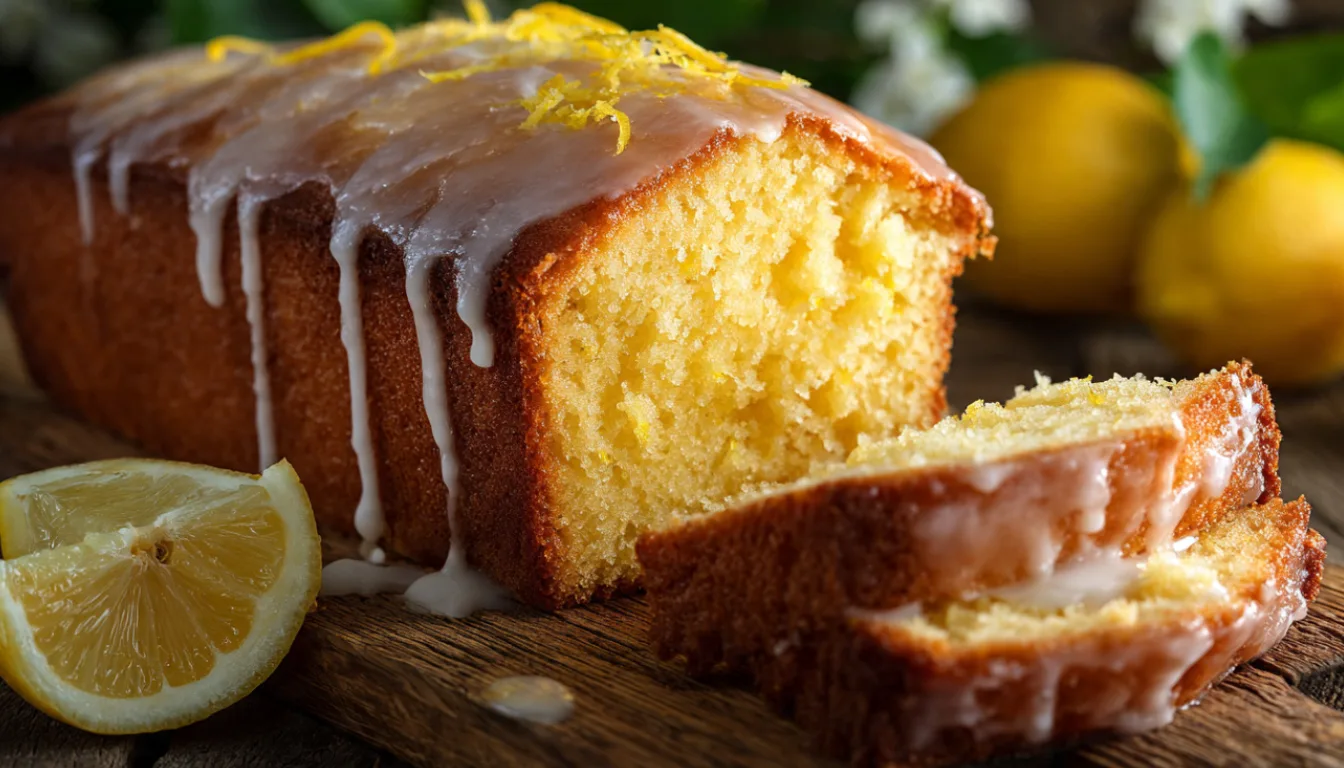
Classic Lemon Pound Cake
Moist, tender lemon pound cake with bright citrus flavor and a sweet lemon glaze. Perfect for breakfast, brunch, or dessert.
Ingredients
Cake
- 1 cup (2 sticks) unsalted butter, softened
- 2 cups granulated sugar
- 4 large eggs, room temperature
- 3 cups all-purpose flour
- 1/2 tsp baking powder
- 1/2 tsp salt
- 1 cup whole milk, room temperature
- 2 tbsp fresh lemon zest (2-3 lemons)
- 1/4 cup fresh lemon juice
- 2 tsp vanilla extract
- 1/4 tsp lemon extract (optional)
Lemon Glaze
- 1 1/2 cups powdered sugar
- 3 tbsp fresh lemon juice
- 1 tbsp lemon zest
Instructions
- Prep pan and oven Preheat oven to 325F (lower temperature means even baking without over-browning). Grease a 10-inch bundt pan thoroughly with butter or non-stick spray, then dust with flour. Tap out the excess.
- Cream butter and sugar In your stand mixer with paddle attachment, cream butter and sugar on medium-high for 5 minutes. The mixture should become pale yellow and fluffy, almost doubled in volume. This aerating step creates that tender texture.
- Add eggs Add eggs one at a time on medium-low speed, beating well after each. Wait about 30 seconds between eggs. The mixture might look curdled after the first egg, that’s normal.
- Mix dry and wet separately Whisk together flour, baking powder, and salt in one bowl. In another, combine milk, lemon juice, lemon zest, vanilla, and lemon extract. Don’t skip this step, it ensures even distribution.
- Alternate adding dry and wet With mixer on low, add a third of flour mixture, then half the milk mixture. Add another third of flour, rest of milk, then final flour. Mix just until you can’t see dry flour. Overmixing makes it dense. The batter should be thick and smooth.
- Bake Pour batter into prepared pan and smooth the top. Tap pan gently to release air bubbles. Bake 60-75 minutes, until a toothpick comes out with just a few moist crumbs. Every oven is different. Check at 60 minutes, tent with foil if browning too fast.
- Cool and glaze Cool in pan for 15 minutes (too hot and it breaks, too long and it sticks). Turn out onto a wire rack and cool completely. For glaze, whisk powdered sugar and lemon juice until thick but pourable. Drizzle over cooled cake and sprinkle with zest.
Notes
Room temperature ingredients are essential. Use a scale if you have one (360g flour is more accurate than 3 cups). Don’t open oven for 50 minutes. A few moist crumbs on the toothpick is perfect. Store wrapped at room temperature for 5 days or freeze for 3 months. Let sit 5-10 minutes before slicing for cleanest cuts.