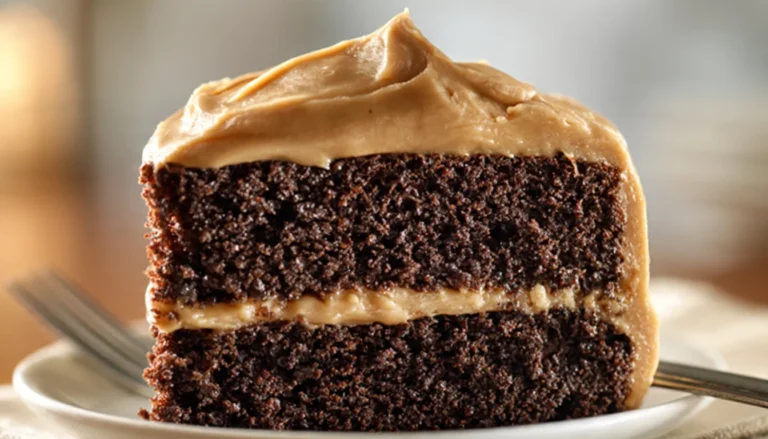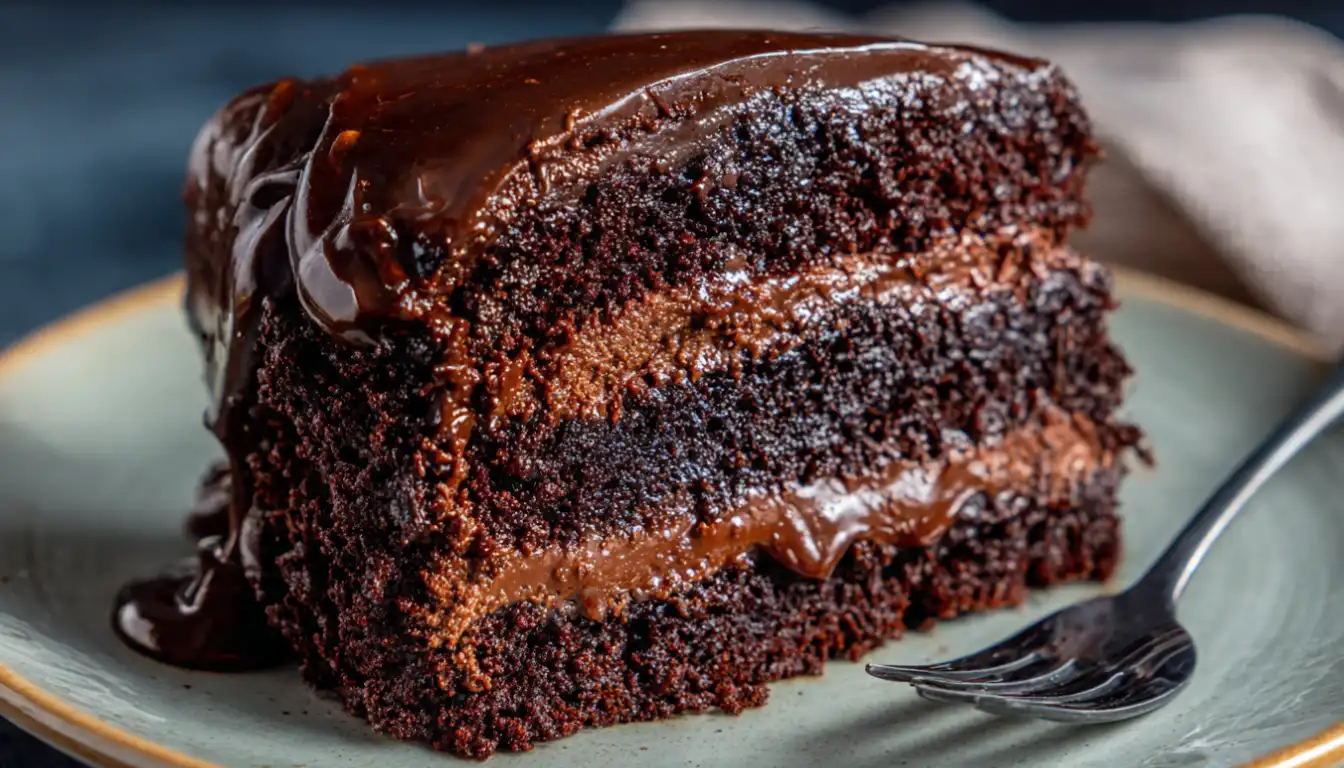
Chocolate Fudge Layer Cake
There’s this moment when you pull a chocolate cake out of the oven and the whole kitchen smells like pure heaven. I’m talking about that deep, rich chocolate aroma that makes everyone suddenly appear in the kitchen asking “what’s baking?” That’s exactly what happens every single time I make this chocolate fudge layer cake, and honestly, it never gets old.
I’ve been making layer cakes for nearly a decade now, and I’ll tell you something I learned the hard way: not all chocolate cakes are created equal. Some are dry, some are too sweet, and others just taste like… brown cake. This one? It’s the real deal. Moist, intensely chocolatey, with a fudgy frosting that’ll make you want to eat it straight from the bowl (no judgment here, I’ve done it).
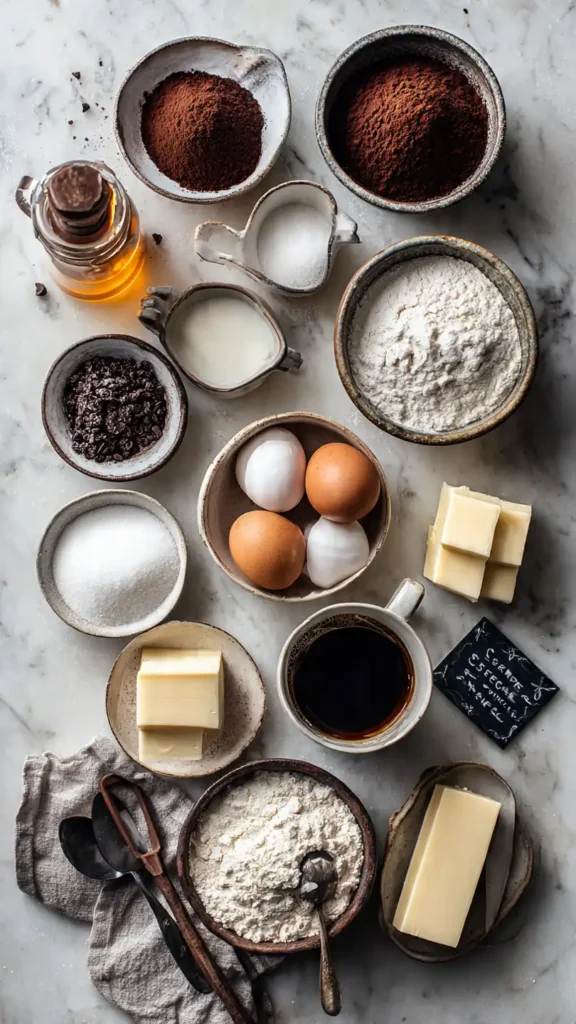
Essential Ingredients
For the Cake Layers:
- 2 cups all-purpose flour
- 2 cups granulated sugar
- 3/4 cup unsweetened cocoa powder (Dutch-process works beautifully)
- 2 teaspoons baking soda
- 1 teaspoon baking powder
- 1 teaspoon salt
- 2 large eggs, room temperature
- 1 cup whole milk
- 1/2 cup vegetable oil
- 2 teaspoons vanilla extract
- 1 cup hot coffee (or hot water if you prefer)
For the Fudge Frosting:
- 1 cup unsalted butter, softened
- 3/4 cup unsweetened cocoa powder
- 3 cups powdered sugar
- 1/3 cup whole milk
- 2 teaspoons vanilla extract
- 1/4 teaspoon salt
Alternative Ingredients
Look, I get it. Sometimes you don’t have everything on hand, or you’re working with dietary restrictions. Here’s what I’ve successfully swapped over the years:
Instead of all-purpose flour, you can use a 1:1 gluten-free baking flour. I’ve tested this with several brands, and it works surprisingly well. The texture is slightly different but still delicious.
No buttermilk? Neither do I, most of the time. Regular whole milk works perfectly fine. If you want a slight tang, add a tablespoon of lemon juice to your milk and let it sit for 5 minutes.
The coffee is actually optional, but here’s the thing: it doesn’t make the cake taste like coffee. It just intensifies the chocolate flavor. Trust me on this. But if you’re really against it, hot water works too.
For a dairy-free version, I’ve used almond milk and coconut oil instead of butter in the cake (not the frosting though, that needs real butter for the right consistency). It’s not identical, but it’s still really good.
Step-by-Step Directions
Preheat your oven to 350°F. Grease two 9-inch round cake pans and line the bottoms with parchment paper. This step saves you from the heartbreak of a cake that sticks. Ask me how I know.
In your stand mixer (I use my KitchenAid, but any good mixer works), combine the flour, sugar, cocoa powder, baking soda, baking powder, and salt. Mix on low just to combine everything. If you’re doing this by hand, a good whisk will get you there too.
Add the eggs, milk, oil, and vanilla. Beat on medium speed for about 2 minutes. The batter will look thick and that’s exactly what you want at this stage.
Here comes the interesting part. Reduce your mixer to low speed and carefully add that hot coffee. The batter will thin out considerably and might look weird. Don’t panic. This is supposed to happen. I remember the first time I made this recipe, I was convinced I’d ruined it. Nope. The thin batter creates the most incredibly moist cake.
Divide the batter evenly between your prepared pans. I usually weigh them on my kitchen scale to be precise, but eyeballing works fine too. Bake for 30 to 35 minutes. You’re looking for a toothpick inserted in the center to come out clean or with just a few moist crumbs.
Let the cakes cool in the pans for about 10 minutes, then turn them out onto wire racks. This is crucial: let them cool completely before frosting. I know waiting is hard (I’m the most impatient baker I know), but warm cake plus frosting equals a melted mess.
While the cakes cool, make your frosting. Beat that softened butter in your mixer until it’s light and fluffy, about 2 minutes. Add the cocoa powder and mix until combined. Gradually add the powdered sugar, alternating with splashes of milk. Add the vanilla and salt. Beat on high for about 3 minutes until it’s smooth and spreadable. If it’s too thick, add more milk a tablespoon at a time. Too thin? More powdered sugar.
Once your cakes are completely cool, place one layer on your serving plate. Spread about a third of the frosting on top. Add the second layer and use the remaining frosting to cover the top and sides. I’m not a fancy decorator, so I just use an offset spatula and make it look rustic. It tastes the same whether it’s perfect or imperfect.
Pro Tips
Here’s something I wish someone had told me years ago: room temperature ingredients really do matter. Cold eggs don’t mix as well into the batter. I usually just put mine in a bowl of warm water for about 5 minutes before I start baking.
If your frosting gets too soft while you’re working with it, pop it in the fridge for 10 minutes. If it gets too firm, let it sit at room temperature or give it a quick 10-second zap in the microwave.
Want to make this ahead? The cake layers freeze beautifully. Wrap them tightly in plastic wrap, then in aluminum foil, and freeze for up to 3 months. Thaw overnight in the fridge before frosting.
For cleaner slices, use a sharp knife dipped in hot water and wiped dry between each cut. Your slices will look bakery-perfect.
I store leftover cake in an airtight container at room temperature for up to 3 days, or in the fridge for up to a week. Pro tip: it’s actually better the next day after the flavors have had time to develop.

FAQs
Why is my chocolate cake not moist?
Overbaking and incorrect flour measurement are the most common causes. Always check early and measure carefully.
Can I replace coffee in chocolate cake?
Yes, hot water works fine. Coffee just boosts the chocolate flavor.
How do I make frosting smoother?
Use softened butter and beat well. Add milk gradually for a silky texture.
Can I freeze chocolate cake layers?
Yes, freeze tightly wrapped layers for up to 3 months.
How long does chocolate cake last?
Up to 3 days at room temperature or 1 week refrigerated.
Why You’ll Love This Recipe
This isn’t one of those recipes that requires special equipment or ingredients you can’t pronounce. Everything here is straightforward and readily available at any grocery store. You don’t need a food processor or any fancy gadgets, just basic mixing bowls and a good mixer.
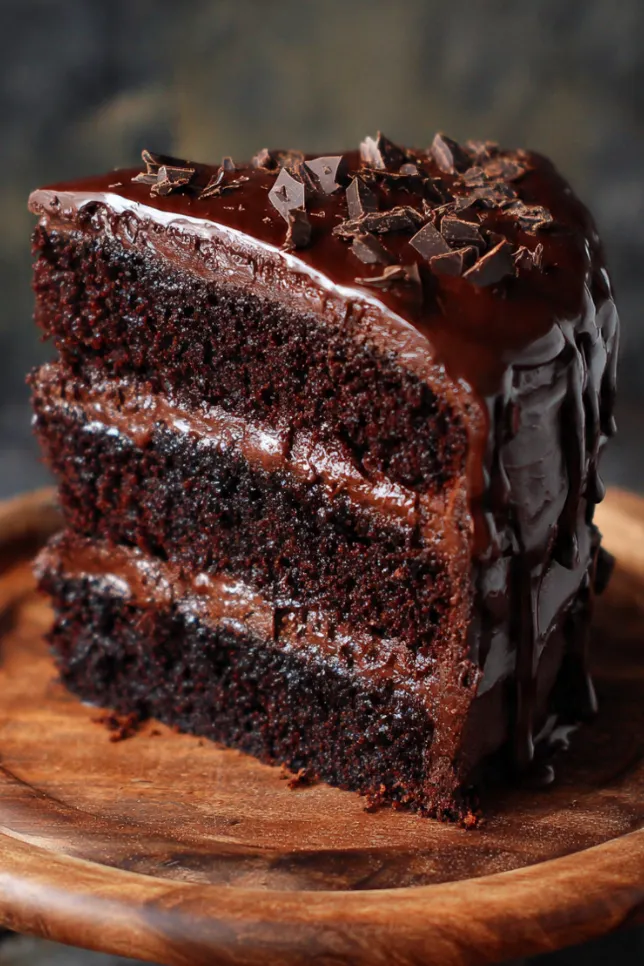
The texture is what gets me every time. It’s incredibly moist (I know some people hate that word, but there’s no better way to describe it), rich, and deeply chocolatey. The fudge frosting strikes that perfect balance between sweet and intensely chocolate.
It’s also ridiculously versatile. Birthday cake? Check. Random Tuesday because you need chocolate? Also check. Impressive dessert for dinner guests? Absolutely. I’ve made this cake dozens of times for every occasion imaginable.
What Makes This Recipe Unique
The secret to this cake’s amazing texture is actually the hot coffee. I know I mentioned it earlier, but it’s worth repeating. That liquid creates steam while baking, which keeps the crumb incredibly tender. Most chocolate cake recipes use only milk or water, but the combination here is what makes it special.
The fudge frosting is also different from your typical buttercream. It’s denser, richer, and has that true fudge quality that pairs perfectly with the soft cake layers. I’ve tried other frostings with this cake, but nothing compares to this combination.
Another thing I love: this cake actually tastes better the next day. Something magical happens as it sits. The flavors meld together, the cake settles a bit, and you get this perfect bite every single time.
Key Features
This recipe gives you a consistently moist cake that doesn’t dry out, even after a couple days (if it lasts that long). The chocolate flavor is intense without being bitter. It’s sweet, but not cavity-inducingly sweet like some cakes.
The frosting to cake ratio is just right. Some layer cakes are all frosting, some are all cake. This one finds that sweet spot where every bite has a good balance of both. When I’m storing leftover cake in my meal prep containers, the slices hold up beautifully without getting soggy or falling apart.
It’s also remarkably forgiving. I’ve made this recipe when I was rushed, distracted, and once when my kids were literally hanging on my legs. It still turned out great every time.
You’ll Also Love
If this chocolate fudge layer cake hits the spot for you, you might want to check out my Devil’s Food Cupcakes with Cream Cheese Frosting. They’ve got a similar rich chocolate base but with a tangier frosting.
My Triple Chocolate Brownies are another crowd favorite. They’re perfect when you want that chocolate fix but don’t want to commit to a whole layer cake.
For something a little different, try my Chocolate Raspberry Tart. It’s got that same intense chocolate flavor but with a fruity brightness that’s perfect for summer.
Conclusion
After ten years of baking, I can honestly say this is the chocolate cake recipe I come back to over and over again. It’s reliable, it’s delicious, and it makes people happy. What more can you ask from a cake?
Whether you’re baking for a special occasion or just because it’s Wednesday and you want chocolate cake (totally valid reason, by the way), this recipe won’t let you down. The combination of that tender, coffee-enhanced cake with the rich fudge frosting is something special.
Give it a try, and don’t be surprised when people start requesting it by name. It happens. In my house, birthdays aren’t complete without this cake. My youngest actually calls it “the real chocolate cake” because apparently all other chocolate cakes are imposters.
Happy baking, and I hope this becomes your go-to chocolate cake too!
Chocolate Fudge Layer Cake
Rich, moist chocolate layer cake with decadent chocolate fudge frosting
Ingredients
Cake Layers
- 2 cups all-purpose flour
- 2 cups granulated sugar
- 3/4 cup unsweetened cocoa powder
- 2 tsp baking soda
- 1 tsp baking powder
- 1 tsp salt
- 2 large eggs, room temperature
- 1 cup whole milk
- 1/2 cup vegetable oil
- 2 tsp vanilla extract
- 1 cup hot coffee
Fudge Frosting
- 1 cup unsalted butter, softened
- 3/4 cup unsweetened cocoa powder
- 3 cups powdered sugar
- 1/3 cup whole milk
- 2 tsp vanilla extract
- 1/4 tsp salt
Instructions
- Prepare pans and preheat oven Preheat oven to 350°F. Grease two 9-inch round cake pans and line bottoms with parchment paper.
- Mix dry ingredients In stand mixer, combine flour, sugar, cocoa powder, baking soda, baking powder, and salt. Mix on low to combine.
- Add wet ingredients Add eggs, milk, oil, and vanilla. Beat on medium speed for 2 minutes until thick batter forms.
- Add hot coffee Reduce mixer to low speed and carefully add hot coffee. Batter will thin out considerably, this is normal.
- Bake the cakes Divide batter evenly between prepared pans. Bake for 30-35 minutes until toothpick comes out clean.
- Cool the cakes Cool in pans for 10 minutes, then turn out onto wire racks. Let cool completely before frosting.
- Make the frosting Beat softened butter until light and fluffy, about 2 minutes. Add cocoa powder and mix until combined.
- Finish the frosting Gradually add powdered sugar, alternating with milk. Add vanilla and salt. Beat on high for 3 minutes until smooth.
- Assemble the cake Place one cake layer on serving plate. Spread 1/3 of frosting on top. Add second layer and use remaining frosting to cover top and sides.
Pro Tips
Room temperature ingredients mix better for a smoother batter. If frosting gets too soft while working with it, refrigerate for 10 minutes. For cleaner slices, dip your knife in hot water and wipe dry between cuts. Store leftover cake in an airtight container at room temperature for up to 3 days, or refrigerate for up to a week. Cake layers freeze beautifully for up to 3 months when wrapped tightly in plastic wrap and foil.