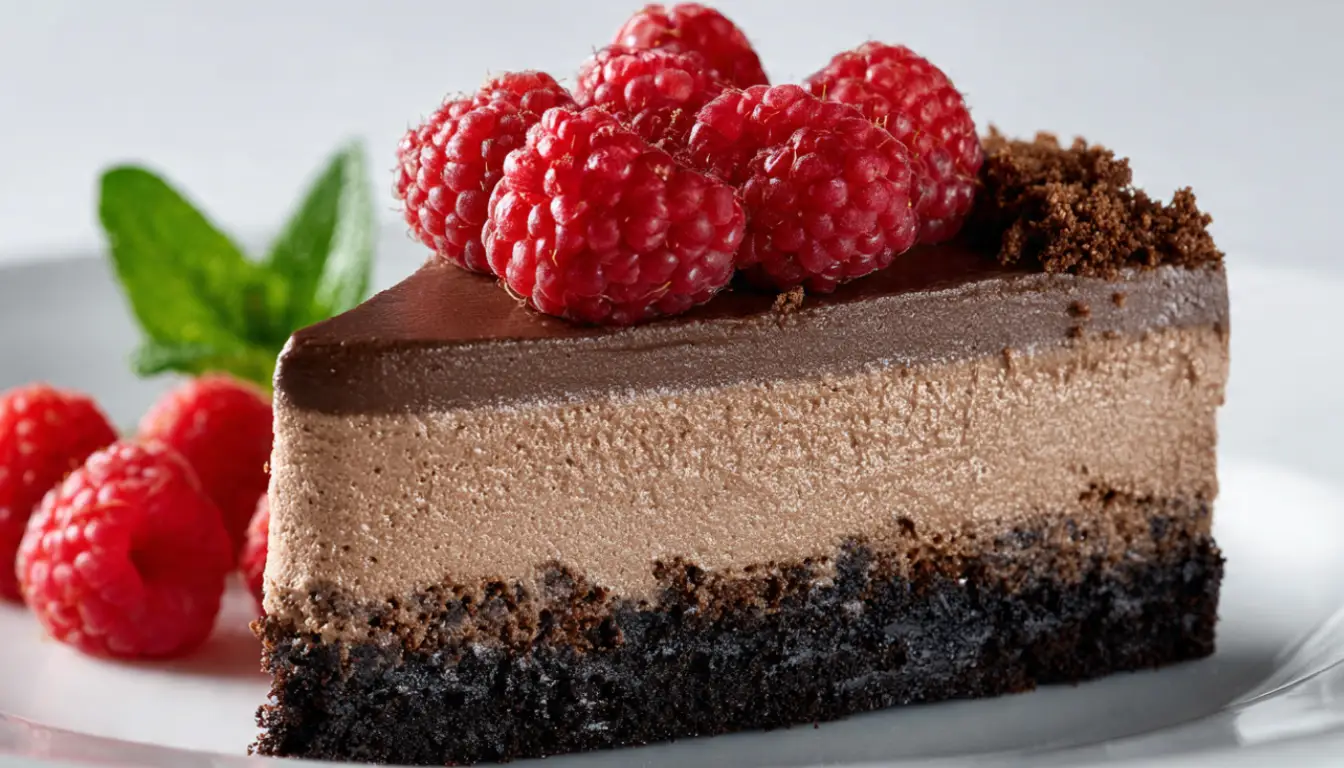
15-Minute Classic Chocolate Mousse Cake
You know those moments when you desperately need an impressive dessert but you’re running on zero time? I learned this lesson the hard way about five years ago when my sister called me three hours before her dinner party, panicking because her fancy bakery order fell through. I threw together this chocolate mousse cake in my tiny apartment kitchen, and honestly, it saved the day. Now it’s become my secret weapon for last-minute gatherings.
Here’s the thing about this recipe: it looks like you spent hours in the kitchen, but the actual hands-on time is ridiculously short. The magic happens in how you layer simple ingredients to create something that tastes like it came from a French patisserie. I’ve made this at least fifty times now, and I still get asked for the recipe every single time.
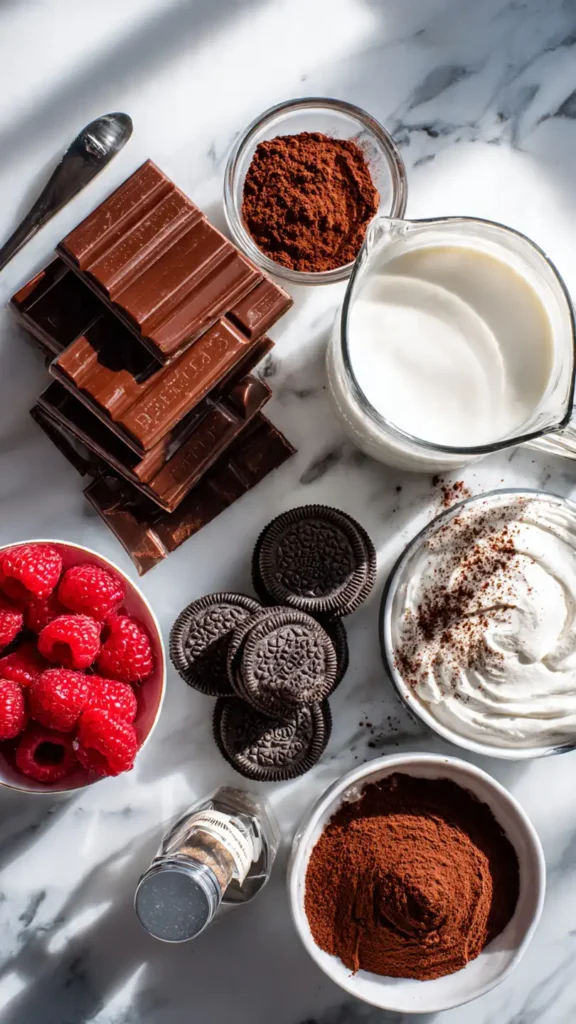
Essential Ingredients
For the Cake Base:
- 1 ½ cups chocolate sandwich cookies (about 15 cookies), crushed
- 3 tablespoons unsalted butter, melted
- 2 tablespoons granulated sugar
For the Chocolate Mousse:
- 8 ounces dark chocolate (60-70% cocoa), chopped
- 2 cups heavy whipping cream, divided
- 3 tablespoons powdered sugar
- 1 teaspoon vanilla extract
- Pinch of salt
For Garnish:
- Cocoa powder for dusting
- Fresh berries (optional)
- Chocolate shavings (optional)
Alternative Ingredients
Look, I get it. Sometimes you don’t have exactly what a recipe calls for, and I’m all about making things work with what you’ve got. If you can’t find chocolate sandwich cookies, graham crackers work perfectly fine, though you might want to add an extra tablespoon of sugar to the crust mixture. I’ve also used digestive biscuits when I was living in London for a summer, and they were fantastic.
For the chocolate, I typically stick with good quality dark chocolate because it gives you that deep, sophisticated flavor. But I’ve used semi-sweet chocolate chips in a pinch when I ran out of bar chocolate. Just avoid milk chocolate here because it’ll make the mousse too sweet and won’t set properly. Trust me on this one, I learned that lesson during my early cooking experiments.
If you’re dairy-free, you can substitute the heavy cream with full-fat coconut cream. Put the can in the fridge overnight and only use the thick cream that rises to the top. It won’t taste exactly the same, but it’s a pretty solid alternative that I’ve served to my lactose-intolerant friends multiple times.

Step-by-Step Directions
Prepare the Cookie Crust
First things first, you’ll want to crush those cookies. I used to do this by hand in a plastic bag with a rolling pin, which works fine if you’re going for a rustic texture. But honestly, after I got my food processor, this step became so much easier. Just pulse the cookies until they’re fine crumbs, then mix in the melted butter and sugar until everything looks like wet sand.
Press this mixture firmly into the bottom of a 9-inch springform pan. And I mean firmly. Use the bottom of a measuring cup or glass to really compact it down. This creates a sturdy base that won’t fall apart when you slice the cake later. Pop this in the freezer while you make the mousse. This takes about 10 minutes, so you’re already on track for that 15-minute timeline.
Make the Chocolate Mousse
Here’s where things get fun. Put your chopped chocolate in a heatproof bowl. Heat half a cup of the heavy cream in a small saucepan until it just starts to simmer (don’t let it boil), then pour it over the chocolate. Let it sit for about 30 seconds, then stir gently until the chocolate completely melts and the mixture is smooth and glossy. This is basically a ganache, and it should look absolutely gorgeous. Set this aside to cool slightly while you whip the cream.
In a separate bowl, combine the remaining 1 ½ cups of heavy cream, powdered sugar, vanilla, and that pinch of salt. If you have a stand mixer like my KitchenAid, this is where it really shines. Whip on medium-high speed until you get stiff peaks. This usually takes about 3-4 minutes. You’ll know it’s ready when the cream holds its shape and doesn’t slide around the bowl.
Now comes the crucial part. Take about a third of that whipped cream and fold it into your slightly cooled chocolate mixture. This lightens up the chocolate and makes it easier to incorporate the rest of the cream. Then gently fold in the remaining whipped cream, being careful not to deflate all those air bubbles you just created. Those bubbles are what make the mousse light and airy instead of dense and heavy.
Assemble and Chill
Pull your crust out of the freezer and pour the mousse over it. Use a spatula to spread it evenly and smooth the top. You can get fancy with swirls if you want, but a simple smooth top looks elegant too. Refrigerate for at least 4 hours, though overnight is even better if you have the time.
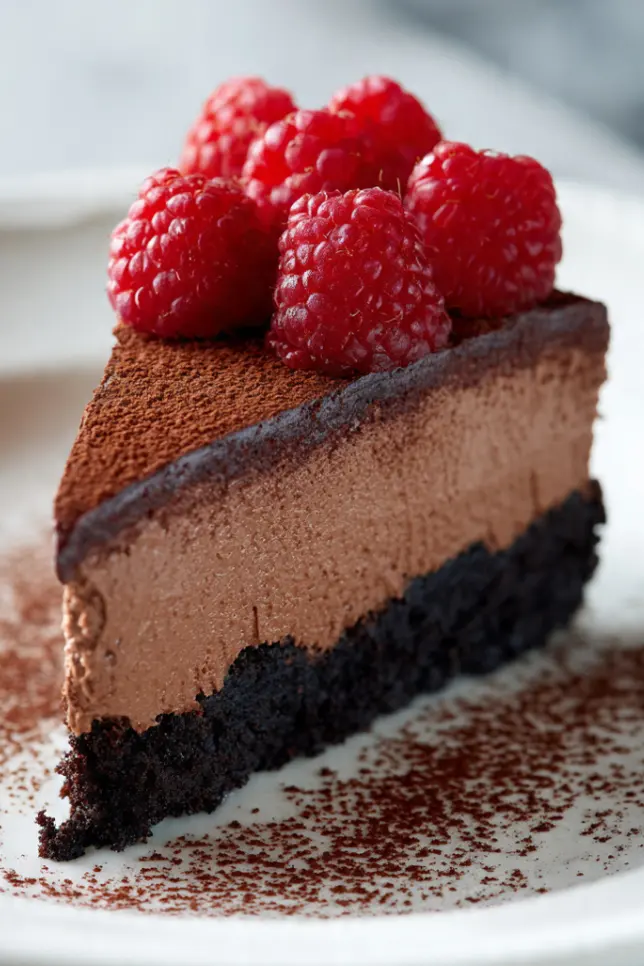
When you’re ready to serve, run a thin knife around the edge of the pan before releasing the springform. Dust the top generously with cocoa powder using a fine-mesh strainer. I like to add fresh raspberries or strawberries on top because the tartness cuts through the richness beautifully.
Pro Tips
After making this cake dozens of times, I’ve picked up a few tricks that make a real difference. First, make sure your heavy cream is really cold before whipping. I sometimes even chill my mixing bowl in the freezer for 10 minutes beforehand. Cold cream whips up faster and holds its shape better.
Don’t rush the chocolate cooling step. If your chocolate mixture is too warm when you add the whipped cream, it’ll deflate everything and you’ll end up with a denser mousse. I usually let it cool for about 5 minutes until it’s just barely warm to the touch.
When folding the whipped cream into the chocolate, use a gentle hand and a rubber spatula. Think of it like you’re trying to incorporate air, not beat it out. I do big swooping motions from the bottom of the bowl up and over. It takes a bit longer, but you’ll end up with a much lighter texture.
If you’re making this ahead (which I highly recommend), you can actually freeze it for up to a month. Just wrap it really well in plastic wrap and then foil. Thaw it in the fridge overnight before serving. I keep one in my freezer for emergency dessert situations.
For an extra special touch, I sometimes melt a bit of chocolate and drizzle it over the top in a decorative pattern. You can also pipe whipped cream rosettes around the edge using a piping bag, though that definitely pushes you past the 15-minute active time.
FAQs
Can I use milk chocolate instead of dark chocolate?
Milk chocolate is sweeter and softer, so the mousse may not set properly. Stick with dark chocolate for best results.
How long does chocolate mousse cake last?
You can store it in the fridge for up to 5 days if covered well.
Can I freeze this cake?
Yes. Freeze for up to one month and thaw in the fridge overnight.
Do I need a springform pan?
No, but it helps with clean slices. A lined regular pan works too.
Can I make mini mousse cakes?
Absolutely. Use cups or jars for easy individual servings.
Why You’ll Love This Recipe
This chocolate mousse cake has become my go-to dessert for so many reasons. The contrast between the crunchy cookie base and the silky smooth mousse is absolutely perfect. Every bite gives you that satisfying textural difference that makes desserts interesting.
What really sells this recipe is how forgiving it is. I’ve made it in humid weather, dry weather, at sea level, and at altitude, and it always turns out. The technique is straightforward enough that even beginner bakers can nail it, but it looks and tastes sophisticated enough to serve at fancy dinner parties.
It’s also incredibly rich, which means a small slice goes a long way. This is one of those desserts where people always say “just a small piece” and then they’re completely satisfied. That richness also means you can serve it with lightly sweetened whipped cream or fresh berries to balance things out.
What Makes This Recipe Unique
Unlike traditional mousse cakes that require separating eggs, tempering, and all sorts of finicky steps, this version simplifies everything down to its essence. The cookie crust provides structure without the need for baking, and the mousse itself relies on the stability of whipped cream rather than gelatin or egg whites.
I developed this approach after getting frustrated with complicated mousse recipes that required a culinary degree to execute properly. The key insight was realizing that really good chocolate and properly whipped cream are all you need for an incredible mousse. Everything else is just complications.
The quick assembly time is another game-changer. Most mousse cakes require you to make components separately, chill them individually, then assemble. This recipe streamlines all of that into one efficient process. You’re basically making a no-bake cheesecake technique but with chocolate mousse instead.
Key Features
Quick Assembly: Only 15 minutes of actual work before the chilling time. Perfect for busy schedules or last-minute dinner parties.
No-Bake Convenience: Everything comes together without turning on your oven, which is especially great during hot summer months or when your oven is occupied with other dishes.
Make-Ahead Friendly: This actually improves after sitting in the fridge overnight, making it ideal for meal planning or holiday prep. I usually make mine the night before I need it.
Customizable: You can easily adjust the sweetness level, add coffee or liqueur to the mousse, or experiment with different cookie bases. I’ve tried everything from gingersnaps to vanilla wafers.
Impressive Presentation: The finished cake looks like something from a high-end bakery, but the technique is surprisingly simple. Nobody needs to know how easy it actually was.
Budget-Friendly: Despite looking fancy, this uses everyday ingredients that won’t break the bank. A whole cake costs less than buying a few slices from a bakery.
You’ll Also Love
If this chocolate mousse cake hit the spot for you, I’ve got a few other desserts that follow the same quick and impressive philosophy. My Classic Tiramisu uses a similar no-bake approach and comes together just as quickly. The coffee and chocolate combination is absolutely divine.
For something a bit lighter but equally elegant, try my Lemon Posset recipe. It’s a traditional British dessert that requires only three ingredients and about 10 minutes of active time. The tangy lemon flavor is a nice contrast if you’ve been eating a lot of chocolate lately.
And if you’re specifically into chocolate desserts, my Chocolate Pots de Crème are another French classic that’s deceptively simple to make. They’re richer and more custard-like than this mousse cake, perfect for serving in small portions with a dollop of whipped cream.
Conclusion
I still remember the panic in my sister’s voice when she called about that dessert emergency. Now, five years later, this chocolate mousse cake has become a staple at family gatherings, and she actually requests it specifically for her birthday every year. It’s funny how the recipes that come out of stressful situations often end up being the most beloved ones.
The beauty of this dessert is that it never feels like a compromise, even though it’s quick and simple. Your guests will think you spent all afternoon in the kitchen, and you can just smile and accept the compliments. Sometimes the best recipes are the ones that give you maximum impact with minimal effort.
Give this a try for your next gathering, or honestly, just make it on a random Tuesday because you deserve something delicious. Store any leftovers in meal prep containers (those airtight ones work great for keeping the mousse fresh), and you’ll have an amazing dessert waiting for you all week. Let me know how it turns out for you. I’d love to hear if this becomes your emergency dessert recipe too.
15-Minute Classic Chocolate Mousse Cake
Quick and elegant chocolate mousse cake with a crunchy cookie crust and silky dark chocolate mousse. Ready in 15 minutes of prep, then chilled to perfection.
Ingredients
Cookie Crust Base
- 1 1/2 cups chocolate sandwich cookies, crushed (about 15 cookies)
- 3 tbsp unsalted butter, melted
- 2 tbsp granulated sugar
Chocolate Mousse
- 8 oz dark chocolate (60-70% cocoa), chopped
- 2 cups heavy whipping cream, divided
- 3 tbsp powdered sugar
- 1 tsp vanilla extract
- 1 pinch salt
For Garnish
- As needed cocoa powder for dusting
- Optional fresh berries (raspberries or strawberries)
- Optional chocolate shavings
Instructions
- Make the cookie crust Crush chocolate sandwich cookies into fine crumbs using a food processor or by placing them in a zip-top bag and crushing with a rolling pin. Mix the crumbs with melted butter and granulated sugar until the mixture resembles wet sand. Press firmly into the bottom of a 9-inch springform pan using the bottom of a measuring cup. Freeze for 10 minutes.
- Melt the chocolate Place chopped dark chocolate in a heatproof bowl. Heat 1/2 cup of the heavy cream in a small saucepan over medium heat until it just starts to simmer (don’t let it boil). Pour the hot cream over the chocolate and let it sit for 30 seconds. Stir gently until the chocolate is completely melted and the mixture is smooth and glossy. Set aside to cool slightly for about 5 minutes.
- Whip the cream In a separate large mixing bowl, combine the remaining 1 1/2 cups of heavy cream, powdered sugar, vanilla extract, and a pinch of salt. Using a stand mixer with whisk attachment or hand mixer, whip on medium-high speed until stiff peaks form, about 3-4 minutes. The cream should hold its shape when the whisk is lifted.
- Fold cream into chocolate Add about one-third of the whipped cream to the slightly cooled chocolate mixture. Gently fold together using a rubber spatula until combined. This lightens the chocolate and makes it easier to incorporate the rest of the cream. Carefully fold in the remaining whipped cream using gentle swooping motions from the bottom of the bowl up and over, being very careful not to deflate the airy mixture.
- Assemble and chill Remove the crust from the freezer and pour the chocolate mousse mixture over it. Use a spatula to spread the mousse evenly and smooth the top surface. You can create swirls for decoration or keep it smooth and elegant. Refrigerate for at least 4 hours or overnight until the mousse is completely firm and set.
- Serve Just before serving, run a thin knife around the inside edge of the springform pan to loosen the cake, then carefully release and remove the pan ring. Dust the top generously with cocoa powder using a fine-mesh strainer for an even coating. Add fresh berries and chocolate shavings if desired. Slice with a sharp knife, wiping it clean between cuts for neat slices. Serve chilled.
Pro Tips
Crust: Press the cookie crust very firmly to prevent it from crumbling when sliced. Use the bottom of a flat measuring cup for even compression.
Chocolate: Make sure your melted chocolate mixture cools to just barely warm before adding whipped cream, otherwise it will deflate the mousse. Test by touching the outside of the bowl.
Whipping: Chill your mixing bowl and cream for best results. Cold cream whips faster and holds peaks better.
Folding: Use gentle, sweeping motions when folding whipped cream into chocolate. The goal is to keep as much air as possible for a light, airy mousse.
Storage: Cover tightly and refrigerate for up to 5 days. You can also freeze the whole cake for up to 1 month; thaw overnight in the refrigerator before serving.
Serving: Let the cake sit at room temperature for 5-10 minutes before slicing for easier cutting and better flavor.