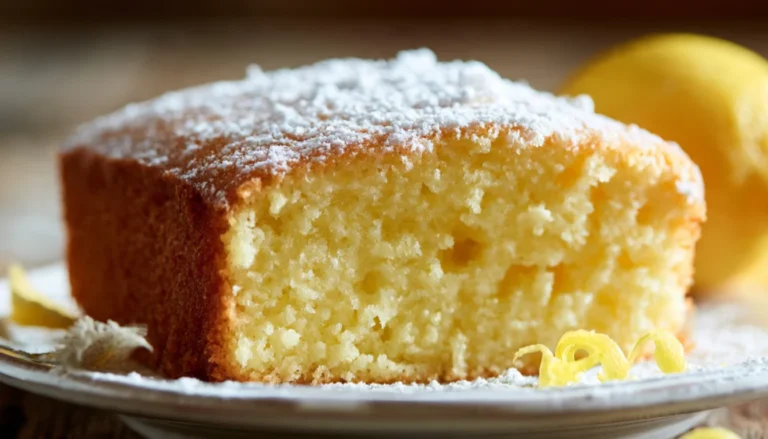
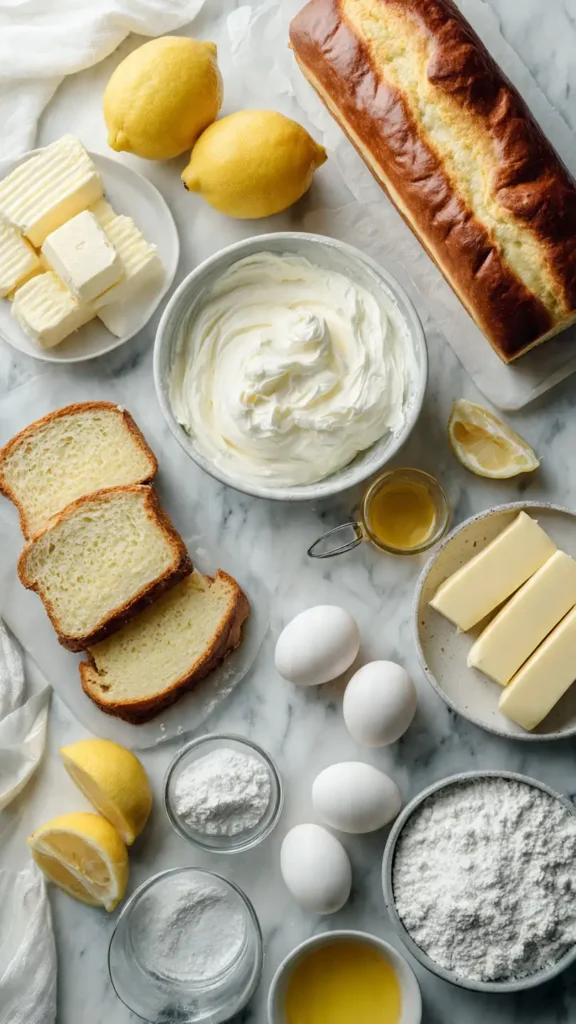
Danish Cheesecake with Hawaiian Sweet Bread
When I first tried making a traditional Danish cheesecake, I’ll be honest, I was a little intimidated. The whole process felt fancy and complicated. But here’s what I discovered after years of testing different methods in my kitchen: if you swap in Hawaiian sweet bread for the base, you get something absolutely incredible. The slight sweetness from the bread balances perfectly with the tangy cream cheese filling, and it cuts your prep time almost in half.
I stumbled on this combination completely by accident. I was planning to make a classic cheesecake for a family gathering, but I’d run out of graham crackers. My daughter had just brought home a loaf of Hawaiian sweet bread from the bakery, and I thought, why not? That improvised dessert became the most requested recipe at every potluck since then.
Essential Ingredients
For the Hawaiian Bread Base:
- 8 slices Hawaiian sweet bread, cubed
- 4 tablespoons unsalted butter, melted
- 2 tablespoons granulated sugar
- 1 teaspoon vanilla extract
For the Danish Cream Cheese Filling:
- 24 oz cream cheese, softened to room temperature
- 1 cup granulated sugar
- 3 large eggs
- 1/2 cup sour cream
- 1/4 cup heavy cream
- 2 teaspoons vanilla extract
- 1 tablespoon lemon juice
- Zest of 1 lemon
For the Topping:
- 1 cup sour cream
- 3 tablespoons granulated sugar
- 1 teaspoon vanilla extract
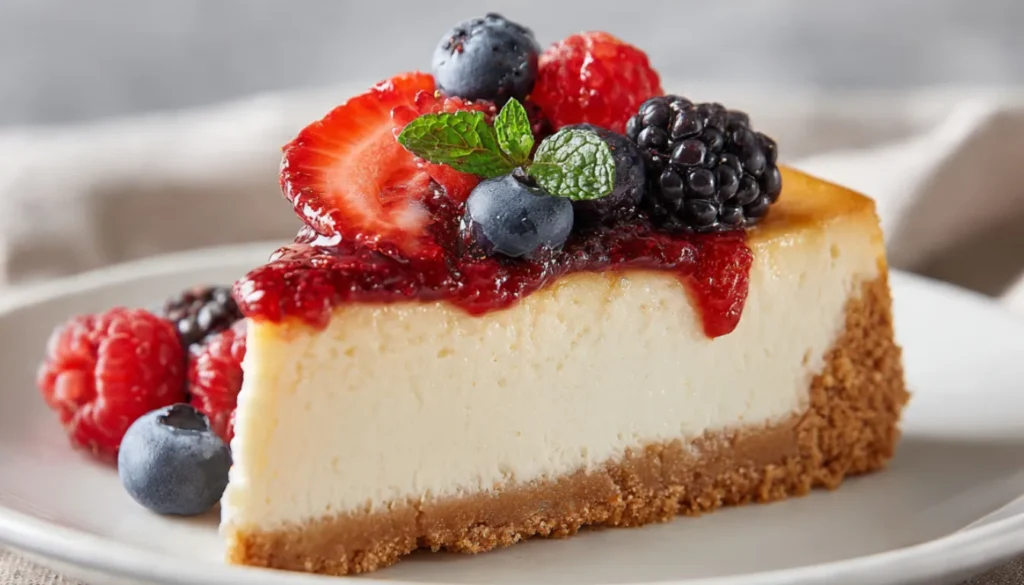
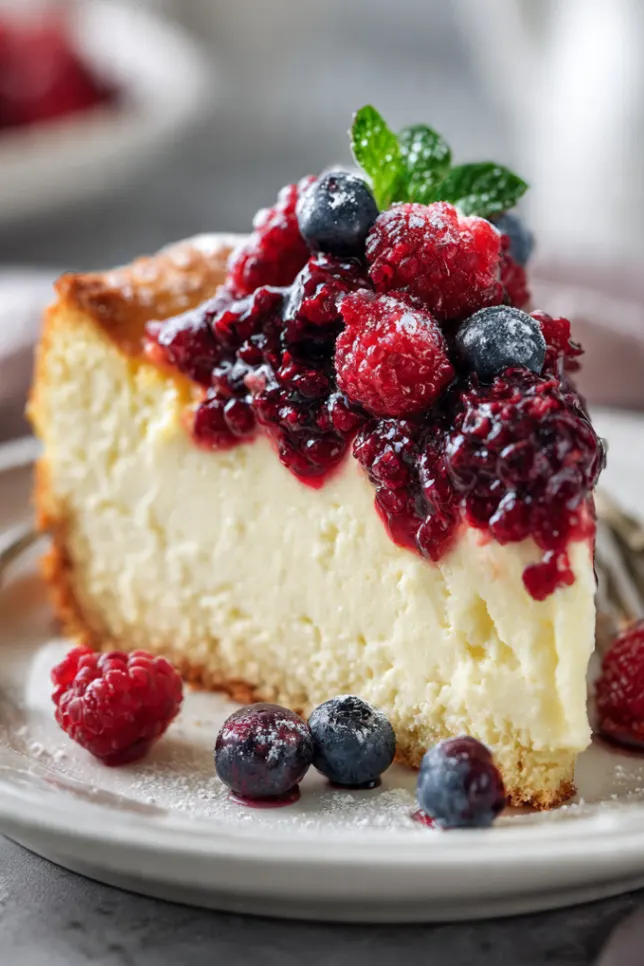
- Fresh berries for garnish (optional)
Alternative Ingredients
If you can’t find Hawaiian sweet bread at your local bakery, Portuguese sweet bread works beautifully as a substitute. I’ve also used challah in a pinch, though it’s slightly less sweet. For a budget-friendly option, regular white bread cubes tossed with an extra tablespoon of sugar will get you close to the same effect.
Don’t have a springform pan? You can absolutely use a regular 9×13 inch baking dish. The presentation won’t be quite as elegant, but the taste is identical. I actually prefer the rectangular pan when I’m bringing this to gatherings because it’s easier to transport in my meal prep containers.
If you’re watching calories, you can use reduced-fat cream cheese, though I’ll warn you that the texture becomes slightly less creamy. I tried making this with Greek yogurt instead of sour cream once, and while it tasted good, it lost that classic Danish tang that makes this dessert special.
Step-by-Step Directions
Preparing the Bread Base
Start by preheating your oven to 325°F. I learned the hard way that cheesecakes don’t like high heat. My first attempt at 350°F resulted in a cracked top and an overcooked edge.
Cube your Hawaiian sweet bread into roughly 1-inch pieces. You want them small enough to create a compact base but large enough to still have some texture. Toss the bread cubes with melted butter, sugar, and vanilla in a large mixing bowl. I use my hands for this step because it helps distribute the butter more evenly than a spoon ever could.
Press the bread mixture into the bottom of a greased 9-inch springform pan. Really pack it down with the back of a measuring cup or your hands. This creates a sturdy foundation that won’t fall apart when you slice the cheesecake later. Bake this base for about 10 minutes, just until it starts to turn golden. Let it cool while you make the filling.
Making the Cream Cheese Filling
Here’s where having a good stand mixer really helps, though I made this with a hand mixer for years before I got my KitchenAid. Beat the softened cream cheese on medium speed for about 2 to 3 minutes until it’s completely smooth and fluffy. Any lumps at this stage will stay lumps in your final cheesecake, so don’t rush this step.
Add the sugar gradually and beat for another 2 minutes. The mixture should look lighter in color and noticeably airier. This is when I usually scrape down the sides of the bowl because cream cheese loves to hide up there.
Add eggs one at a time, beating just until each one is incorporated. Overmixing after adding eggs can create too much air, which leads to cracks. I used to think more mixing was better, but trust me, less is more here.
Stir in the sour cream, heavy cream, vanilla, lemon juice, and lemon zest on low speed. Mix just until everything is combined and the batter looks smooth. Pour this gorgeous filling over your cooled bread base.
Baking and Cooling
Place your springform pan on a baking sheet (this catches any butter that might leak) and bake at 325°F for 50 to 60 minutes. You’re looking for the edges to be set but the center should still have a slight jiggle when you gently shake the pan. It should look like barely-set Jell-O in the middle.
Turn off the oven but leave the cheesecake inside with the door cracked open for one hour. This gradual cooling prevents those annoying cracks that make your dessert look homemade in the worst way. After an hour, remove it from the oven and let it cool completely on your counter.
Adding the Topping
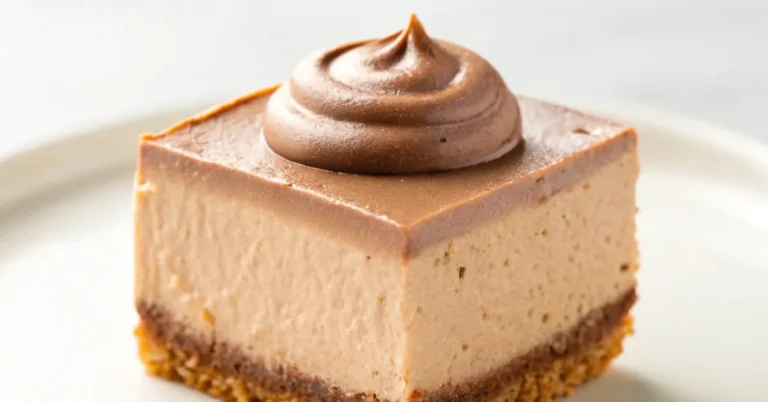
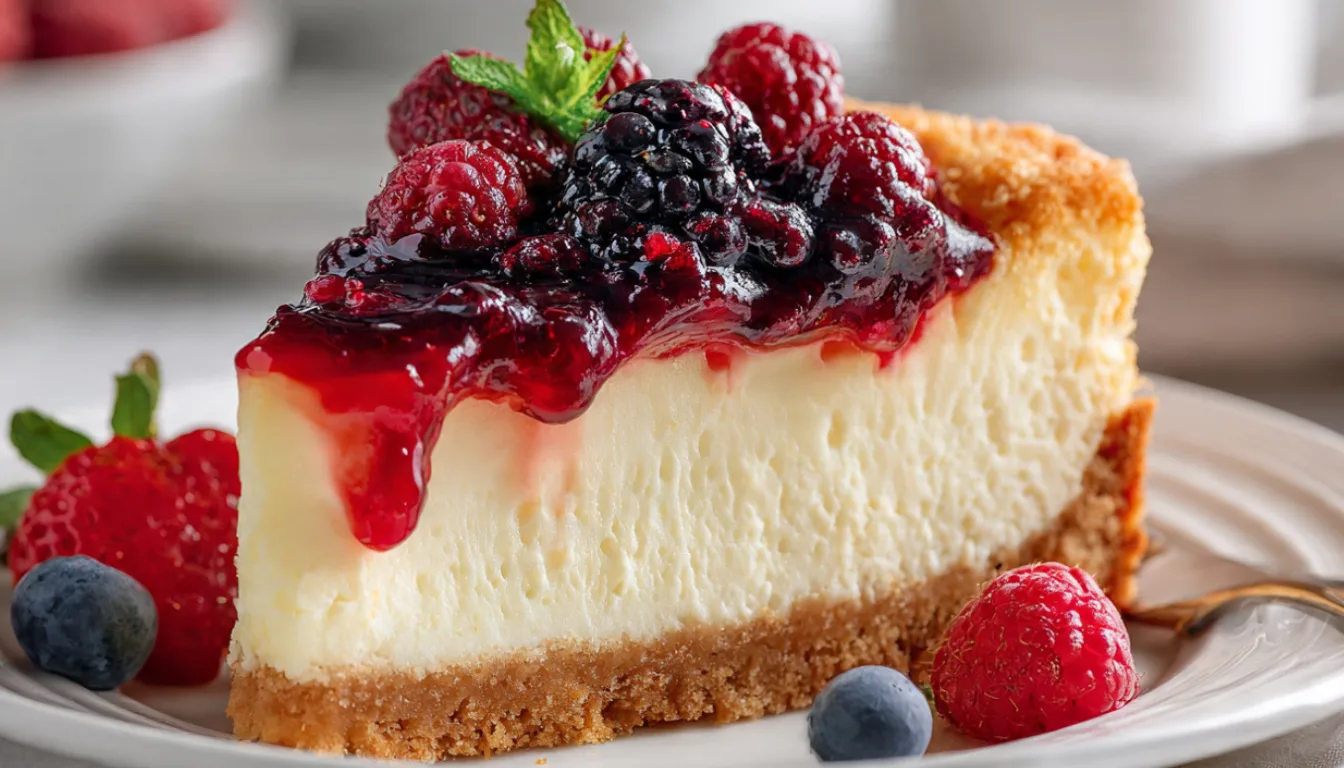
While the cheesecake cools, whisk together the sour cream, sugar, and vanilla for the topping. Once your cheesecake reaches room temperature, spread this mixture evenly over the top. It adds a beautiful glossy finish and an extra layer of tangy sweetness.
Refrigerate for at least 4 hours, though overnight is even better. I know it’s hard to wait, but this chilling time allows all the flavors to meld together and the texture to become perfectly creamy.
Pro Tips
The biggest mistake I see people make is trying to slice this cheesecake straight from the fridge. Let it sit at room temperature for about 15 minutes before cutting. For clean slices, dip your knife in hot water, wipe it dry, and make one smooth cut. Repeat this process for each slice.
If you notice cracks forming during baking (it happens), don’t panic. The sour cream topping covers them completely. I actually stopped worrying about cracks years ago because nobody sees them anyway.
Store leftover slices in an airtight container or wrapped tightly in plastic wrap. This cheesecake stays fresh in the refrigerator for up to 5 days. You can also freeze individual slices wrapped in plastic wrap and then aluminum foil for up to 2 months. Just thaw them overnight in the fridge before serving.
For an extra touch, I like to serve this with a simple berry compote. Just simmer fresh or frozen berries with a bit of sugar until they break down. It adds a nice tartness that balances the richness.
Frequently Asked Questions
Can I use regular bread instead of Hawaiian sweet bread?
Yes, but you will need to add extra sugar. Hawaiian bread gives the best flavor and texture.
Why did my cheesecake crack?
Cracks usually come from overbaking or rapid cooling. Let it cool slowly in the oven.
Can I freeze this cheesecake?
Yes. Wrap it well and freeze up to 3 months. Thaw overnight in the refrigerator.
Do I need a springform pan?
No. A lined cake pan or baking dish works just fine.
How do I know when cheesecake is done?
The center should still jiggle slightly while the edges are fully set.
Why You’ll Love This Recipe
This isn’t your typical dense, heavy cheesecake. The Hawaiian sweet bread base gives it a lighter, almost cake-like quality that people absolutely love. I’ve served this at dinner parties where guests went back for seconds even after claiming they were too full for dessert.
The prep is genuinely simple. You don’t need to mess with crushing graham crackers or melting chocolate. Just cube some bread, mix your filling, and bake. My teenage daughter makes this on her own now, which tells you how foolproof it is.
The flavor combination is what really sets this apart. You get the classic tangy Danish cheesecake taste, but the Hawaiian bread adds subtle tropical notes that make every bite interesting. It’s familiar enough to feel comforting but different enough to stand out.
What Makes This Recipe Unique
Traditional Danish cheesecakes use a pastry crust or sometimes a thin sponge cake layer. By using Hawaiian sweet bread, you get the best of both worlds. The bread soaks up just enough of the butter and cheesecake filling to become almost custard-like on the bottom, while the top stays slightly fluffy and sweet.
I’ve never seen another recipe combine these two elements. It came from necessity (my empty pantry) but turned into something I now make intentionally. The Hawaiian bread brings its own subtle sweetness and soft texture that you just can’t replicate with crackers or pastry.
This recipe is also more forgiving than traditional cheesecakes. The bread base is nearly impossible to mess up, unlike a graham cracker crust that can become soggy or too hard. Even if your filling isn’t perfectly smooth, the overall texture of the dessert still works.
Key Features
One of my favorite things about this recipe is how well it travels. I pack slices in my glass meal prep containers for potlucks and they arrive looking perfect. The bread base holds together better than a traditional crust, so you don’t end up with crumbs all over your car.
The ingredient list looks long, but most of it is pantry staples you probably already have. Cream cheese, eggs, sugar, and sour cream are things I always keep on hand. The only special purchase is the Hawaiian sweet bread, which you can find in most grocery store bakeries.
This dessert works for so many occasions. I’ve made it for Easter brunch, brought it to summer barbecues, and served it at Christmas dinner. The light, creamy texture works year-round, and you can top it with seasonal fruits to match any holiday.
Leftover slices are fantastic for meal planning. I’ll sometimes make this on Sunday and portion out slices for the week. It’s a satisfying dessert that feels special even when you’re eating it straight from your food storage container at your desk on a Wednesday afternoon.
You’ll Also Love
If you enjoyed this Danish-inspired dessert, try my Classic New York Cheesecake for a denser, richer version. The technique is similar, but the texture is completely different.
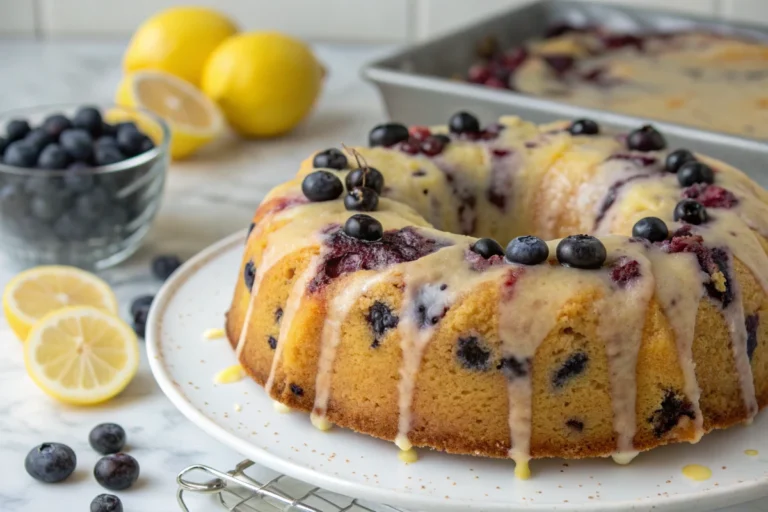
My Lemon Blueberry Cheesecake Bars use a similar concept but in portable bar form. They’re perfect for picnics and packed lunches.
For another Hawaiian bread creation, check out my Hawaiian Sweet Bread French Toast Casserole. It uses the same bread but in a completely different way for breakfast.
Conclusion
This Danish Cheesecake with Hawaiian Sweet Bread has become one of those recipes I make without even looking at the instructions anymore. It’s part of my regular rotation because it’s reliable, delicious, and always gets compliments.
The beauty of this recipe is how it takes two simple ideas (Danish cheesecake and Hawaiian sweet bread) and creates something that feels both classic and innovative. You don’t need any fancy equipment beyond a basic mixer and a springform pan, though even that’s optional if you have a regular cake pan and some parchment paper.
Whether you’re making this for a special occasion or just because you’re craving something sweet and creamy, I think you’ll find it becomes one of those recipes you return to again and again. The next time someone asks me to bring dessert, this is always my first choice.
Give it a try this weekend. Let me know how it turns out for you. And if you come up with any creative topping variations, I’d love to hear about them in the comments below. Happy baking!
Danish Cheesecake with Hawaiian Sweet Bread
Creamy Danish-style cheesecake with sweet Hawaiian bread base, topped with glossy sour cream and fresh berries
Ingredients
Hawaiian Bread Base
- 8 slices Hawaiian sweet bread, cubed
- 4 tbsp unsalted butter, melted
- 2 tbsp granulated sugar
- 1 tsp vanilla extract
Danish Cream Cheese Filling
- 24 oz cream cheese, softened
- 1 cup granulated sugar
- 3 large eggs
- 1/2 cup sour cream
- 1/4 cup heavy cream
- 2 tsp vanilla extract
- 1 tbsp lemon juice
- 1 lemon, zested
Sour Cream Topping
- 1 cup sour cream
- 3 tbsp granulated sugar
- 1 tsp vanilla extract
- As needed fresh berries for garnish
Instructions
- Prepare oven and bread base Preheat oven to 325°F. Cube Hawaiian sweet bread into 1-inch pieces. Toss with melted butter, 2 tablespoons sugar, and 1 teaspoon vanilla. Press into bottom of greased 9-inch springform pan. Bake for 10 minutes until golden. Cool completely.
- Make cream cheese filling Beat softened cream cheese on medium speed for 2-3 minutes until smooth and fluffy. Add 1 cup sugar gradually and beat for 2 more minutes until lighter in color.
- Add eggs and flavorings Add eggs one at a time, beating just until incorporated after each. On low speed, mix in 1/2 cup sour cream, heavy cream, 2 teaspoons vanilla, lemon juice, and lemon zest until just combined.
- Bake the cheesecake Pour filling over cooled bread base. Place springform pan on baking sheet. Bake at 325°F for 50-60 minutes until edges are set but center still jiggles slightly. Turn off oven, crack door open, and leave cheesecake inside for 1 hour.
- Cool completely Remove from oven and cool completely at room temperature on counter.
- Add sour cream topping Whisk together 1 cup sour cream, 3 tablespoons sugar, and 1 teaspoon vanilla. Spread evenly over cooled cheesecake.
- Chill and serve Refrigerate for at least 4 hours or overnight. Before serving, let sit at room temperature for 15 minutes. Garnish with fresh berries. For clean slices, dip knife in hot water and wipe dry between cuts.
Notes
For best results, use full-fat cream cheese and sour cream. Make sure all dairy ingredients are at room temperature before mixing to prevent lumps. Store leftover slices in airtight containers or wrapped tightly in plastic wrap for up to 5 days in the refrigerator. Can be frozen for up to 2 months; thaw overnight in refrigerator before serving.