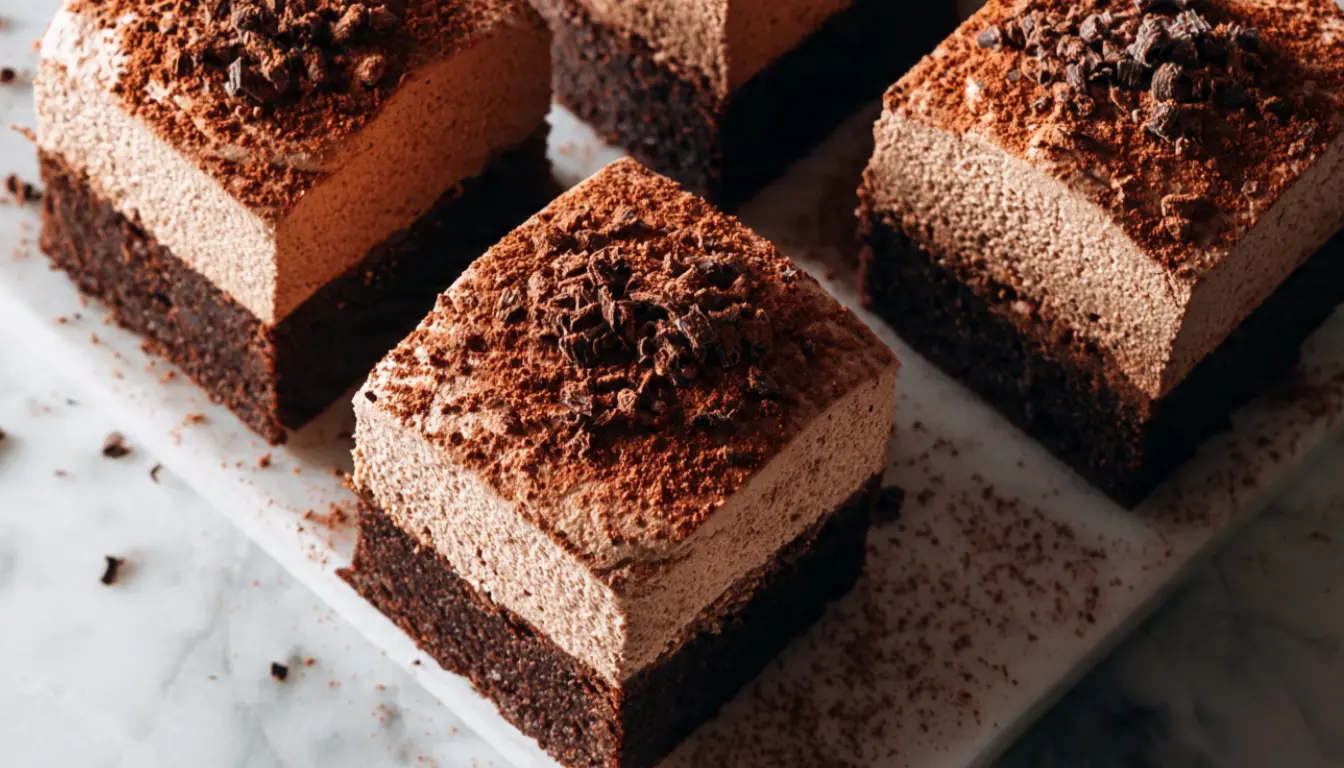
Chocolate Mousse Brownie Squares: The Most Indulgent Dessert You’ll Ever Make at Home
I still remember the first time I made these. It was a rainy Sunday, I had a block of good dark chocolate sitting on my counter, and I couldn’t decide if I wanted brownies or mousse. So I made both. Together. And honestly, that was one of the best kitchen decisions I’ve made in ten years of baking.
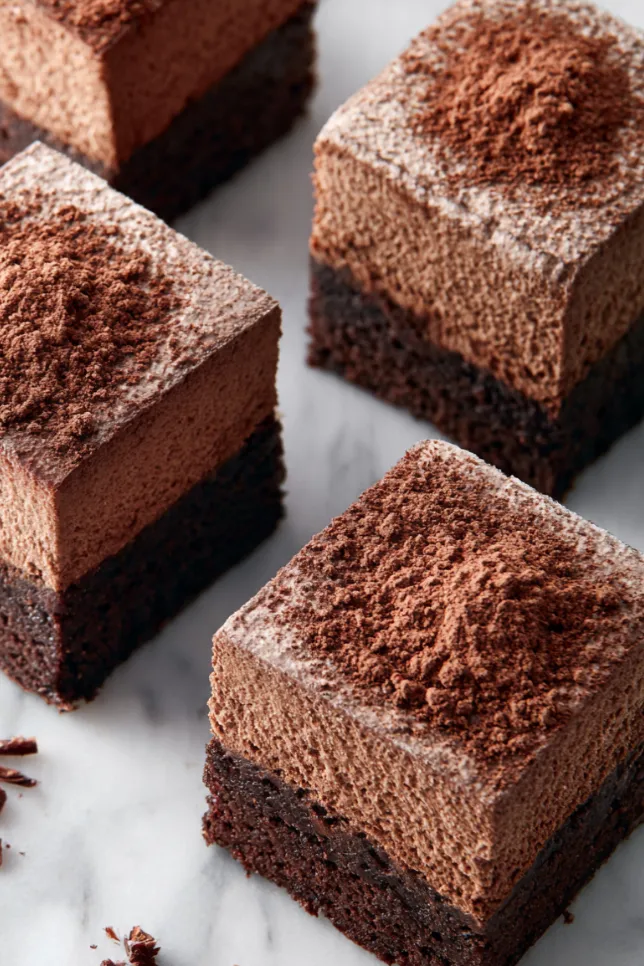
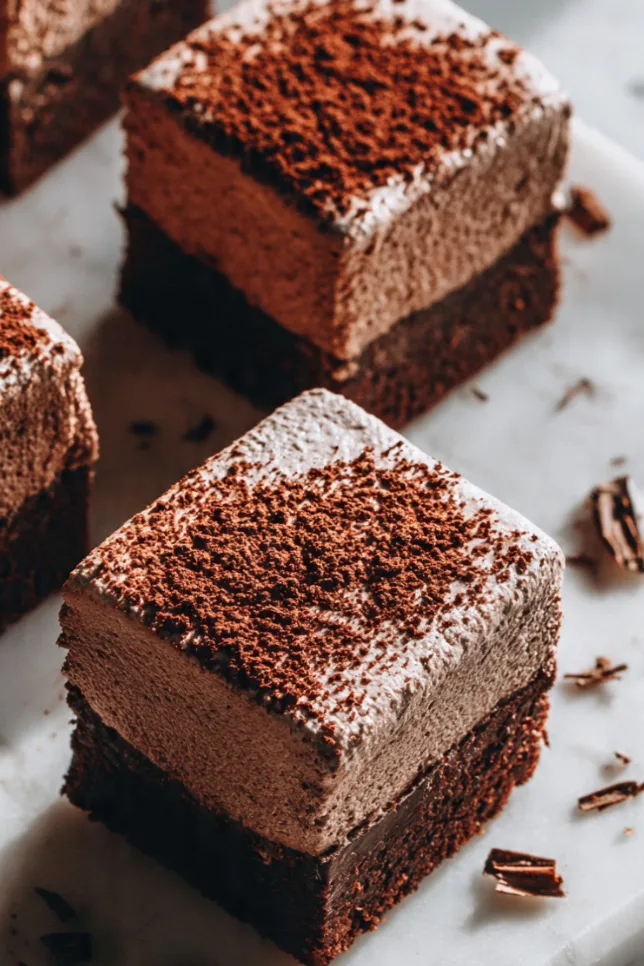
Chocolate Mousse Brownie Squares are exactly what they sound like: a dense, fudgy brownie base topped with a thick layer of airy chocolate mousse, chilled until the two layers set into this beautiful, two-tone dessert that looks like it came from a bakery. But here’s the thing, it’s genuinely not that hard to pull off at home. You just need a little patience and the right approach.
I’ve made this recipe for dinner parties, birthdays, and more than a few times just for myself on a weeknight when I needed something comforting. Every single time, people ask me if I bought it somewhere. That never gets old.
Why You’ll Love This Recipe
Two desserts in one. That alone should be enough, but there’s more. The brownie base stays fudgy even after chilling, which takes some technique to get right (I’ll walk you through it). The mousse layer is light and creamy without being too sweet, so the whole thing feels balanced. You can make it a day ahead, which is a huge win when you’re planning for guests. And it stores beautifully in an airtight glass food storage container in the fridge for up to four days.
It’s also naturally customizable. Want it richer? Use a higher cocoa percentage chocolate. Want it lighter? Fold whipped cream more gently into the mousse. Your mileage may vary depending on your chocolate brand, and I’ll mention a few I actually use below.
What Makes This Recipe Unique
Most brownie mousse recipes I’ve seen online either have a cakey brownie base (too dry once chilled) or a mousse that doesn’t set properly and slides off when you cut it. After testing this probably eight or nine times, I figured out two things that fix both problems.
First, underbake the brownies slightly. Pull them out when the center still looks a little underdone. They firm up as they cool, and that slight underbaking keeps them fudgy enough to contrast with the mousse without being gummy.
Second, use a gelatin-set mousse instead of a pure whipped cream mousse. Just a small amount of gelatin gives the mousse enough structure to slice cleanly. If you’re vegetarian, agar agar works fine as a substitute.
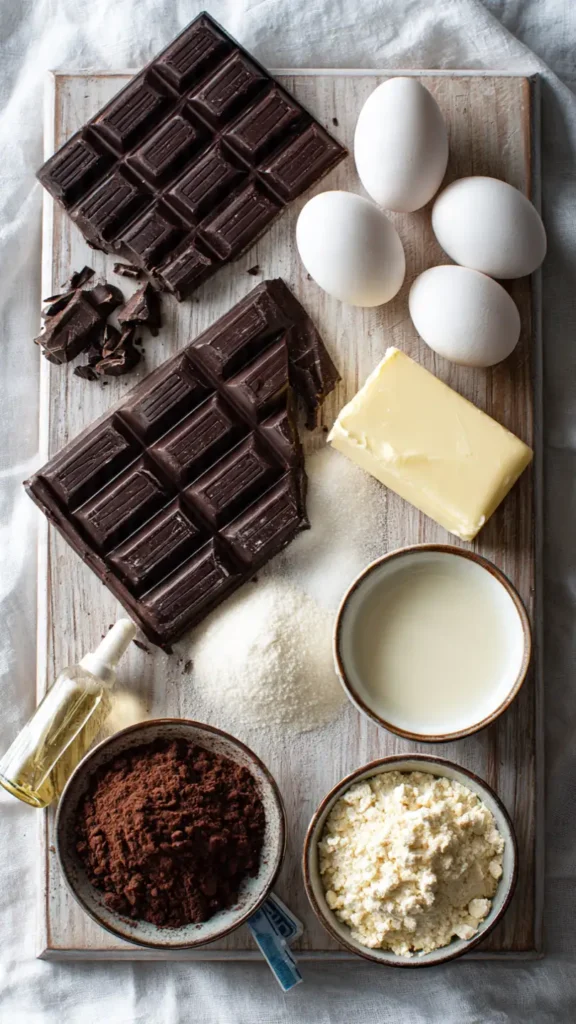
Essential Ingredients
For the Brownie Base:
- 200g (7 oz) dark chocolate, 70% cocoa or higher
- 115g (1/2 cup) unsalted butter
- 200g (1 cup) granulated sugar
- 3 large eggs
- 1 teaspoon pure vanilla extract
- 80g (2/3 cup) all-purpose flour
- 25g (1/4 cup) unsweetened cocoa powder
- 1/2 teaspoon fine sea salt
For the Chocolate Mousse Layer:
- 180g (6 oz) good quality dark chocolate
- 1 teaspoon unflavored gelatin powder
- 2 tablespoons cold water
- 3 large egg yolks
- 3 tablespoons granulated sugar
- 480ml (2 cups) heavy whipping cream, cold
- 1 teaspoon vanilla extract
- Pinch of salt
Alternative Ingredients
I use Valrhona or Ghirardelli dark chocolate because the flavor really does make a difference in both layers. That said, any good quality 60-70% dark chocolate bar works. Avoid chocolate chips for the mousse since they contain stabilizers that affect how the mousse sets.
For dairy-free, coconut cream (full fat, chilled overnight) works surprisingly well in place of heavy cream for the mousse. The flavor is slightly different but still delicious. Use vegan butter and dairy-free dark chocolate for the brownie base.
No gelatin? A small amount of cream cheese (about 60g) beaten into the chocolate mixture before folding in the cream gives similar structure, though the texture is slightly denser.
Step-by-Step Directions
Making the Brownie Base
Preheat your oven to 175°C (350°F). Line a 9×9 inch baking pan with parchment paper, leaving some overhang so you can lift the whole thing out later. Lightly grease the sides.
Melt the chocolate and butter together. I do this in a heatproof bowl set over a saucepan of barely simmering water (a double boiler setup). You can also use the microwave in 30-second bursts, stirring between each. Once melted and smooth, let it cool for about five minutes.
Whisk the sugar into the chocolate mixture, then add the eggs one at a time, whisking well after each. Add the vanilla. At this point the batter should look glossy and smooth.
Sift in the flour, cocoa powder, and salt. Use a rubber spatula to fold everything together. Don’t overmix. As soon as you can’t see dry flour, stop.
Pour into your prepared pan and bake for 22 to 25 minutes. The edges should look set and the center should still look slightly underdone when you check it. A toothpick inserted at the center should come out with moist crumbs, not clean. Let it cool completely in the pan. This is important. Don’t rush it.
Making the Chocolate Mousse
Bloom the gelatin by sprinkling it over the cold water in a small bowl. Let it sit for five minutes. It will look thick and gel-like.
Melt the chocolate gently using your double boiler or microwave method. Let it cool to room temperature, but don’t let it harden.
In a small saucepan, whisk the egg yolks and sugar over low heat for about three to four minutes until slightly thickened and pale. Remove from heat and stir in the bloomed gelatin until it dissolves completely. Stir this mixture into the melted chocolate along with the vanilla and salt. Let it cool to room temperature.
Using a stand mixer fitted with the whisk attachment (or a hand mixer, both work fine) beat the cold heavy cream to soft peaks. Don’t overwhip.
Fold about one third of the whipped cream into the chocolate mixture to lighten it up. Then gently fold in the remaining cream in two additions. Work slowly here. You want to keep as much air in the mousse as possible.
Assembling
Pour the mousse over the completely cooled brownie base in the pan. Smooth the top with an offset spatula. Cover with plastic wrap and refrigerate for at least two hours, or overnight.
When ready to serve, lift the whole slab out using the parchment paper overhang. Set it on a cutting board and slice with a sharp knife, wiping the blade clean between cuts for the cleanest squares.
Pro Tips
Use a kitchen scale for both layers. Cup measurements for chocolate baking are imprecise and it shows in the final texture.
The mousse needs to go onto a fully cooled brownie. If the base is even slightly warm, the mousse will melt and you’ll lose those clean layers.
For clean cuts, run your knife under hot water, dry it, then cut. Repeat between slices. It sounds fussy but the result is worth it.
A 9×13 inch pan works if you want thinner squares. Just reduce brownie baking time by about three minutes and watch the edges.
I store finished squares in a glass airtight container in the fridge. They taste best within three days but genuinely hold up to four.
Key Features
Fudgy brownie base with glossy finish. Airy, structured chocolate mousse that slices cleanly. Two-layer presentation that looks professional. Make-ahead friendly. Freezer-safe for up to one month (wrap individual squares tightly).
Tools That Make This Easier
A stand mixer makes the whipped cream foolproof, but a hand mixer works just as well. The real non-negotiable is a digital kitchen scale. For storage, a glass food storage container with a tight-fitting lid keeps these fresh without absorbing fridge odors. If you bake regularly, a kitchen thermometer is worth having to check the custard temperature in the mousse base.
Mistakes I Used to Make
For the first few times I made this, I used chocolate chips in the mousse. The chips have added stabilizers and sometimes a waxy coating that makes the chocolate seize when melted into the cream. Once I switched to a quality chocolate bar, the mousse came out silky every time.
I also used to chill the mousse layer for only an hour. It looked set, but when I cut into it the mousse would shift. Two hours minimum, overnight is even better.
FAQs
Can I make Chocolate Mousse Brownie Squares ahead of time?
Yes. These brownie squares are actually better after chilling overnight because the mousse firms up and the flavors deepen.
Can I freeze Chocolate Mousse Brownie Squares?
Absolutely. Wrap individual squares tightly and freeze for up to one month. Thaw overnight in the refrigerator before serving.
Why is my chocolate mousse lumpy?
This usually happens when the chocolate mixture is too warm or too cold while folding in the whipped cream. Let the chocolate cool fully to room temperature first.
Can I use milk chocolate instead of dark chocolate?
Yes, but milk chocolate creates a sweeter and softer mousse. Reduce the sugar slightly and increase the gelatin a bit for better structure.
How do I get perfectly clean brownie slices?
Use a sharp knife dipped in hot water and wipe the blade clean between every slice for bakery-style squares.
You’ll Also Love
- Classic Fudgy Brownies with Sea Salt
- No-Bake Dark Chocolate Cheesecake
- Chocolate Lava Cakes for Two
- Dark Chocolate Tart with Shortbread Crust
- Chocolate Espresso Mousse Cups
Conclusion
This is one of those recipes that feels like a project the first time and becomes second nature by the third. The brownie base is forgiving and the mousse, once you understand the gelatin trick, comes together fast.
If you make these, I’d love to know how they turned out for you. Leave a comment below with any questions or variations you tried. And if you’re someone who loves having great kitchen tools on hand, a digital scale and a reliable stand mixer genuinely make this kind of baking so much less stressful.
Happy baking.
Linda beesrecipes.com
Chocolate Mousse Brownie Squares
Ultra fudgy brownies layered with rich, airy chocolate mousse for a decadent bakery-style dessert that looks impressive but is surprisingly easy to make at home.
Ingredients
For the Brownie Base
- 200g dark chocolate
- 115g unsalted butter
- 200g granulated sugar
- 3 large eggs
- 1 tsp vanilla extract
- 80g all-purpose flour
- 25g unsweetened cocoa powder
- 1/2 tsp fine sea salt
For the Chocolate Mousse
- 180g dark chocolate
- 1 tsp gelatin powder
- 2 tbsp cold water
- 3 large egg yolks
- 3 tbsp granulated sugar
- 480ml heavy whipping cream
- 1 tsp vanilla extract
- 1 pinch salt
Instructions
- Prepare the pan Preheat oven to 350°F and line a 9×9-inch baking pan with parchment paper.
- Melt chocolate and butter Melt the chocolate and butter together until smooth, then cool slightly.
- Mix brownie batter Whisk in sugar, then eggs one at a time. Add vanilla extract.
- Add dry ingredients Fold in flour, cocoa powder, and salt until just combined.
- Bake brownies Bake 22 to 25 minutes until edges are set but center remains slightly fudgy. Cool completely.
- Bloom gelatin Sprinkle gelatin over cold water and let sit for 5 minutes.
- Make mousse base Heat egg yolks and sugar gently until pale and slightly thickened. Stir in gelatin and melted chocolate.
- Whip cream Beat cold heavy cream to soft peaks using a mixer.
- Fold mousse Fold whipped cream gently into the chocolate mixture until airy and smooth.
- Chill and slice Spread mousse over cooled brownies and refrigerate at least 2 hours before slicing cleanly.
Notes
Use high-quality chocolate bars instead of chocolate chips for the smoothest mousse texture. For perfectly clean slices, run a sharp knife under hot water and wipe it dry between cuts. Store leftovers in an airtight container in the refrigerator for up to 4 days.