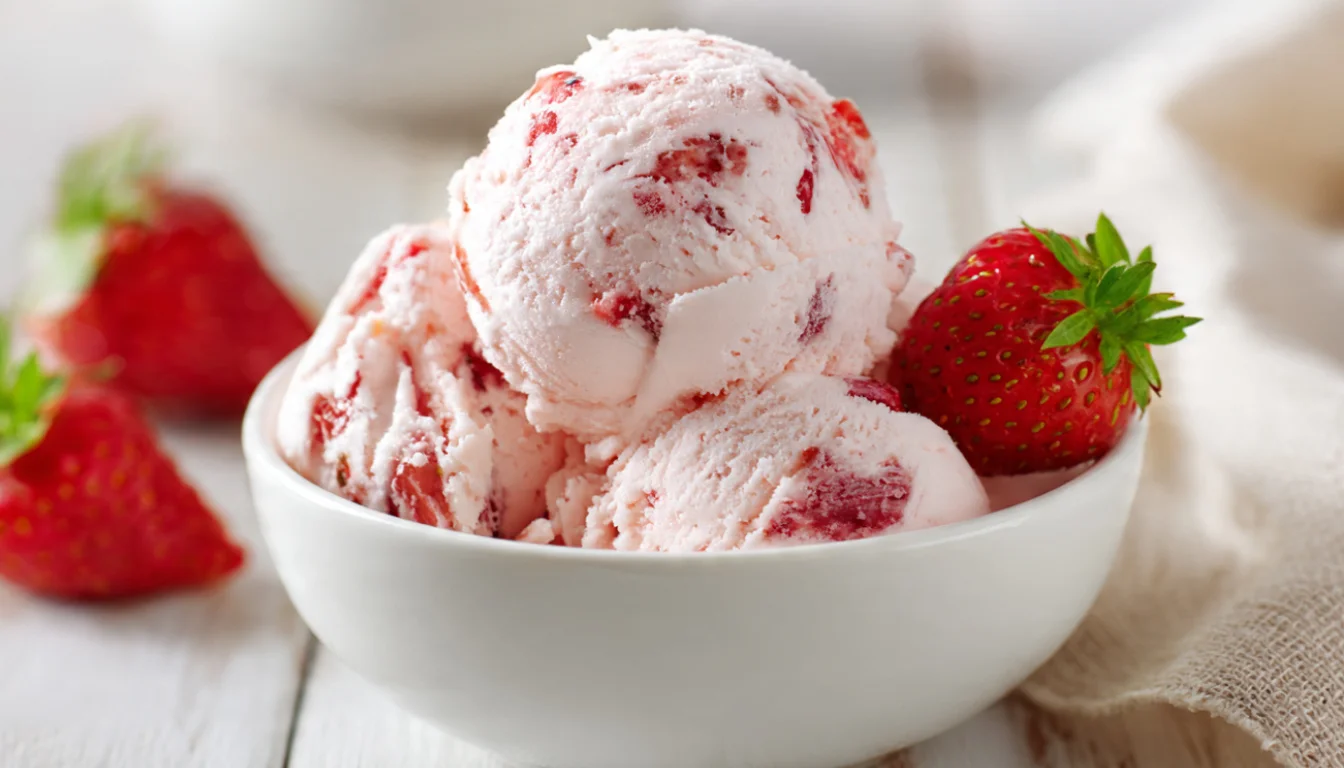
Creamy Homemade Strawberry Ice Cream Recipe
There’s something magical about making ice cream from scratch, especially when it’s peak strawberry season and your local farmers market is bursting with those ruby-red beauties. I’ll never forget the first time I attempted homemade ice cream in my tiny apartment kitchen. I didn’t have an ice cream maker, so I tried the plastic bag method I’d seen online. Let’s just say my freezer looked like a strawberry crime scene, and I learned a valuable lesson about investing in proper equipment.
Fast forward to today, and I’ve made this recipe more times than I can count. It’s become my summer go-to whenever I want something that tastes infinitely better than store-bought and lets me control exactly what goes into my dessert. If you’ve never experienced the difference between commercial ice cream and the homemade version, you’re in for a treat. The flavor is brighter, the texture is creamier, and there’s this incredible satisfaction in knowing you made it yourself.
Essential Ingredients
- 2 pounds fresh strawberries, hulled and quartered
- 1 cup granulated sugar (divided)
- 2 cups heavy cream
- 1 cup whole milk
- 4 large egg yolks
- 1 tablespoon vanilla extract
- 1/4 teaspoon salt
- 2 tablespoons fresh lemon juice

Alternative Ingredients
Not everyone has access to fresh strawberries year-round, and I totally get it. Here’s what you can substitute without sacrificing too much quality:
If fresh strawberries aren’t available, frozen berries work surprisingly well. Just thaw them completely and drain excess liquid before using. You’ll want to add an extra tablespoon of lemon juice to brighten the flavor since frozen berries can taste a bit flat. I’ve done this in January when I was craving summer, and honestly, nobody could tell the difference.
For a dairy-free version, swap the heavy cream and whole milk with full-fat coconut milk. The texture won’t be quite as luxurious, but it’s still delicious. I tried this for a friend with lactose intolerance, and she said it was the best dairy-free ice cream she’d ever had.
If you’re watching sugar intake, you can use honey or maple syrup instead of granulated sugar. Use 3/4 cup instead of 1 cup since liquid sweeteners are more concentrated. The flavor profile changes slightly, but in a good way. The honey version tastes almost floral, which pairs beautifully with strawberries.
Don’t have egg yolks? You can make an eggless version, though you’ll lose some of that silky custard texture. Use 2 tablespoons of cornstarch mixed with the milk instead, and heat until thickened. It’s more of an American-style ice cream versus the French custard-based version.
Step-by-Step Directions
Prepare the Strawberries
Start by macerating your strawberries. This is where the magic begins. Combine the quartered strawberries with 1/2 cup sugar and the lemon juice in a bowl. Let them sit at room temperature for at least 30 minutes, or up to 2 hours if you have the patience. The sugar draws out the juices, creating this gorgeous strawberry syrup that infuses the entire batch with intense fruit flavor.
After macerating, I like to mash about half the berries with a fork or potato masher. Leave the rest in chunks because those little frozen strawberry pieces throughout the ice cream are absolute gold. If you have a food processor, you can pulse half the mixture for a smoother consistency, but honestly, a fork works just fine.
Make the Custard Base
This is the trickiest part, but I promise it’s not as scary as it sounds. In a medium saucepan, whisk together the egg yolks and remaining 1/2 cup sugar until the mixture turns pale yellow and slightly thick. This takes about 2 minutes of good whisking.
In a separate pot, heat the heavy cream and whole milk over medium heat until it just starts to steam. Don’t let it boil or you’ll have a mess to clean up (trust me on this one). Here’s where things get technical but crucial: you need to temper the eggs.
Slowly pour about half of the hot cream mixture into the egg yolks while whisking constantly. And I mean constantly. I learned this the hard way when I got distracted by my phone and ended up with sweet scrambled eggs. Not the vibe we’re going for. Once combined, pour everything back into the saucepan.
Cook over medium-low heat, stirring constantly with a wooden spoon or silicone spatula. You’ll know it’s ready when the mixture thickens enough to coat the back of your spoon and holds a line when you run your finger through it. This usually takes 5-8 minutes. If you have a thermometer, you’re aiming for 170-175°F. Don’t let it boil.
Combine and Chill
Remove the custard from heat immediately and strain it through a fine-mesh strainer into a clean bowl. This catches any bits that might have cooked too much. Stir in the vanilla extract and salt. Add your macerated strawberry mixture, juice and all, and stir until well combined.
Cover the bowl with plastic wrap, pressing it directly onto the surface of the mixture. This prevents a skin from forming, which nobody wants in their ice cream. Refrigerate for at least 4 hours, but overnight is even better. I know waiting is torture, but this step is essential. The mixture needs to be completely cold before churning.
Churn the Ice Cream
Now for the fun part. If you have an ice cream maker, this is where it shines. Pour the chilled mixture into your machine and churn according to the manufacturer’s instructions. Most ice cream makers take 20-30 minutes to reach soft-serve consistency.
I use a Cuisinart ice cream maker that I got on sale a few years ago, and it’s been absolutely worth the investment. But if you’re looking for something fancier with a built-in compressor, the KitchenAid attachment for their stand mixer is incredible. My sister has one and I’m honestly a bit jealous since you don’t need to pre-freeze the bowl.
Freeze and Serve
Transfer the churned ice cream to a freezer-safe container. I prefer those BPA-free meal prep containers with tight-fitting lids because they prevent freezer burn and stack nicely. Press a piece of parchment paper directly on the surface before sealing.
Freeze for at least 4 hours until firm. The ice cream will be quite soft when first churned, but it needs this final freeze to reach that perfect scoopable texture.
Pro Tips
The quality of your strawberries makes or breaks this recipe. Look for berries that are deep red all the way through, not white in the center. They should smell intensely sweet. If they don’t smell like anything, they won’t taste like much either.
Don’t skip the lemon juice. It might seem like a small amount, but acid is crucial for balancing the sweetness and making the strawberry flavor pop. Without it, the ice cream tastes flat.
If you don’t have an ice cream maker, you can still make this work. Pour the mixture into a shallow metal pan and freeze. Every 30 minutes for the first 2-3 hours, take it out and vigorously stir with a fork to break up ice crystals. It’s more labor-intensive, but totally doable.
Let your ice cream sit at room temperature for 5-10 minutes before scooping. Homemade ice cream freezes harder than store-bought because it doesn’t have all those stabilizers and additives. A few minutes on the counter makes scooping infinitely easier.
Frequently Asked Questions
Can I use frozen strawberries?
Absolutely. Thaw them completely and drain any excess liquid. The ice cream might be slightly icier, but it’s still delicious. I’ve made successful batches with frozen berries in the dead of winter.
How long does homemade ice cream last?
Properly stored in an airtight container, this will keep for about 2 weeks. Though in my house, it rarely lasts more than a few days. The texture is best within the first week.
Why is my ice cream icy instead of creamy?
This usually happens if the mixture wasn’t cold enough before churning, or if there was too much water content. Make sure your custard is thoroughly chilled, and don’t add extra liquid beyond what the recipe calls for.
Do I really need to make a custard base?
For the creamiest texture, yes. The egg yolks create that silky mouthfeel that makes ice cream so luxurious. But if you want something easier, you can make a simpler version without eggs.
Why You’ll Love This Recipe
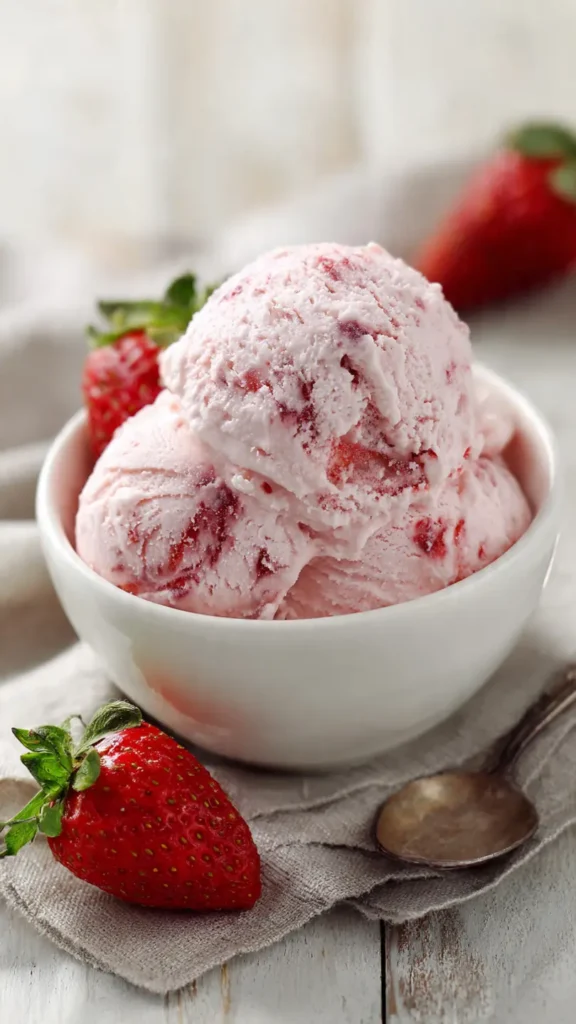
This isn’t just ice cream. It’s summer in a bowl. When you make it with fresh, in-season strawberries, the flavor is so vibrant and pure that it makes those pints from the grocery store taste like sad, chemical approximations.
The texture is unbelievably creamy thanks to the custard base. Every spoonful melts on your tongue in the most satisfying way. Plus, you control exactly what goes in. No weird stabilizers, no artificial colors, just real ingredients you can pronounce.
Making ice cream from scratch is also surprisingly impressive when you serve it to guests. People always assume it’s complicated or requires fancy equipment, but really, it just requires a little time and patience. The look on their faces when you casually mention “oh, I made this” is priceless.
What Makes This Recipe Unique
Unlike many strawberry ice cream recipes that rely on strawberry extract or artificial flavoring, this one uses only fresh fruit. The macerating step creates an intensely flavored strawberry syrup that gets incorporated into every bite.
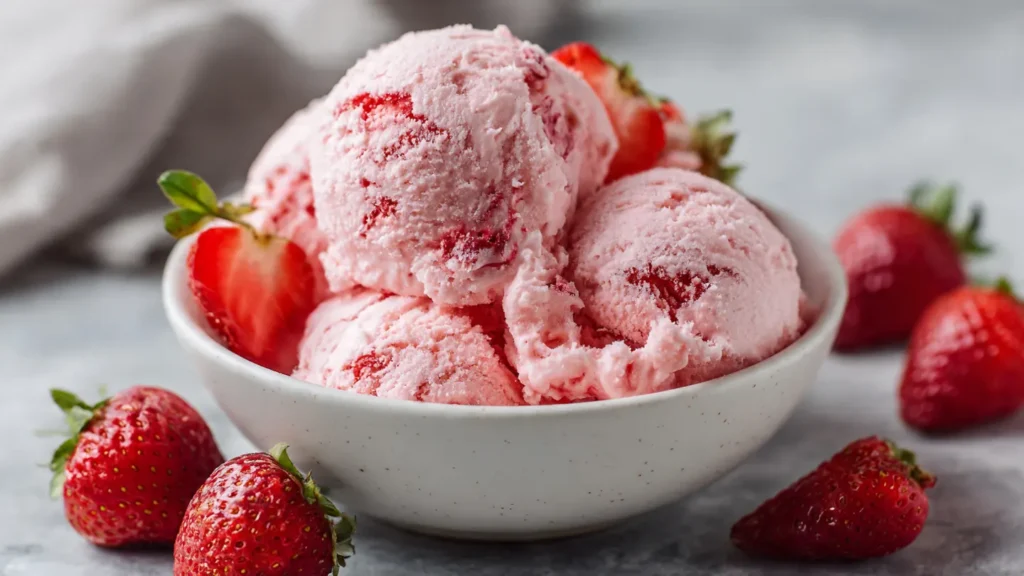
The combination of pureed and chunked strawberries gives you the best of both worlds. You get that smooth, fruity base with surprise bursts of frozen strawberry pieces throughout. Some batches have bigger chunks, some smaller, and that variation is part of the charm.
The custard base makes this richer and creamier than Philadelphia-style ice cream, which uses only cream and sugar. If you’ve never had French-style ice cream made with egg yolks, you’re missing out on that incredible silky texture.
Key Features
✓ Made with fresh strawberries for authentic flavor
✓ Custard-based for ultra-creamy texture
✓ No artificial colors or flavors
✓ Perfect balance of sweet and tart
✓ Chunks of real fruit throughout
✓ Freezer-stable for up to 2 weeks
✓ Easily customizable with mix-ins
✓ Kid-friendly and crowd-pleasing
You’ll Also Love
If you enjoyed this recipe, you might also want to try my Vanilla Bean Ice Cream, which uses the same custard base technique. The Peach Ice Cream is another summer favorite that follows a similar method. For something more indulgent, my Salted Caramel Swirl Ice Cream has an incredible contrast of sweet and salty.
During fall, I make an Apple Cinnamon Ice Cream that’s absolutely divine. And for chocolate lovers, my Dark Chocolate Ice Cream with brownie chunks is a year-round hit. Once you master this basic technique, you can experiment with virtually any flavor combination.
Conclusion
Making ice cream at home is one of those things that seems intimidating until you try it once. Then you realize it’s actually pretty straightforward, just requires a bit of planning ahead. The quality difference between homemade and store-bought is night and day, and once you taste this, you’ll understand why it’s worth the extra effort.
This recipe has become a summer tradition in my kitchen. When strawberries hit their peak in June, I make batch after batch, experimenting with different varieties and sometimes adding in complementary flavors like basil or balsamic. Each batch is slightly different, and that’s the beauty of cooking from scratch.
Whether you’re a first-time ice cream maker or a seasoned pro, I hope you’ll give this recipe a try. There’s something deeply satisfying about pulling a container of homemade strawberry ice cream from your freezer, knowing you created it yourself from simple, real ingredients. Your taste buds (and your dinner guests) will thank you.
Homemade Strawberry Ice Cream
Ultra-creamy homemade strawberry ice cream made with fresh berries and a rich custard base.
Ingredients
- 2 pounds fresh strawberries, hulled and quartered
- 1 cup granulated sugar, divided
- 2 cups heavy cream
- 1 cup whole milk
- 4 large egg yolks
- 1 tablespoon vanilla extract
- 1/4 teaspoon salt
- 2 tablespoons fresh lemon juice
Instructions
- Macerate strawberries Combine quartered strawberries with 1/2 cup sugar and lemon juice in a bowl. Let sit at room temperature for 30 minutes to 2 hours. Mash half the berries with a fork, leaving the rest chunked for texture.
- Make custard base Whisk egg yolks with remaining 1/2 cup sugar until pale yellow and slightly thick, about 2 minutes. Heat cream and milk in a separate pot over medium heat until steaming (don’t boil).
- Temper the eggs Slowly pour about half the hot cream mixture into egg yolks while whisking constantly. This prevents scrambling. Pour everything back into the saucepan.
- Cook custard Cook over medium-low heat, stirring constantly with a wooden spoon, until mixture thickens and coats the back of the spoon, 5-8 minutes. Temperature should reach 170-175°F. Don’t let it boil.
- Combine and chill Strain custard through fine-mesh strainer into a clean bowl. Stir in vanilla, salt, and all the macerated strawberries with their juice. Press plastic wrap onto surface and refrigerate at least 4 hours or overnight.
- Churn ice cream Pour completely chilled mixture into your ice cream maker. Churn according to manufacturer’s instructions until soft-serve consistency, usually 20-30 minutes.
- Freeze until firm Transfer to a freezer-safe container. Press parchment paper directly onto surface, seal with lid, and freeze at least 4 hours until firm. Let sit at room temperature 5-10 minutes before scooping.
Pro Tips
Use deep red strawberries that smell intensely sweet for best flavor. Don’t skip the lemon juice as it balances sweetness and brightens the strawberry taste. If you don’t have an ice cream maker, freeze in a shallow pan and stir vigorously every 30 minutes for 2-3 hours. Homemade ice cream freezes harder than store-bought, so always let it soften slightly before serving.